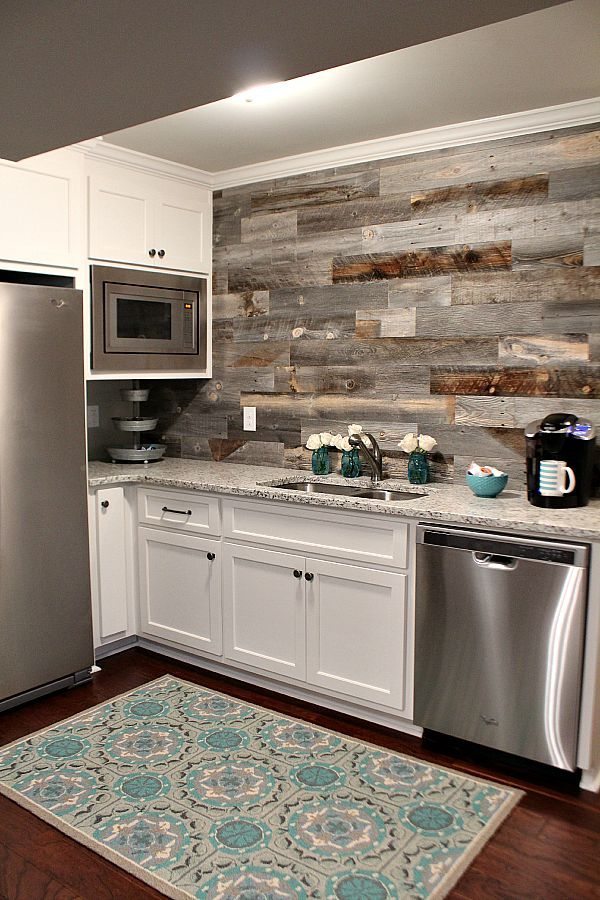
HomeHome InteriorTips for Finishing a Basement

Tips for Finishing a Basement

Disclosure: This article may contain affiliate links. For more info, see the Disclaimer and Disclosure Policies.

Do you know why I love watching DIY Network? I’m obsessed with making changes to our home and I learn a lot just by tuning in! My husband said he doesn’t know why we have so many channels! I say, it never hurts to be educated about home improvement ;). I mean, who doesn’t want to increase their property value, that’s why I enjoy watching Income Property.

Tips for Finishing a Basement

Before and after basement makeover at refreshrestyle.com
Our Basement

Some people are hooked on soap operas, some people like me are hooked on room makeovers!

Watch and learn.

When we walked in to our house a little over a year ago and everything was done, it was a little unnerving for a girl that loves room reveals. That was until we saw the unfinished basement.

Bingo! Here’s my next project!

Finishing the basement wasn’t something that we jumped in to right away. But it was on my mind for the first six months of living here.

I credit our savvy renovation decisions to watching shows like DIY Network Income Property. I’ll be sharing some photo ideas from the brand new episodes and some of the ideas from our recent renovation. We have moved so many times and made lots of changes in our homes to help maintain the value of them and to generate income when it comes time to sell. We have learned a few things a long the way and want share them.

Scott McGillivray from DIYNetwork Income Property
Income Property photo Curtesy of DIY Network 

Here are few tips that I recommend:

  •  Ask friends and neighbors to recommend a contractor, they will shoot straight with you.
  • Decide on a budget – don’t overspend for the neighborhood.
  • Be specific about space planning.
  • Paint colors – think about the amount light in the space and the atmosphere that you’re trying to create
  • Finishes – do you want it to feel like your main level?
  • Flooring – we have a big dog, I did not want carpet.
  • Timeline – think about what you have coming up over the next few months?

Talk it out with your spouse. Make sure you’re dreaming about similar ideas for finishing your basement.

We interviewed 2 licensed contractors, talked about what we wanted the space to look like. I drew out a very rough draft of our basement. We showed them what we were thinking to see if it was possible. Sometimes your ideas aren’t realistic for a basement setting. We decided on a contractor that had actually built a home for one of our neighbors. He was great!

There was plumbing already in the basement, to save money we used the access right where it was. We discussed placement of the kitchen and bath in detail with the contractor to make sure there was room to have a full bathroom and a kitchen area (minus a stove/oven). Communicate every thing very well with your contractor, don’t assume any thing.

As we walked through the space with the contractor, we discussed finishes. Things like carpet vs. wood floors. Crown molding, trim work and cabinet finishes can really add up. Know the allowances for every detail before you sign on the dotted line.

We wanted our basement space to echo our main level, so we chose some of the same paint colors. The walls are painted SW Comfort Gray just like a lot of our space upstairs.

The crown molding and baseboards in the basement are the same as our main level. We chose an engineered hardwood floor to be used everywhere except the bathroom.

The timeline for the project was 6 weeks and the contractor stayed on scheduled with only one exception, we were thrilled!

Before and after basement refinish at refreshrestyle.com

We wanted a large neutral space, open area for tv watching and that’s what we got.

Reading and entertaining area in the finished basement at refreshrestyle.com

On the opposite end there was a small center wall, we had them remove it and replace it with two pillars. We decided not to pay extra to have a new beam put up, it still feels very open. We positioned a couple of chairs and a bookcase in that area and you can still see the television.

Finished basement to add to our property value

It is a walk out basement with great light from the  windows and double doors leading to the patio. Before the basement was finished the patio wasn’t used very much. Now we practically live down here. When we get ready to sell in a few years, this will definitely be a selling feature. More living space inside and out.

Basement stairs

One of the areas that I tackled myself was the stairs leading to the basement. It’s was great way to save money and add a personal touch.

basement stairs finished

You see the kitchen area as soon as you enter the room from the stairs.

Basement kitchen area before and after refreshrestyle.com
Before – During – After

Finished basement kitchen area refreshrestyle.com

I added the feature wall of barn wood after construction. It really catches your eye when you’re coming down the stairs. Just a tip I picked up from watching the pros like licensed contractor Scott McGillivray.

I’m looking forward to the new fall episodes on DIY Network. Love this brick feature wall:


Income Property photo Curtesy of DIY Network

Think about your space, we had a limited area for our kitchen but we were able to incorporate every thing that we wanted. Here are a couple of beautiful kitchens ideas for you:

Income Property Ideas from Scott McGillivray at refreshrestyle.com
Income Property  photo Curtesy of DIY Network

Watch licensed contractor Scott McGillivray work with homeowners to transform part of their unused or undesirable space on Income Property  Thursdays at 10/9c on DIYNetwork.

We are thrilled that we turned our unused basement in to a great space for spending time with family and friends.

This is a sponsored conversation written by me on behalf of DIYNetwork.com. The opinions and text are all mine.