Hey y’all, it’s Debbie here! I am so thrilled to share with you one of my greatest passions, Chalk Couture. I might be a designer for this fantastic company, but I’m really just a down-to-earth gal who loves to get her hands dirty with some crafting. So, grab a glass of sweet tea, and let me introduce you to the wonderful world of Chalk Couture.
Ways to get started with Chalk Couture
You can browse all of the transfers in the shop, join the monthly transfer club, or learn more about becoming a designer like me!
Shop Chalk Couture
Browse the store to see all the beautiful transfers!
Join the Club
Get a new transfer mailed to you every month!
Become a Designer
Start building your creative design business!
What is Chalk Couture?
What is Chalk Couture, you ask? Chalk Couture is a creative and innovative crafting company that offers high-quality, reusable products like chalk transfers, chalkology paste, and squeegees. These products are designed to help you create beautiful, personalized home décor and crafts with ease. Whether you’re a beginner or a seasoned pro, Chalk Couture can bring a little bit of magic into your life.
Chalk Couture FAQs
This set of FAQs is targeted to both Chalk Couture designer questions as well as project specific questions. If you have any other questions, please contact me or reach out on Facebook!
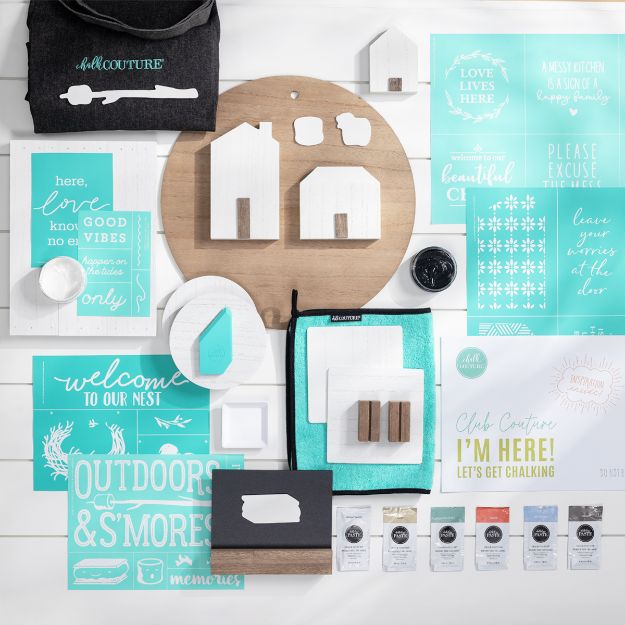
How much does it cost to get started? To become a designer, you start by purchasing a Chalk Couture Designer Kit for $99 (plus tax and shipping). The Designer Kit contains everything you need to get started. After that, there’s a small $20 per month fee to maintain your shop. Sign up here.
A lot of people ask me how to make money with Chalk Couture. My favorite way is to showcase how fun and easy it is to make a project on my Facebook page, then share the link to my store for them to purchase the products. Once they do a project themselves, they’ll love it! You can also sell the finished products at local gatherings, parties, expos, festivals, etc.
How much do you have to sell to stay active with Chalk Couture? As of 2023, you only need $167 worth of “personal volume” sales per quarter to maintain your designer status. These sales can be from selling to customers, personal purchases, or inventory orders. Chalk Couture quarters follow other businesses. Quarter 1: January – March, Quarter 2: April – June, Quarter 3: July – September, and Quarter 4: October – December.
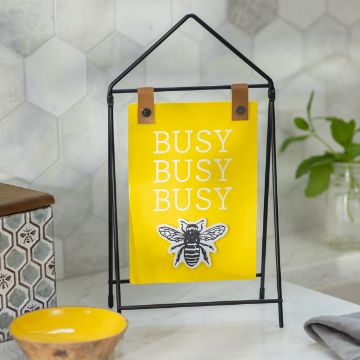
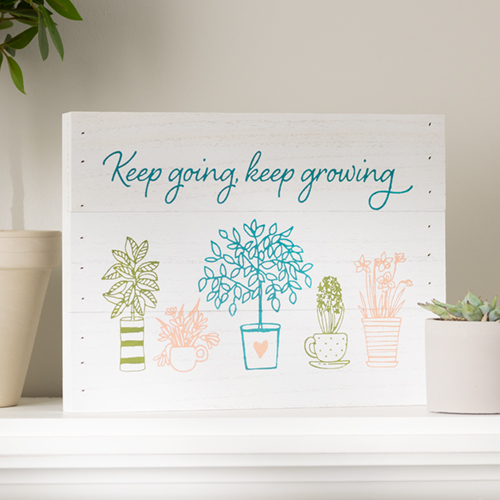
Chalk Couture projects use what’s called a “silk screen transfer” to make crafting with chalk paint easy and fun. The transfers have an adhesive backing so they stay tight on the surface you’re chalking. This gives you a clean and crisp line – basically the best version of a stencil! The transfers are simple to use, easy to clean and can be used multiple times.
Yes! If you want a permanent design, use the Chalk Couture Ink and heat set it. This can be on fabric or a hard surface.
No. Chalk Couture does not allow selling products a fixed location (which includes non-Chalk Couture Websites), but instead they allow you to sell using the “party” or “gathering” method such as an expo or public event.
Chalkology Paste™ typically has a shelf life of one year if it remains unopened, and six months after opening. Note, however, that the shelf life may be prolonged or shortened by things like climate, how often you use open the jar, etc.
In my experience, Chalk Couture transfers can be reused 8-12 times. There are some situations where you can increase the number of uses (based on well you take care of them), but that’s the average for me.
Yes! Chalk Couture transfers mimic screen printing, and it makes crafting very easy to do at home. In fact, using Chalk Couture Ink, you can make your own t-shirt designs as well. How cool!
Yes! You can use Chalk Couture Ink to make your own designs on t-shirts (or any fabric such a tea-towels, etc.). You’ll apply the ink the same way as the regular chalk paint, and then heat set it. Remember: Ink is permanent – so take precaution and have fun!
Chalkology Paste is safe to use on and remove from most nonporous surfaces, such as chalkboards, glass, metal, and even painted walls. If you use the Paste on porous surfaces such as unfinished wood or paper, it will leave permanent design.
Chalkology Ink can be used on fabric and hard surfaces, and will be permanent!
Check out the surfaces from Chalk Couture and my shop.
Yes! Chalk Paste and Ink can be used on glass.
Why is Chalk Couture so Fun?
Why is Chalk Couture so fun? Well, I’ll tell ya! It’s because it combines the simplicity of stenciling with the flexibility of chalk art, making it a breeze to create one-of-a-kind designs. You can mix and match colors, layer transfers, and add your own personal touch. The possibilities are endless, and the best part is that you don’t have to be an artist to create something beautiful! In fact, I’ve seen some of the most amazing creations come from folks who never thought they had an artistic bone in their body.
Crafting with Chalk Couture
Crafting Now, you might be wonderin’ why you should choose Chalk Couture products for your crafts. Here are a few reasons:
Easy to use
Chalk Couture transfers are designed for both beginners and pros alike. They’re adhesive and reusable, which means you can create stunning designs without worrying about mess or mistakes.
Versatility
With Chalk Couture, you can create designs on a variety of surfaces such as wood, glass, fabric, and more. This means you can customize anything from signs and pillows to mugs and tote bags!
High-quality materials
Chalk Couture is committed to providing top-notch products that are both durable and beautiful. You can trust that your creations will last and continue to impress.
Creative community
When you join the Chalk Couture family, you become part of a supportive and inspiring community of fellow crafters. You can share your creations, learn from others, and make lifelong friends along the way.
So, are you ready to embark on a creative journey with Chalk Couture? I promise you won’t regret it! Whether you’re a newbie just starting out or a seasoned crafter looking for a fresh new project, Chalk Couture has something for everyone. Give it a try, and I’m sure you’ll fall in love with it just like I did.
If you have any questions or need help getting started, please don’t hesitate to reach out. I’m always here to help and share my love for Chalk Couture.
Getting Started with Chalk Couture
I remember how thrilled I was when I first started, and I can’t wait to see the beautiful creations you’ll make. To help you get started, I’ve put together this step-by-step guide that’ll walk you through everything you need to know. So, let’s get craftin’!
Step 1: Gather Your Supplies
To begin your Chalk Couture journey, you’ll need a few essential supplies:
- Chalk Couture Transfers: These are reusable, adhesive silkscreen stencils featuring various designs.
- Chalkology Paste: This is the magic behind Chalk Couture! It’s a creamy, non-toxic chalk paste that comes in a variety of colors.
- Squeegee: A handy tool for applying and spreading the Chalkology Paste over the transfers.
- Surface: Choose a surface for your project, such as wood, glass, fabric, or Chalk Couture’s own Chalkboards.
- Optional: Accessories like fine-tip applicators, multi-tools, and cleaning wipes can make your project even easier.
Step 2: Prepare Your Surface
Before you start, make sure your chosen surface is clean and dry. If you’re using wood or any porous surface, it’s a good idea to apply a coat of Chalk Couture Surface Wax to ensure easy transfer removal.
Step 3: Choose and Prep Your Transfer
Select a Chalk Couture Transfer that inspires you and carefully peel it off the backing sheet. If it’s your first time using the transfer, you might want to “fuzz” it by pressing it onto a lint-free cloth or towel to remove some of its stickiness. This makes it easier to remove from your surface after use.
Step 4: Position Your Transfer
Place the transfer onto your surface, sticky side down, and smooth out any air bubbles using your fingers or a squeegee.
Step 5: Apply Chalkology Paste
Stir your Chalkology Paste to a smooth, yogurt-like consistency. Use a squeegee to scoop a small amount of paste and spread it evenly over the transfer. Be sure to cover all the design areas but avoid applying too much paste. A thin, even layer will give you the best results.
Step 6: Remove the Transfer
Carefully peel away the transfer, starting from one corner and moving slowly to avoid smudging the design. Make sure to hold your surface steady during this process.
Step 7: Clean and Store Your Transfer
Immediately wash your transfer with lukewarm water and a mild soap. Gently rub off any remaining paste, taking care not to damage the silkscreen. Once clean, let it air dry, sticky side up. When completely dry, place it back onto its backing sheet and store flat to preserve its adhesive qualities for future use.
Step 8: Admire Your Handiwork!
Step back and marvel at your beautiful creation! You’ve just completed your first Chalk Couture project. Feel free to share your masterpiece with friends, family, or on social media – don’t forget to tag me, I’d love to see your work!
Remember, practice makes perfect, so don’t be discouraged if your first project doesn’t turn out exactly how you envisioned. Keep experimenting, trying new transfers and colors, and most importantly, have fun! If you have any questions or need some guidance, don’t hesitate to reach out. I’m always here to help.
Happy Chalkin’!
Debbie