June 22, 2026 by Debbie Westbrooks
Chalk Couture Chalk Paste Welcome Sign
Live Videos · DIY · Home Interior
I made a soft and pretty Welcome to My Home sign using Chalk Couture chalk paste, warm brown stain, raised wood lettering, and a mix of greenery and peach flowers. The finished sign is 10 inches round, so it works well on its own or as the center of a larger wreath.
Choosing the Colors for My Welcome Sign
I had originally planned to use a creamy vanilla color, but Peachy Keen chalk paste was sitting near my flowers and the colors looked so good together. That changed my whole plan.
Peachy Keen is a lovely peachy pink that feels soft without fading into the wood. I used it for the Welcome portion of the sign, then used black chalk paste for the smaller To My Home lettering. Black gave me the contrast I wanted and made those smaller words easy to read.
You can use acrylic paint for this project if that’s what you have on hand. I used chalk paste because I love the colors and already had it ready to go.
Painting With Chalk Couture Chalk Paste
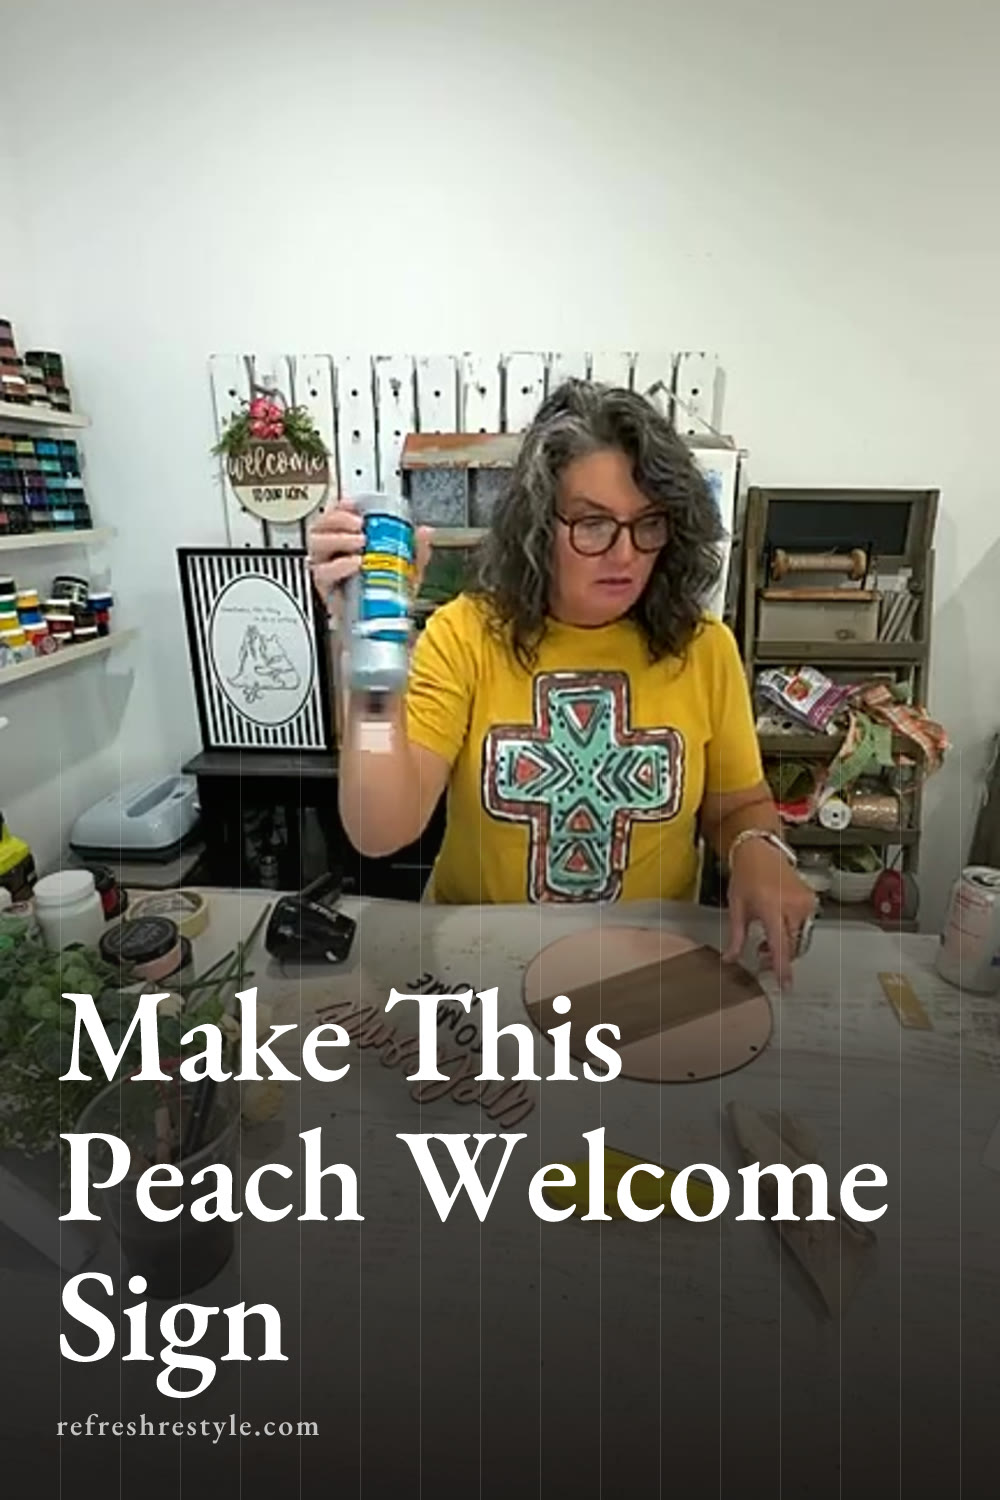
I started by lightly wetting the unfinished wood. A small amount of water helps when chalk paste feels thick on bare wood, and it makes the paste easier to spread with a paintbrush.
My Peachy Keen paste needed a little moisture too, so I added distilled water and worked it in with my brush. When chalk paste begins to dry in the jar, distilled water will bring it back to a creamy consistency. Add a little at a time and stir until it feels about like yogurt.
I brushed the Peachy Keen color over the Welcome section and dried it before moving on. Then I painted To My Home in black. The two colors worked well together, especially once I added the brown stain and floral details.
Take a Minute to Measure
I worked quickly and could see that my sections were a little uneven. I was happy with the placement, but measuring first will help you create even bands across the wood round.
Mark the center section before painting and use painter’s tape to keep the edges straight. A small amount of stain can overlap the painted area if you want a more aged finish, so the lines don’t have to look factory perfect.
Adding the Tobacco Road Gel Stain
Once the painted areas were dry, I taped off the middle section and applied Dixie Belle Voodoo Gel Stain in Tobacco Road. This is a rich brown with plenty of warmth, and it looks especially pretty beside the Peachy Keen color.
I applied the stain with a dauber, making sure all the bare wood was covered. Then I wiped away the excess with a paper towel. Gel stain becomes darker the longer it sits, so you can adjust the final color by changing how quickly you wipe it back.
After the stain dried, I went over the sign with my sander. I concentrated on the edges and lightly distressed the rest of the surface. You can remove as much or as little finish as you like. A few worn areas were enough for the look I wanted.
Distressing and Attaching the Raised Letters
I used Ground Espresso distress ink on the Welcome lettering. A small dauber made it easy to work the brown color around the edges and across selected areas without sanding every detail.
The wood round had etched guides for the raised letters, which helped with placement. Bright light can make those lines harder to see, so tilting the sign as you work helps them show up.
I brushed a thin layer of Titebond Quick and Thick glue on the back of each letter and pressed it into place. This glue grabs quickly and dries clear, which makes it a good choice for detailed wood cutouts. I held the sign up before pressing everything firmly so I could check that the words looked straight.
Making the Wired Jute Hanger
For the hanger, I cut a length of wired jute. I like wired jute because it holds its shape and lets me add curled ends.
I placed a little hot glue on each cut end and swirled the jute around to keep it from coming apart. Then I shaped the ends into loose curls. You can trim the jute after checking how the sign hangs.
Decorating With Greenery and Flowers
My first greenery choice wasn’t cooperating with the hot glue, so I changed direction and grabbed fern pieces instead. That happens all the time when I’m crafting. Sometimes the material that looks right on the table acts completely different once you try to attach it.
The fern had the softer look I wanted, and I layered it along the lower portion of the sign. I added muted flowers with peach centers and tucked in a few small berry sprigs for extra texture. Since the floral centers were close to the Peachy Keen chalk paste, the whole arrangement felt pulled together without looking too matched.
I used a generous amount of hot glue for the thicker stems and gave each piece time to grab before adding the next layer. Holding the sign upright every few minutes helped me see where I needed another flower or a small piece of greenery.
More Ways to Finish the Sign
You can change the sign by using brighter flowers, adding only a bow, or leaving off the greenery for a simple wood finish. A Chalk Couture transfer pattern would also look cute across the stained section or around the outer edges.
This 10 inch sign can hang by itself, but adding it to the center of a wreath will give it more presence on a front door. Use floral wire or another secure attachment so the wood round stays centered within the wreath.
Chalk Couture supplies I used
You can shop my full Chalk Couture store here.
I am an independent Chalk Couture designer, so I earn a commission on these links. See my disclosure for more.