November 6, 2026 by Debbie Westbrooks
Chalk Couture Christmas Dove Canvas Art
Live Videos · DIY · Crafts
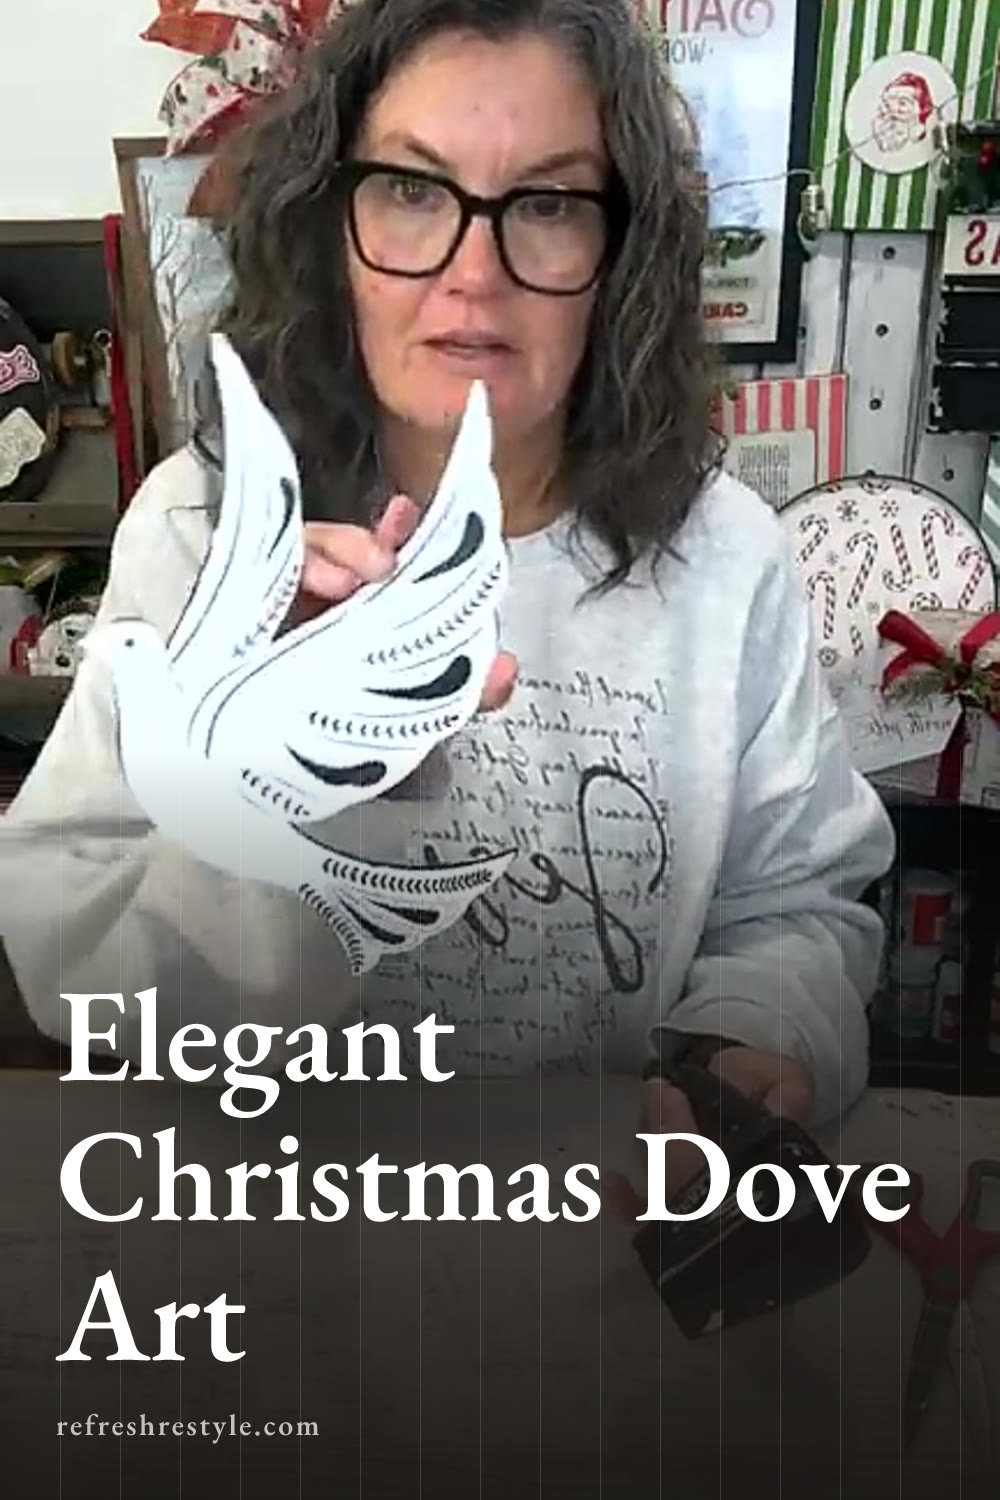
I made a simple piece of Christmas art with a Chalk Couture Christmas Dove transfer, a matching wood cutout, and a black canvas. The black, white, and gold combination turned out so pretty, and the raised dove adds just enough dimension to make the whole project stand out.
Supplies I Used
For the base, I used an 11 by 14 black canvas. It came black, which saved me a step and gave me the deep background I wanted for the white dove and gold lettering.
I also used the Christmas Dove wood cutout and matching reusable transfer. The transfer includes the detailed dove design along with the words, “the most wonderful time of the year,” so you can use both parts together or choose only the section you want.
For color, I used Nominee shimmer paste on the canvas and Bright White chalk paste on the dove. I also needed black paint for the wood cutout, a little surface wax, a squeegee, a fuzzing cloth, and hot glue.
Adding the Gold Shimmer Words
I started with the wording on the black canvas because I wanted to know exactly where it would sit before attaching the dove. My transfer had already been used, so it had less stickiness than a brand new one and was easy to position.
I eyeballed the placement near the bottom of the canvas, keeping enough room above it for the wood dove. Once I liked the position, I pressed the transfer down and made sure the screened area was in contact with the canvas.
The Nominee paste needed a quick stir before I started. This color has a beautiful shimmer, and it looks especially rich against black. I spread a thin layer across the screened words with my squeegee, then removed the extra paste and put it back in the container.
I peeled the transfer up slowly. That gives me a chance to lay it back down if I spot an area that needs a little more paste. One small part of a letter needed attention, so the slow peel helped me catch it before removing the transfer completely.
Making the Chalk Couture Christmas Dove
I painted the wood dove black so the edges and open areas would blend with the black canvas. Most of the finished design comes from the screened details in the transfer, so the black base gives the white paste a strong contrast.
Once the paint was dry, I rubbed a little surface wax over the wood. The wax adds a slight sheen, but its main job here is to keep the sticky transfer from holding too tightly to the painted surface.
Even though I had used this transfer before, I decided to fuzz it before placing it on the dove. A fuzzing cloth works well, but you can also use a clean towel, your shirt, or your blue jeans. You only need to pick up a small amount of lint so the transfer releases more easily.
Lining up the design took me a minute. I kept adjusting it until the important parts of the screened image were sitting over the cutout, then I pressed it down and called the placement good. I tend to make lining things up harder than it needs to be, so I reminded myself that handmade projects can still look lovely without every edge being exact.
Applying the Bright White Paste
I used Bright White chalk paste for the dove details. With these transfers, a light touch works best. I dragged the paste across every screened area and let the squeegee do the work instead of pressing hard.
After covering the full design, I carefully peeled the transfer away and revealed the dove. The white lines came out crisp and bright against the black wood. I dried the paste before moving the cutout around because fresh paste can smear when I get in a hurry.
Caring for the Reusable Transfer
The reusable transfer can be washed with water after the project is finished. I rinse away the paste and lay it with the sticky side facing up until it dries. Once dry, the stickiness returns and the transfer is ready for another project.
It helps to wash the transfer soon after using it so the paste stays easy to remove. I also store it on its backing sheet once everything is completely dry.
Attaching the Dove to the Canvas
Before gluing, I placed the dove on the canvas and adjusted it above the gold words. The dark wood blended into the background just as I hoped, while the white design stayed bright and easy to see.
A stretched canvas has some give in the center, so I tucked my folded fuzzing cloth underneath it for support. That gave me a firmer surface while I pressed the dove into the hot glue and waited for it to set.
I used hot glue around the back of the cutout, placed it on the canvas, and held it in position until it felt secure. The raised wood creates a layered effect that gives the finished piece more interest than a flat design alone.
The Finished Christmas Dove Art
The finished canvas has a simple black background, a crisp white dove, and warm gold shimmer lettering underneath. I love how the Nominee paste ties everything together without covering up the detailed bird design.
A gold bow would be a pretty addition if you want a little more decoration, but I left mine simple so the dove stays the focus. The Christmas wording makes it ready for holiday decorating, and the peaceful dove design gives it a look that can work beyond the Christmas season too.
Chalk Couture supplies I used
You can shop my full Chalk Couture store here.
I am an independent Chalk Couture designer, so I earn a commission on these links. See my disclosure for more.