November 11, 2026 by Debbie Westbrooks
Chalk Couture Christmas Stamp Wood Ornament
Live Videos · Crafts · Home Interior
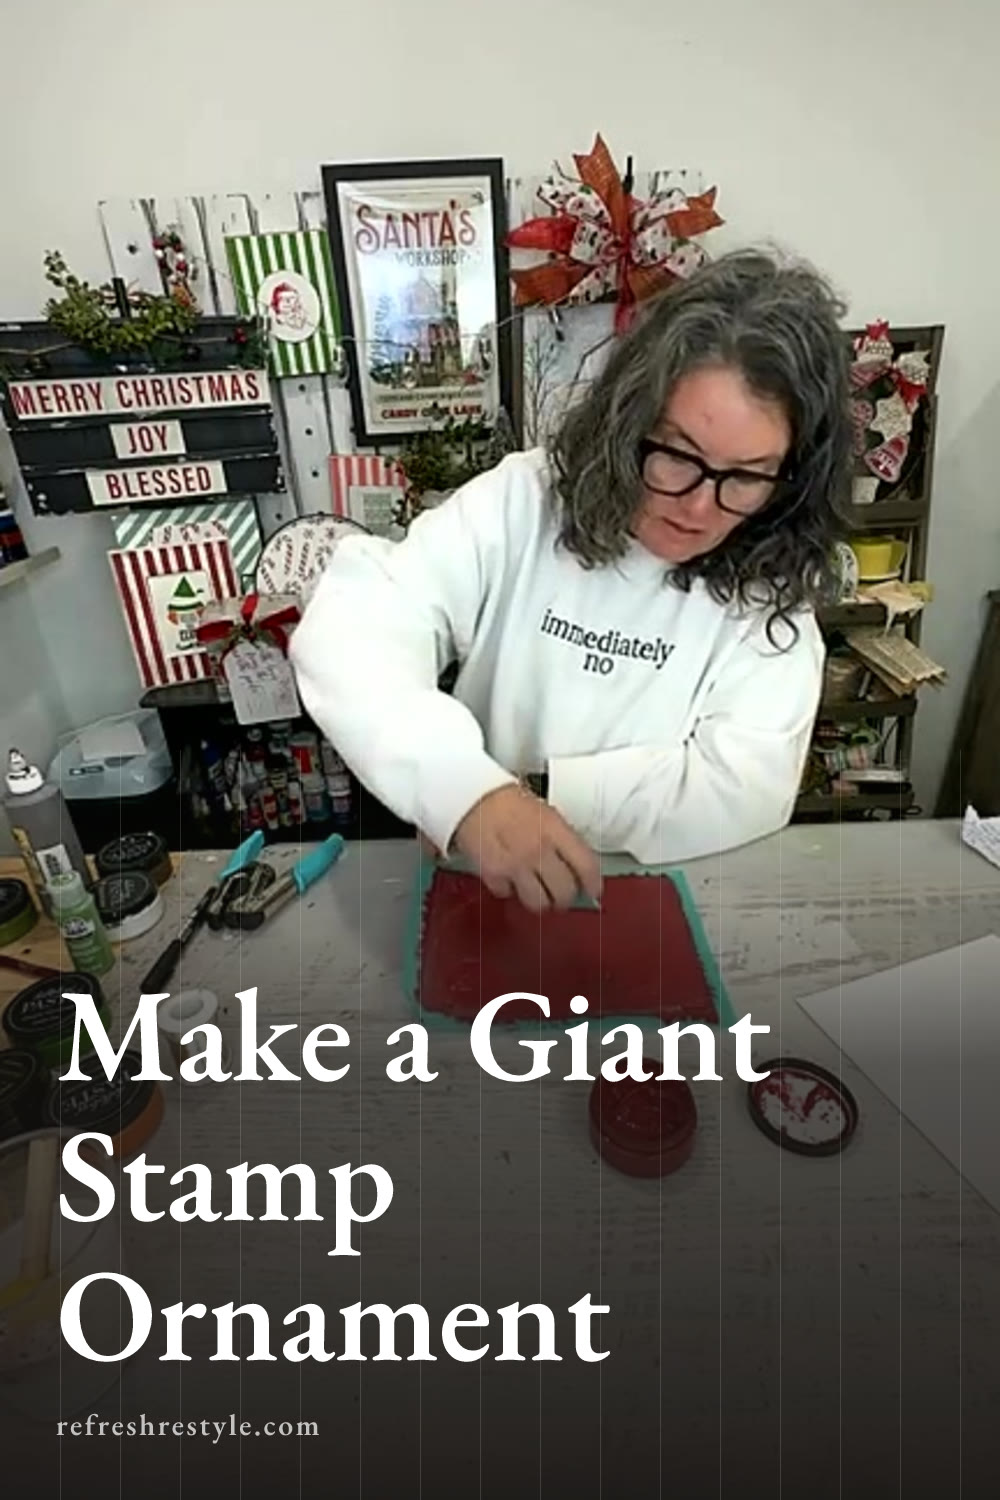
I made a big Christmas stamp ornament using one of my Chalk Couture transfers and a matching wood cutout. The Cherry and Bright White color combination gave it that classic candy cane look, and the finished piece can work on a large tree, a wreath, or with a Christmas display in the kitchen.
Supplies I Used
For this project, I used the Christmas Stamp transfer with the wood cutout made to match it. That took the guesswork out of the shape and gave me a fun base that already looked like an oversized postage stamp.
I also used Bright White chalk paste, Cherry chalk paste, surface wax, a fuzzing cloth, a squeegee, a hole punch, and silver wire. I grabbed a Posca pen at the end to help curl the wire, although a pencil or paintbrush handle would work for that too.
The transfer is reusable, so I can wash it after the project, let it dry, and put it back on its backing sheet for another craft.
Painting the Wood Cutout
I started by painting the wood cutout with Bright White chalk paste. Chalk paste works well as paint on a small project like this, and the white created a fresh background that made the red design stand out.
I spread the paste across the surface with a squeegee, making sure I covered the cutout all the way to the edges. I tend to get paste everywhere when I craft, so this part looked a little messy while I worked. The finished surface was what mattered.
Once the white background was covered, I dried it before moving on. The base needs to be dry so the color stays in place when the transfer goes on top.
Preparing for the Chalk Couture Transfer
After the Bright White background dried, I applied a small amount of surface wax. I smeared it over the painted wood and buffed it into the surface. The wax added a slight sheen, but it kept the white color looking the same.
This step helps protect the painted background because the Chalk Couture transfer has an adhesive back. The wax keeps the transfer from grabbing the surface too firmly and pulling up the base color during the reveal.
I also pressed the transfer onto a fuzzing cloth before placing it on the wood. That added a little fuzz to the adhesive and reduced some of the stickiness. A clean shirt or pair of pants can work when a fuzzing cloth isn’t nearby, but I used the cloth for this one.
Lining Up the Christmas Stamp Design
I centered the Christmas Stamp transfer over the matching wood cutout and lined up the shaped edges as closely as I could. The design fit the surface really well, which made it easier to see where everything needed to go.
Once I liked the placement, I pressed the transfer down across the wood. I paid close attention to the screened areas because those need full contact with the surface. Any loose spots can allow paste to slide underneath and soften the details.
A handmade project can still be lovely if the transfer sits a little off center. I line it up the best I can and keep going when I’m happy with it.
Adding the Cherry Chalk Paste
I chose Cherry for the stamp design because it is one of my favorite reds. It looked especially pretty against the Bright White background and gave the whole project a Christmas candy feel.
Using my squeegee, I spread the Cherry paste over every screened area of the transfer. A light touch works best here. Pressing too hard can push extra paste under the screen, so I let the squeegee glide across the top instead.
This was a fairly large transfer, which meant I needed to keep moving. Chalk paste begins to dry as it sits, and I wanted to pull the transfer while the paste was still workable.
Revealing the Christmas Stamp
The reveal is always my favorite part. I slowly lifted the transfer away from the wood so I could watch the red design appear against the white surface.
Pulling slowly also gives you a chance to spot a missed area. If you see one, gently place that part of the transfer back down and add a little more paste before continuing.
The Cherry looked gorgeous once the full design was visible. It popped against the Bright White background and made the details of the Christmas stamp easy to see.
I took the transfer to the sink after I finished, washed away the remaining paste, and let it dry before returning it to the backing sheet.
Adding a Wire Hanger
The matching wood cutout was thin enough for me to make a hole with a regular hole punch. It went through without much effort and gave me a clean opening for the hanger.
I threaded silver wire through the hole and wrapped it so it would stay in place. To finish the ends, I curled the wire around a Posca pen and made little pigtail spirals. You could wrap the wire around a pencil or paintbrush handle and get the same kind of curl.
Ways to Display the Finished Ornament
This piece would make a beautiful ornament on a large Christmas tree, especially mixed with candy cane colors and other oversized decorations. A few of these stamp ornaments placed around the tree would make a big impact.
It would also look pretty attached to a wreath. The flat wood cutout gives you plenty of options for working it into ribbon, greenery, or other Christmas accents.
For an indoor display, I would hang it near the kitchen backsplash with a removable adhesive hook and place a few Christmas decorations around it. It could also hang near a mantel or become part of a larger holiday arrangement.
The Christmas Stamp transfer could work on fabric too. With the proper ink, the same design would make a sweet Christmas tea towel for the kitchen.
Chalk Couture supplies I used
You can shop my full Chalk Couture store here.
I am an independent Chalk Couture designer, so I earn a commission on these links. See my disclosure for more.