November 19, 2026 by Debbie Westbrooks
Dollar Tree Lantern Makeover With Chalk Couture Paste
Live Videos · DIY · Home Interior
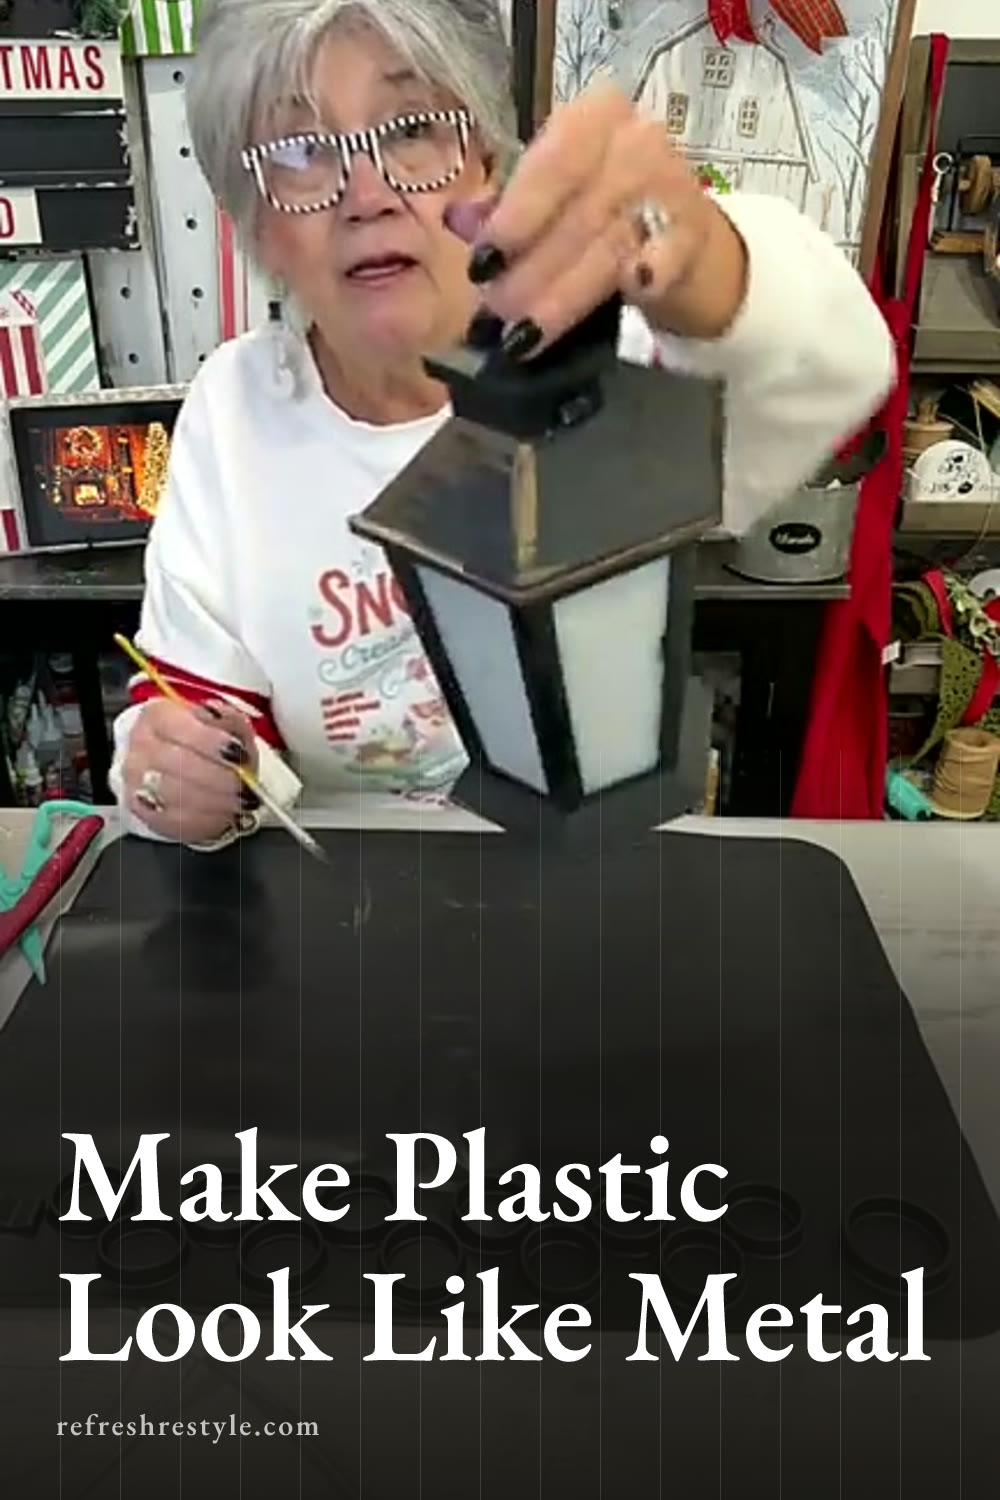
I took a plastic Flame Glow Lantern from Dollar Tree and gave it a warm, weathered finish using Chalk Couture paste. A little greenery, a few red berries, and a red velvet bow turned it into a Christmas accent that looks much richer than the original plastic finish.
Starting With the Dollar Tree Lantern
This lantern was already cute when I found it. It has a glowing flame inside, a flat back for hanging, and a shape that would work on its own or attached to a wreath. Once I added the batteries and turned it on, I loved the soft glow.
The black plastic looked a little too shiny for the style I wanted, so my goal was to give it the look of aged metal. I wanted some variation in the finish, almost as if the lantern had spent time outside in the weather.
The lantern came with a small decoration attached near the top. I removed it with wire cutters and left the little glue spot in place because I knew my greenery would cover that area later.
Preparing the Plastic Surface
I lightly sanded the black parts of the lantern before adding any color. This gave the paste a little texture to grip and helped knock down some of the plastic shine.
I focused on the outer frame and worked around the clear window sections. A little paste reached the edges of the windows as I worked, but the finish was loose and aged, so tiny variations blended right in.
When you sand a piece like this, use a light hand. The goal is to scuff the surface rather than reshape it. I also kept the batteries out of my way while I worked and protected my table with the black 16 by 20 craft mat I found at Dollar Tree.
Painting Plastic With Chalk Couture Paste
I brushed a quick coat of black Chalk Couture paste over the lantern frame. The original lantern was already black, but the paste gave it a flatter finish and made the surface look more like painted metal.
This first coat went on quickly. Since I was working over the same basic color, every inch of the frame did not need heavy coverage. I brushed it across the raised areas, around the sides, and over the top while leaving the glowing center alone.
The paste dried fast. I checked it with what I call my fingernail test, gently touching the surface to see if the finish had set before moving on to the metallic color.
Creating a Weathered Metal Finish
For the second color, I used My 2¢, a metallic penny shade. Instead of covering the entire lantern, I brushed it onto random areas over the flat black base.
This part is where the plastic started looking like old metal. I added a little metallic color along the edges, around the frame, and across a few larger sections. Some spots received more color and others received only a light touch.
Random placement works best for this kind of finish. I moved around the lantern and varied the size and shape of each metallic area so the pattern felt naturally worn. If one section started looking too even, I broke it up with another small brush mark nearby.
You could cover more of the lantern with My 2¢ if you prefer a stronger copper look. I wanted the black to remain the main color, with the metallic paste catching the light in scattered spots.
Once the metallic layer dried, the frame had the aged look I wanted. The flat black base removed the shiny plastic appearance, and the penny color gave it warmth and depth.
Adding Greenery and Red Berries
I found two types of greenery at Dollar Tree, including eucalyptus and a piece with red berries. Some of the store greenery included a fake orange, but I had dried real orange slices and small orange stars at home that I considered using instead.
I glued greenery to both sides of the lantern near the top. Then I added eucalyptus on one side and red berries on the other. I like asymmetrical arrangements, so I allowed each side to have its own shape rather than matching them piece for piece.
As you add the greenery, hold each stem in place until the glue grips. Scissors can help press a small piece down while keeping your fingers away from the glue.
I kept the arrangement close to the top so it framed the lantern without covering the glowing center. The greenery also covered the glue spot left from the original decoration.
Finishing With a Red Velvet Bow
The final touch was a bow made from red velvet ribbon. I love traditional Christmas red because it shows up beautifully against greenery and mixes easily with the decorations I already have.
I placed the bow where the greenery and berries came together. The velvet added soft texture, and the bright red picked up the color of the berries.
I had planned to add one of my dried orange slices or stars, but the lantern already felt complete with the greenery, berries, and bow. Leaving the orange off kept the arrangement balanced and allowed that glowing flame to stay front and center.
Ways to Display the Finished Lantern
The flat back makes this lantern easy to hang on a wall, but I also think it would look beautiful attached to a Christmas wreath. It could sit among traditional red and green decorations, or you could use the weathered black and copper finish with deeper burgundy and brown tones.
The glowing center gives the finished piece plenty of warmth, while the Chalk Couture paste makes the frame look more like aged metal than molded plastic. The greenery and velvet ribbon finish it off without hiding the feature that made me pick up the lantern in the first place.
Chalk Couture supplies
Browse Chalk Couture Chalkology Paste, or shop my full store here.
I am an independent Chalk Couture designer, so I earn a commission on these links. See my disclosure for more.