June 22, 2026 by Debbie Westbrooks
Chalk Couture Permanent Ink Cherry Dish Towel
Live Videos · Crafts · Home Interior
I turned a pretty striped dish towel into a farmhouse kitchen accent using Chalk Couture permanent ink and a cheerful cherry design. The open parts of the cherries and leaves gave me room to add watercolor style details, and the finished towel looks so good hanging on the stove.
Supplies I Used
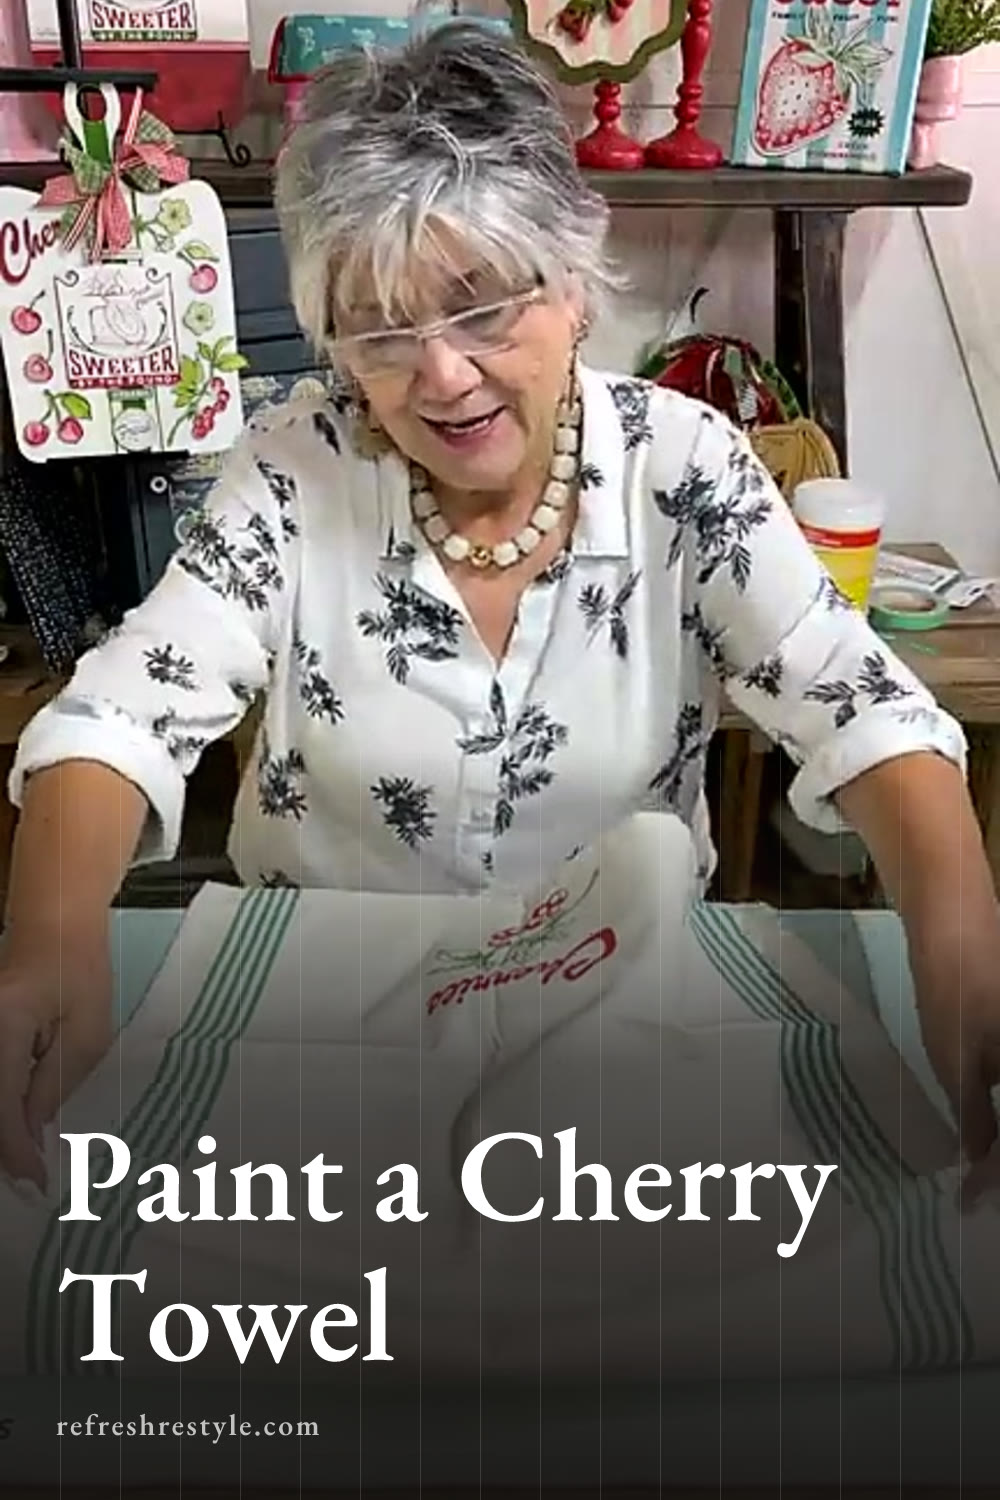
For this project, I used a striped dish towel, an ink mat, the bunch of cherries design, the word cherries, and three ink colors. My colors were Candy Apple, Meadow, and Pesto. I also used water, a thin paintbrush, parchment paper, and a heat press.
The ink mat is important because fabric can allow ink to come through to the surface underneath. A piece of cardboard can also protect your table if you don’t have an ink mat available.
I love these striped towels because the farmhouse style works with so many designs. This one also has a loop for hanging, which makes it handy for a hook in the kitchen.
Planning the Cherry Dish Towel Design
Before adding ink, I folded the towel the way I planned to hang it. That helped me decide where the design should go and kept the cherries from ending up too high or too low.
I centered my design on the lower part of the towel, but you can place yours wherever it works best for your kitchen. The seam on a dish towel can sometimes sit a little unevenly, so take a moment to look at the towel itself rather than relying only on the stitched edge.
The red and green colors coordinate beautifully with the farmhouse stripes. I started with the main cherry design and the word cherries, knowing I could always add more later if the towel needed it.
Applying the Chalk Couture Permanent Ink
I started with Meadow ink on the leaves and the small branches. Permanent ink dries more slowly than paste, so I had enough time to work through the little details without feeling rushed.
Next, I used Candy Apple ink for the cherries and the word cherries. I checked my fingers and arms every so often while I worked because a small spot of ink can easily transfer to fabric. That simple habit helps keep the rest of the towel clean.
The cherry design has open areas that can stay unfilled, but I wanted more color and dimension. After removing the design, I dried the first layer before painting inside those open spaces.
Be careful when lifting fabric away from a sticky mat. Fabric can fold back onto itself, and the damp design could touch another part of the towel. I kept the towel supported as I removed it, then dried the ink from the front and the back.
Painting the Watercolor Style Details
Adding Pesto to the Leaves
For the leaves, I put a small amount of Pesto ink in a container and added water. Pesto gave me a different tone of green from the Meadow outline, which made the leaves look fuller and more interesting.
I used a thin brush and a light touch. I dipped the brush in water, picked up a little ink, and painted inside each open area. The goal was to add color without soaking the fabric or leaving puddles on the towel.
If you’re concerned about the ink reaching the back of the fabric, slide the ink mat under the towel again before painting. I worked with a lightly loaded brush, so I could control exactly where the color went.
Filling the Cherries With Candy Apple
I cleaned my brush and repeated the process with Candy Apple ink. I watered the red down a little more so the original cherry details would still show through the painted areas.
This gave the cherries a soft watercolor look while keeping the stronger red outline visible. I painted slowly and added a little color at a time because it’s much easier to build the shade than manage too much wet ink.
You can use this same technique with other designs that have open spaces. A small brush and watered down ink can add another layer of color without covering the details already in the design.
Heat Setting the Permanent Ink
Once the design was completely dry, I turned my heat press to 305 degrees. I placed the towel on my ironing surface, covered the design with parchment paper, and pressed it for 30 seconds.
Heat setting makes the permanent ink washable. I have even put an inked towel into the washing machine right after setting it, though I always make sure every part of the design receives the full heat setting time first.
Follow the instructions for your own heat press and fabric, and keep the towel flat while you work. The parchment paper provides a protective layer between the press and the inked design.
A Farmhouse Gift Idea
This cherry towel would make such a fun hostess gift, especially for a summer gathering or a Fourth of July celebration. I thought it would be cute folded with a red spatula or whisk, and you could add a baking mix or a homemade dessert.
A cherry dump cake would fit the theme perfectly. I make mine with canned cherries, pineapple, dry yellow cake mix, chopped pecans, and butter, then bake it in the oven. The towel could wrap around the serving utensils or sit underneath the ingredients in a gift basket.
I usually call my freshly decorated towels decorative, at least until I make another one and start using the first. Since this design is heat set and washable, it can look pretty in the kitchen and still work like a real dish towel.
Chalk Couture supplies I used
You can shop my full Chalk Couture store here.
I am an independent Chalk Couture designer, so I earn a commission on these links. See my disclosure for more.