July 30, 2026 by Debbie Westbrooks
Chalk Couture Scarecrow Fall Decor DIY
Live Videos · DIY · Home Decor
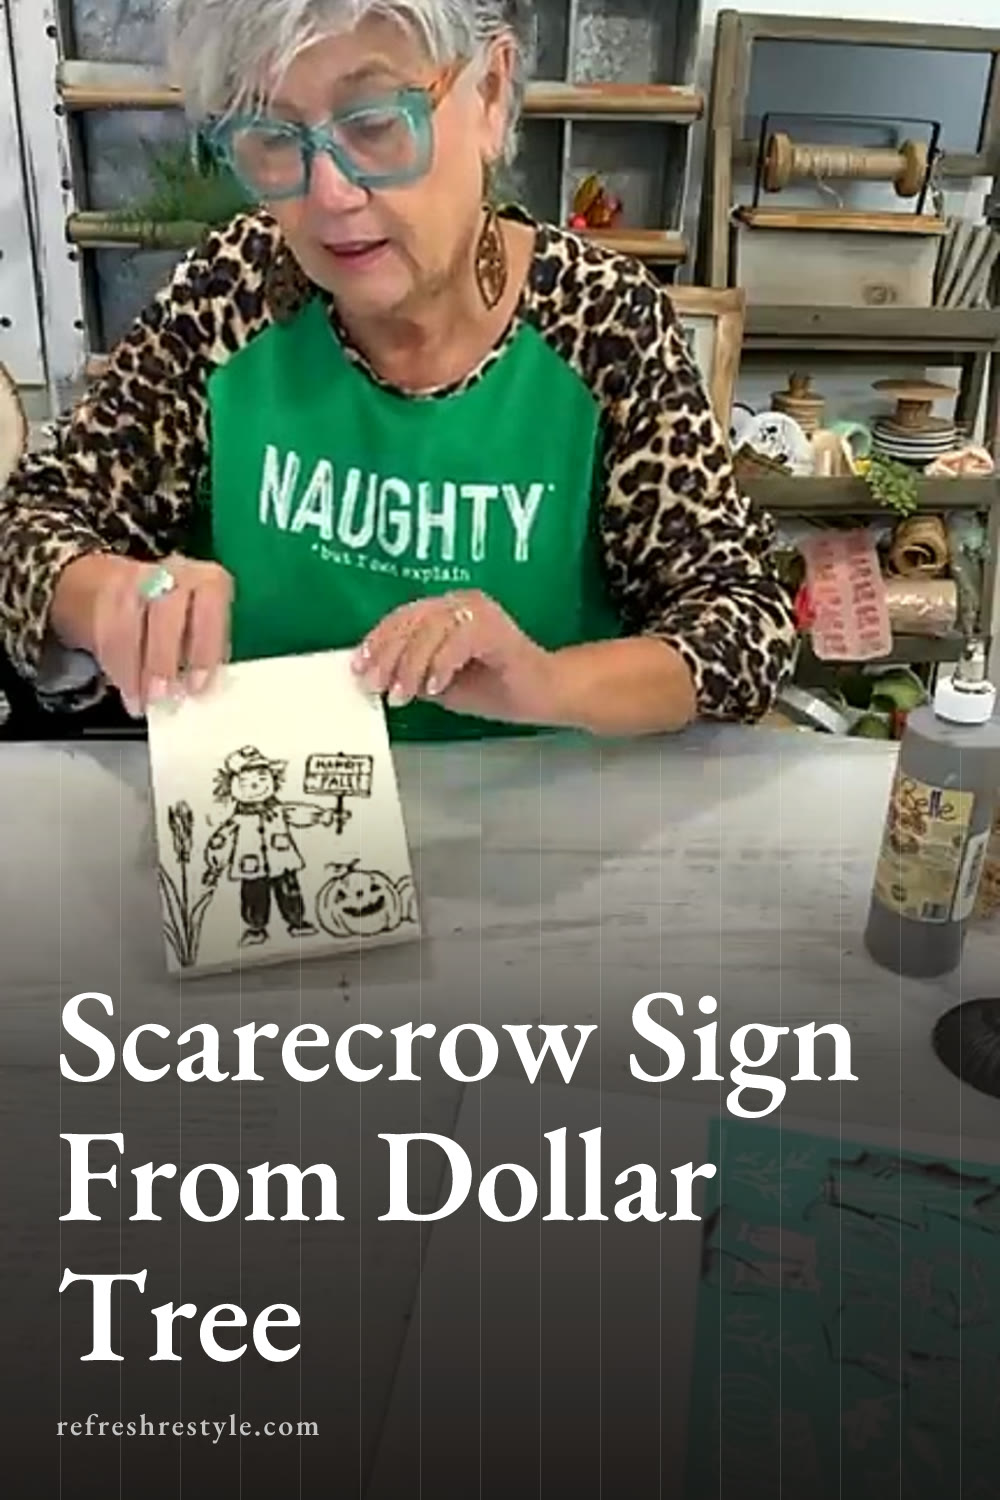
I turned a small wood piece and a Dollar Tree candlestick into the cutest raised scarecrow sign for fall. I used a Chalk Couture transfer with scorch paint for the outline, then added watered chalk paste, a light stain, moss, and fall greenery.
Supplies I used
This project started with simple pieces, and you may already have several of them tucked away in your craft supplies.
- Small wood piece
- Dollar Tree candlestick
- Chalk Couture scarecrow transfer
- Scorch paint
- Squeegee
- Transfer backer sheet
- Heat gun
- Chalk paste in fall colors
- Paintbrushes and water
- Light natural stain
- Cloth or paper towel
- Hot glue gun
- Moss
- Fall leaves and greenery
- Bow
I also considered adding pine cones, but the ones I had were too large for the arrangement. Smaller pine cones would work if you have some that fit the scale of your sign.
Choosing the Chalk Couture transfer design
The scarecrow transfer had several designs that could be mixed and matched, so I picked the pieces that worked best on my wood. I started with the Happy Fall scarecrow near the center, then added pumpkins at the bottom, a cornstalk along one side, and swirling leaves near the top.
That flexibility is one of my favorite things about a design like this. You can use the whole transfer or choose a few parts to fit the surface you have. A pumpkin design, Halloween saying, or another fall image would be cute on the same base.
I added a little fuzz to the transfer before placing it on the wood. Since I worked with different sections of the design, I held parts of the transfer away from the wet scorch paint as I moved around the surface. The backer sheet also helped protect the areas I had already finished.
Creating the scorched outline
I stirred the scorch paint and squeegeed it through the transfer just like I would apply chalk paste. Scorch paint is a little runnier than paste, so I worked carefully and used only what I needed for each section.
After removing the transfer, I activated the scorch paint with a heat gun. The design began darkening quickly as the heat burned the image into the wood. I kept the heat gun moving and watched the color change until the lines were as dark as I wanted.
The heat gun gets very hot, so give the wood and your tools time to cool before touching them. I also used the heat gun later to help dry the painted areas, but I kept it moving so the project wouldn’t get too hot.
A brown or black chalk paste will also create a pretty outlined design if you’d rather skip the scorching step.
Adding watercolor with chalk paste
Once the wood cooled, I started coloring the scarecrow and fall details. I dipped my brush in water and picked up small amounts of chalk paste, which gave the colors a soft watercolor look.
I used yellow and orange for the corn and pumpkins, then added Papaya to the scarecrow’s patches. I mixed Meadow with a little yellow for the cornstalk because I wanted a softer green that felt right for fall. Camel worked well on the shoes, and I mixed Cadet with Eucalyptus for the cap and scarf.
Keep the color sheer and uneven like watercolor. Some areas can have more color while others let the wood show through. If you dab on too much watered paste, lift the extra with a paper towel before it dries.
This part felt a lot like coloring or painting by number. I worked around the design, adding straw colored yellow near the hands and hair, orange to the pumpkins, and green around the corn. The scorched lines kept every detail easy to see while I painted.
Warming the wood with stain
The raw wood looked a little pale after I finished the color, so I tested a couple of stains on the back. A light natural stain gave me the warmth I wanted without covering the painted design.
I wiped a small amount over the entire front, including the scorched and painted areas. It made the wood look slightly aged and rustic. A piece of cloth works best for this step because a paper towel can leave fuzz behind.
Attaching the sign to the candlestick
After everything dried, I added plenty of hot glue to the top of the Dollar Tree candlestick and centered the wood sign on it. I eyeballed the placement, then held it firmly while the glue cooled. Holding it in place matters because the sign can shift while the glue is still warm.
I added a little more glue around the back for support. While the glue was warm, I tucked moss around the base of the sign to fill the space where the wood met the candlestick.
Finishing with fall greenery
I trimmed small pieces of fall leaves and greenery, then layered them around the base of the sign. I added a bow and kept the arrangement in proportion with the wood piece. Leftover greenery is perfect for this because you only need a few small pieces.
The candlestick raises the sign and gives the whole project more presence on a table, shelf, or fall display. If your Dollar Tree doesn’t have the same wood piece or candlestick, use a small canvas, photo frame, or another flat surface that can be glued securely to a sturdy base.
Chalk Couture supplies I used
You can shop my full Chalk Couture store here.
I am an independent Chalk Couture designer, so I earn a commission on these links. See my disclosure for more.