July 10, 2026 by Debbie Westbrooks
Chalk Couture Transfers for a Distressed Pumpkin Sign
Live Videos · DIY · Home Interior
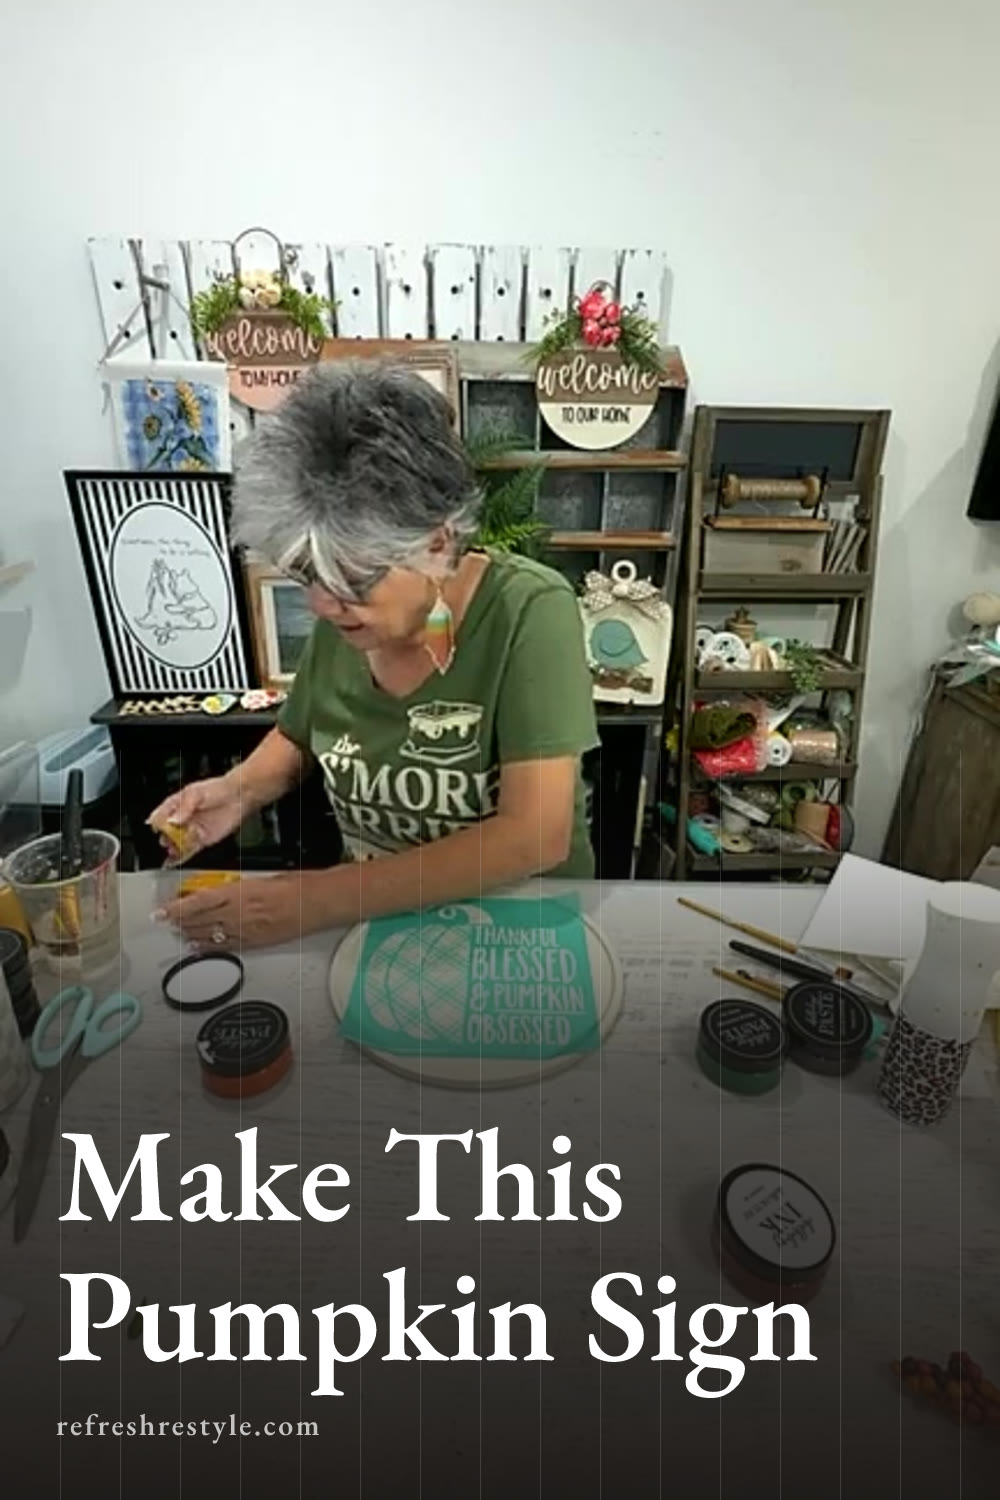
I turned a round bamboo board into a cheerful fall sign using a Chalk Couture transfer, warm pumpkin colors and one of my favorite ways to blend several colors without blending them completely. The finished design says Thankful, Blessed and Pumpkin Obsessed, which feels just right for pumpkin season.
Starting with the round bamboo board
I used a round bamboo board for this project. You could use it as a tray, but I planned to prop mine up as part of my fall decor.
I painted the front with Vanilla, a fresh off white color that makes a pretty background for the darker lettering and warm pumpkin shades. I also painted around the edge so the board would look finished from every angle.
If your paint starts dragging while you work, lightly wet the board and keep painting. I did that as I worked across the bamboo, and it helped the paint move more easily.
Once the first coat dried, I added another light coat. I knew I would distress the finish, but the extra coverage gave me a good base and let me choose exactly where I wanted the bamboo to peek through.
Adding a distressed finish
After the paint dried, I sanded the surface and edges lightly. I love decor that already has a little age and character, and distressing works especially well around a house filled with family and grandchildren. Any future bumps simply become part of the finish.
You can distress as much or as little as you like. I wanted the board to feel worn and casual while keeping enough of the Vanilla paint to make the design stand out.
Using the Chalk Couture pumpkin transfer
The Chalk Couture transfer I used says Thankful, Blessed and Pumpkin Obsessed. It includes the lettering, a pumpkin with a plaid section and a curly stem detail at the top.
The transfer was offered as a free gift with a qualifying purchase while supplies lasted when I filmed this project. Offers can change, but the project is a good example of how you can use a detailed seasonal transfer on a painted wood surface.
Chalk Couture transfers are sticky and reusable dozens of times when you care for them properly. Before placing mine on the painted board, I added a little fuzz to reduce the adhesive. A fuzzing towel works well, or you can use a clean T shirt without pet hair on it.
I centered the design on my round board and pressed it down carefully. Run your hands across the transfer and make sure you don’t have air bubbles around the open parts of the design. That close contact helps keep your lines clean when you apply the paste.
Creating the hot mess pumpkin colors
For the plaid side of the pumpkin, I used Butterscotch and Shimmer Spiced Citrus. Butterscotch is a warm golden fall shade, and Shimmer Spiced Citrus adds that rich orange color with a little sparkle.
Instead of mixing the colors in a cup, I dabbed both shades around the open pumpkin area. Then I used my squeegee to pull them across the design with a few gentle passes.
This is called the hot mess technique. You can use two colors as I did, or bring in three, four or five colors. The trick is to avoid working the paste back and forth too many times because you want to see the separate shades and the soft variations between them.
I used black for the words so they would stand out against the Vanilla background. For the stem, I added Wild Acre green along with a little darker color. Pumpkin stems often have several shades in them, so the variation worked well with the blended pumpkin.
Working in sections
When you’re using several colors or covering a larger design, lift the transfer as you finish each area. This keeps the paste from drying in the transfer while you work somewhere else.
I completed the pumpkin section first and lifted that part to reveal the plaid pattern. Then I moved on to the black lettering and the stem. The Shimmer Spiced Citrus caught the light beautifully, and the Butterscotch gave the pumpkin a warm look that feels perfect for fall.
A tiny bit of green landed where I hadn’t planned it, but I left it alone. Handmade projects can have little variations, and they become part of the finished piece.
After removing the transfer, wash it with water and a board eraser before the paste has time to dry. Let it dry with the sticky side facing up, then return it to its backing sheet so you can use it again.
Making an easy stacked bow
Once the design was dry, I decided the sign needed a bow. I chose two ribbons that worked with the pumpkin colors and cut several pieces for a stacked bow.
To make this style, lay the ribbon pieces on top of each other and alternate the colors or patterns as you build the stack. You can also use one ribbon throughout if that’s what you have. This is a handy way to use leftover ribbon pieces from other projects.
When I liked the stack, I pinched everything together in the middle and tied it securely. Raffia, string, twine or another narrow piece of ribbon will all work for the center.
I dovetailed the ribbon ends, then spread the pieces apart and fluffed the bow. I placed mine to one side so the curly pumpkin detail would remain visible. After adding hot glue, I held the bow in place until the glue had time to set. That extra moment keeps the bow from sliding off when you stand the sign up.
Chalk Couture supplies I used
You can shop my full Chalk Couture store here.
I am an independent Chalk Couture designer, so I earn a commission on these links. See my disclosure for more.