July 15, 2026 by Debbie Westbrooks
Chalk Couture Transfers for a Vintage Marshmallow Can
Live Videos · Crafts · Home Interior
I made the cutest vintage marshmallow can with faux chocolate covered marshmallows, and it all started with foam air dry clay and a Chalk Couture transfer. The little marshmallows look good enough to eat, while the worn paper label gives the whole project the feel of an old tin found in a favorite vintage shop.
Making the faux marshmallows
Foam air dry clay is so much fun to work with because it feels light, shapes easily, and can become all kinds of faux food. I’ve used it for cookies, carrots, and other seasonal projects, so marshmallows felt like a perfect choice for this s’mores display.
I started by pulling off several pieces of clay and rolling each one into a ball. I tried to keep the amounts about the same so my finished marshmallows would look like they belonged in the same batch, but they don’t need to match perfectly.
Once I had a smooth ball, I rolled it into a short cylinder. Then I pressed down gently on the top and rolled the sides against my work surface. A little pressure helped smooth out the wrinkles and gave each piece that familiar marshmallow shape.
The clay sticks to itself, but it released easily from my tray. I placed the finished pieces on the tray and turned them over after they had started to firm up. This helped both sides dry and gave them a slightly flat bottom.
Foam clay dries in the air with no baking. Mine needed more time before adding all the finishing details, so you can shape the marshmallows one day and finish the display the next. Keep any leftover clay in a zippered plastic bag with as much air pressed out as possible. That keeps it ready for another project.
Creating the Chalk Couture marshmallow label
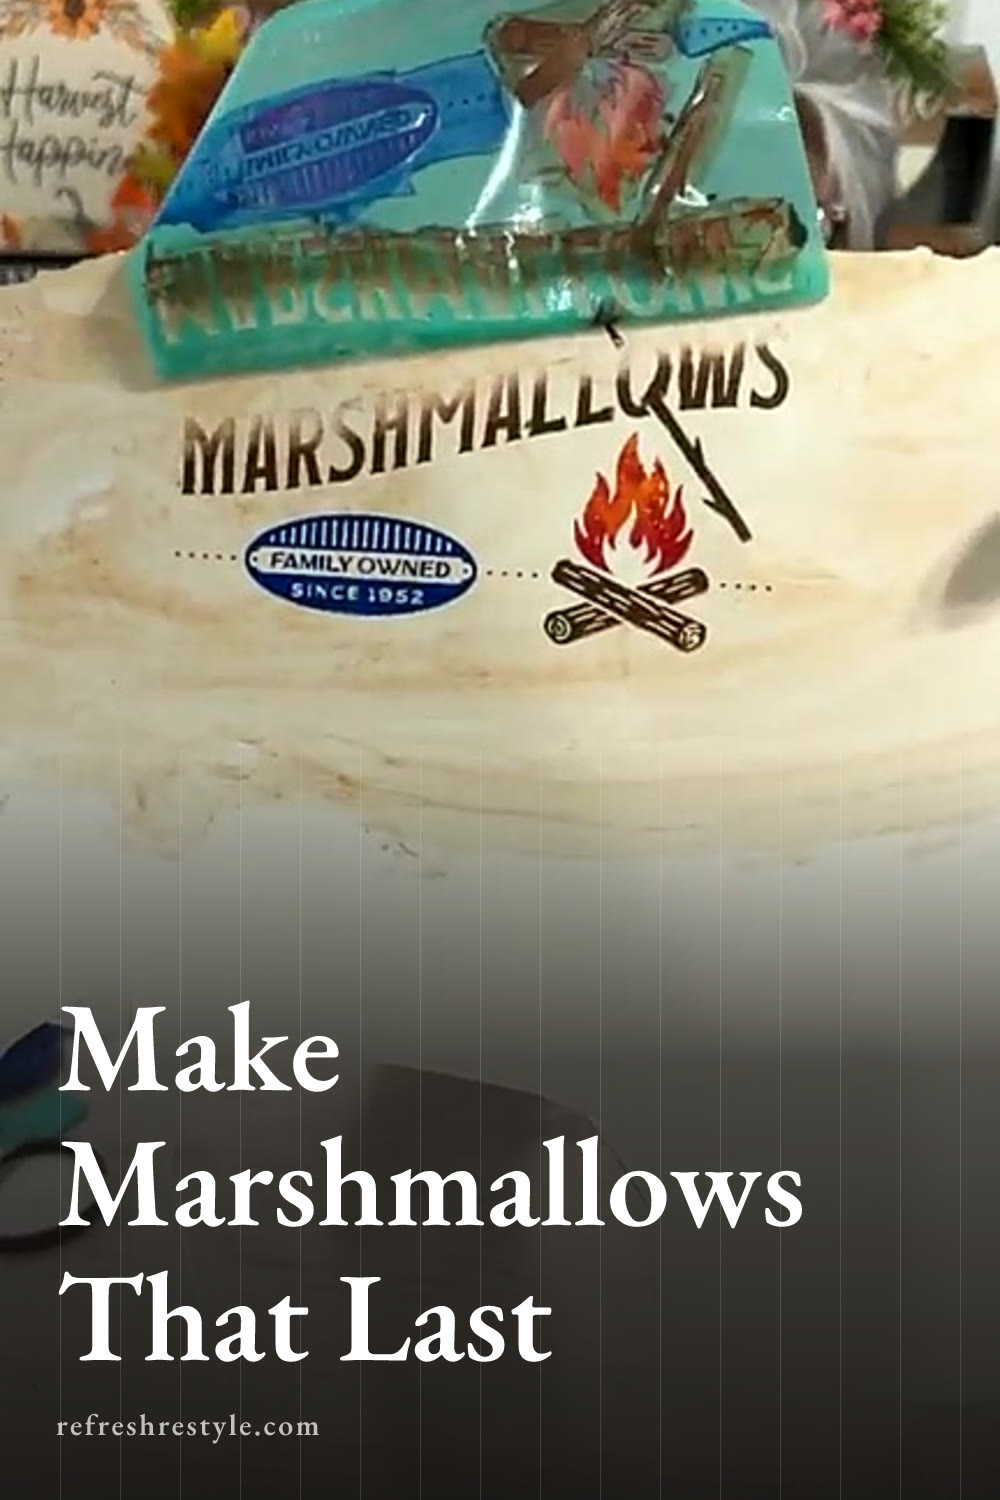
For the label, I used Chalk Suede paper and the Toasties Original Marshmallows Chalk Couture transfer. The paper is nice and thick, which made it easy to age, tear, and attach to the metal container.
I had already torn the paper along one edge because I wanted it to look worn. Before adding the design, I mixed a little water with Espresso color and rubbed it across the paper with a damp paper towel. I dried the paper and tore the bottom edge to fit the container.
You could put the transfer directly on a container, but using paper gives you more flexibility. I can warm the hot glue later and remove the label if I decide to use my container for something else.
Before placing the transfer on paper, I added a little fuzz to the back. A fuzzing cloth works well, and a clean piece of fabric with very little lint will work too. Then I positioned the design close to the top of the paper.
Adding several paste colors
I wanted this label to have more color than the sample I had made earlier, so I worked in sections. I used Espresso on the stick, then added red and orange tones to the fire. Cadet gave me a pretty blue accent.
When you use several colors, lift the transfer as you work so the paste doesn’t dry in the screen. I lifted it after finishing each area, then placed it back down to continue.
For the word marshmallows, I tried an ombre look with Espresso along the bottom and Vanilla toward the top. I blended the two colors through the transfer with my finger. The first pass needed a little more contrast, so I went back in and adjusted the color until the lettering showed up better.
A few areas got messier than I planned, especially around the red fire, but the label was meant to look rustic. I dried it, touched up the design, and added more Espresso around the torn edges. That extra brown helped the paper look like it had been attached to the can for years.
Attaching the vintage label
My metal utensil container already had a warm, worn copper look, so I left the finish alone. I checked the size of the paper against the container and added hot glue in small sections, pressing the label down as I worked.
The thick Chalk Suede paper held up well during this step. You could also use another sturdy paper and wrap it all the way around your container. I wanted some of the original metal finish to show, so my label covered only the front.
A similar bucket or metal container would work too. Look for one that fits your decorating style and has enough room for the finished marshmallows, graham crackers, chocolate bars, or other s’mores supplies.
Adding chocolate to the faux marshmallows
Shiny Brilliant Brown puff paint made an easy chocolate topping. I chose a few marshmallows that had started to firm up, reshaped them slightly, and inserted wooden skewers through the bottoms.
I squeezed the brown puff paint over the top and let it form little drips down the sides. A small squeegee or stir stick can smooth the paint across the top. The shiny finish really does look like melted chocolate.
The clay was still soft enough to droop a little, which is a good reason to give it plenty of drying time. Once the clay and puff paint are fully dry, the pieces will hold their shape better.
I trimmed a couple of inches from the skewers and varied their heights. To arrange them inside the can, you can place floral foam, foam packing material, or a piece of pool noodle in the bottom. A small branch from the yard could replace the skewer and give the display an even more realistic campfire look.
This vintage marshmallow can would be adorable on a kitchen counter, carried outside on a tray for a fire pit gathering, or filled with s’mores supplies for Christmas in July. Just remember that every marshmallow in this display is for decoration, even when that shiny chocolate looks tempting.
Chalk Couture supplies I used
You can shop my full Chalk Couture store here.
I am an independent Chalk Couture designer, so I earn a commission on these links. See my disclosure for more.