November 9, 2026 by Debbie Westbrooks
Chalk Couture Winter Window Pane Decor
Live Videos · Home Interior · Crafts
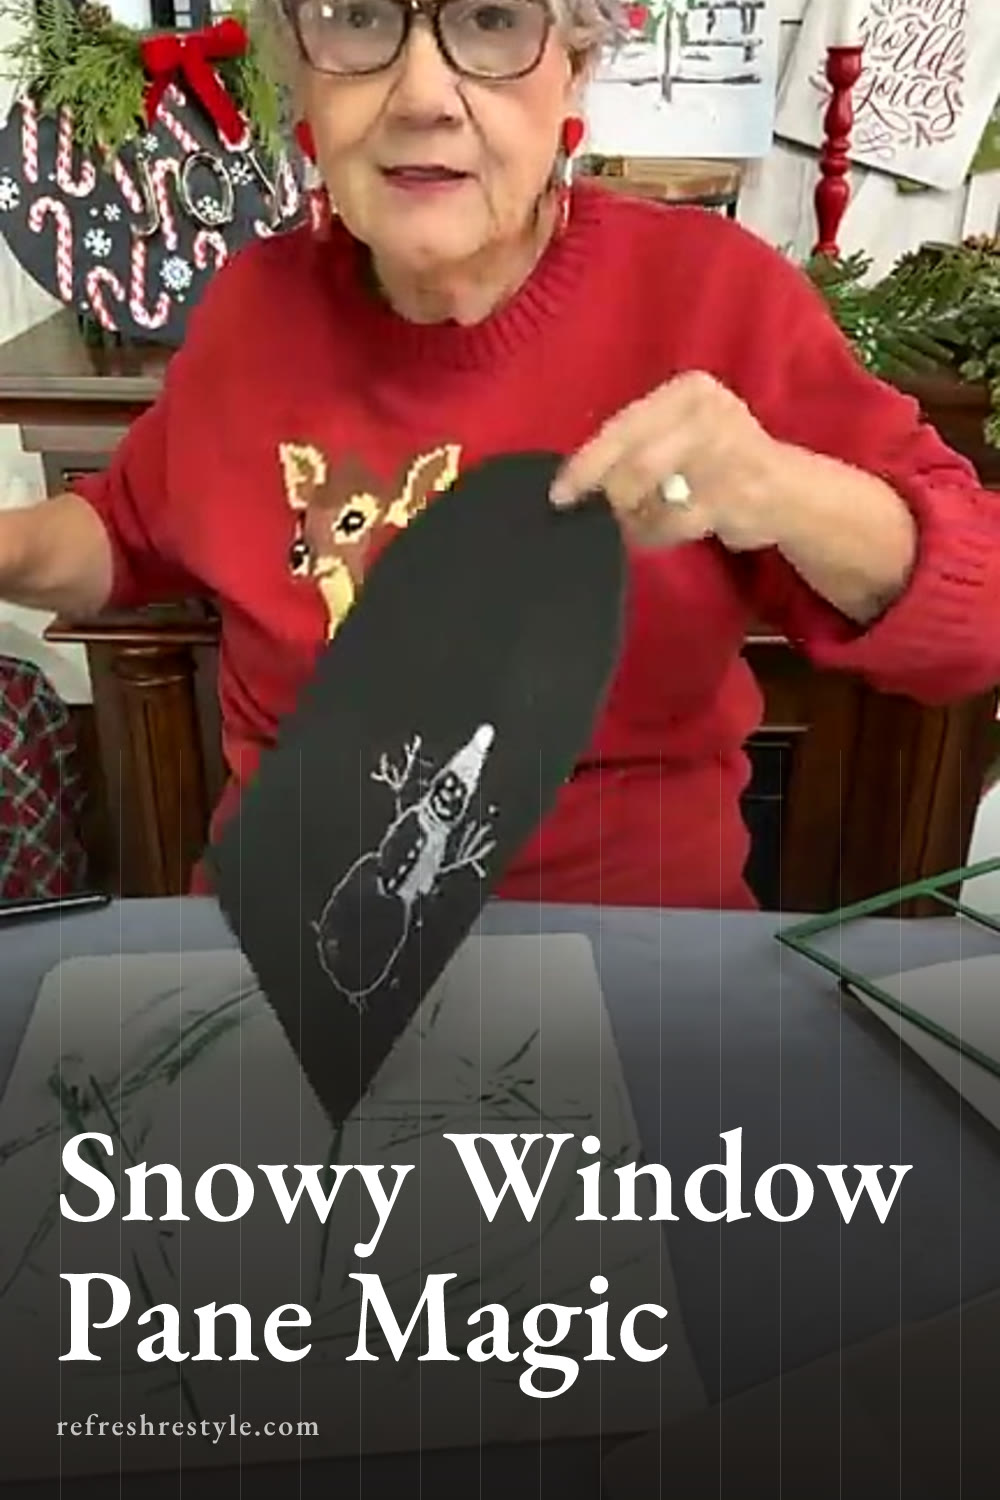
I turned a sweet window pane frame into a snowy winter scene using a Chalk Couture Club transfer, white paste, glitter, greenery, and ribbon. The snowman and winter words fit right inside the open panes, and once I added all that sparkly snow, the whole project came together just like I had pictured it.
Supplies I used
For this project, I started with the window pane frame and its removable backing. I also used black chalk paste, Snow White paste, the green color I called Wild Acre, the November Club transfer, Mod Podge, chunky diamond glitter, assorted greenery, wired ribbon, craft glue, and hot glue.
A stiff paintbrush works well for splattering the snow. A toothbrush would work too, so use whichever one you already have in your craft supplies.
Painting the window pane frame
I painted the removable backing black because I wanted the design to look like a snowman standing under a winter night sky. You could change the background and create a daytime scene, but the black gave me the strong contrast I wanted for the white design.
I wet my sponge slightly and spread the black paste over the backing. The finish can stay a little loose because the falling snow covers small variations and adds plenty of texture.
For the window pane frame, I chose the green color I called Wild Acre. I had considered white, but I loved the warmth that the green brought to the black and white scene. It also worked beautifully with the greenery I added later.
I kept the frame separate from the backing while I worked. That made it easier to position the transfer and check which parts of the design would show through each opening.
Adding the Chalk Couture Club transfer
The November Chalk Couture Club transfer included a snowman along with the words Winter Wishes and Snowflake Kisses. Since Chalk Couture transfers are reusable and flexible, I could work with one section at a time instead of trying to apply the entire design in one step.
Positioning the snowman
I laid the window pane frame over the black backing to find the best spot for the snowman. Once I knew where I wanted him, I removed the frame and placed that section of the transfer on the backing.
I spread Snow White paste over the snowman and lifted the transfer. Then I dried the design before moving on. Drying between sections helped protect the finished areas while I repositioned the transfer.
Adding the winter words
The wording took a little more planning because I wanted each part to show inside the open panes. I placed the frame over the backing several times and moved the transfer until the words lined up where I wanted them.
I started with Winter, dried it, and checked the placement again. Then I added Wishes, followed by Snowflake Kisses. Working in smaller sections gave me control over the spacing, and I could keep checking the layout as I went.
Those sticky transfers held well while I moved them around. I also used only the pieces of the design that fit my project, which is one of my favorite ways to get more looks from a single transfer.
Creating the falling snow
Once the snowman and wording were finished, I watered down some Snow White paste until it was thin enough to splatter. I dipped a stiff paintbrush into the paste and flicked it over the black background.
I practiced the motion first so I could see the size of the drops. Then I added plenty of snow across the whole scene. Some drops were tiny and others were larger, which gave the background the scattered look of falling snow.
At the bottom, I used the paintbrush to freehand a thicker layer of snow around the snowman. I also brushed white paste in random spots over the green window pane frame so it looked like snow had collected there too.
Adding glitter to the snow
After drying the paste, I brushed Mod Podge over the thicker snow at the bottom of the scene and sprinkled on chunky diamond glitter. The glitter had larger flakes, so it created an icy sparkle that showed up well against the black background.
I also sprinkled glitter over some of the wet white paste on the frame. This part gets messy, but that is part of the fun. I let the glitter sit while the adhesive dried and moved the extra container away before it found its way onto everything else.
You could also add a little glitter to the snowman’s hat. I left that as an option for later because the snow already had plenty of sparkle.
Gluing the window pane together
When the painted pieces were dry, I glued the window pane frame over the finished backing. I used craft glue for the main hold and added a few dots of hot glue to keep everything in place while the craft glue dried.
I checked the edges and removed the little hot glue strings before adding the final decorations. Holding each hot glued piece for a few seconds helped it stay in place as the glue cooled.
Finishing with greenery and ribbon
I looked through the bits and pieces of greenery I already had and chose snowy stems that worked with the winter scene. Small leftover pieces are perfect for projects like this because you only need enough to frame the bow.
I arranged the greenery at the top with pieces extending to each side. Then I made a simple stacked bow from wired ribbon. I used a gray and white ribbon along with a red layer because I wanted to bring a little Christmas color into the design.
A stacked bow works with ribbon scraps, torn fabric, or any combination you like. I layered the pieces, spread the loops and tails, trimmed them where needed, and glued the bow in the middle of the greenery.
The finished window pane has the nighttime snowman scene I wanted, along with lots of snowy texture and sparkle. The reusable Club transfer made it easy to place each part inside the panes, and the green frame, greenery, and red ribbon gave the black and white design a warm Christmas finish.
Chalk Couture supplies
Browse Chalk Couture Chalkology Paste, or shop my full store here.
I am an independent Chalk Couture designer, so I earn a commission on these links. See my disclosure for more.