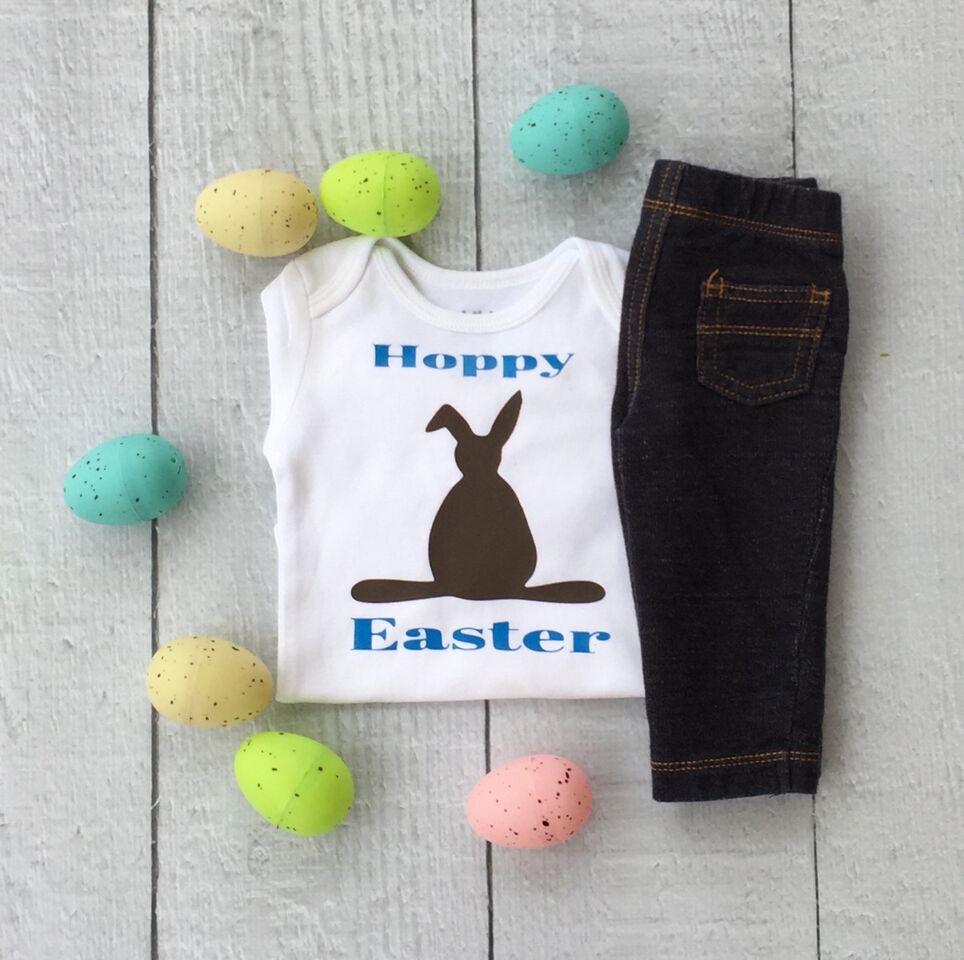
Hoppy Easter - Chocolate Bunny Vinyl Shirt
Jenni is back today with a super cute vinyl idea:
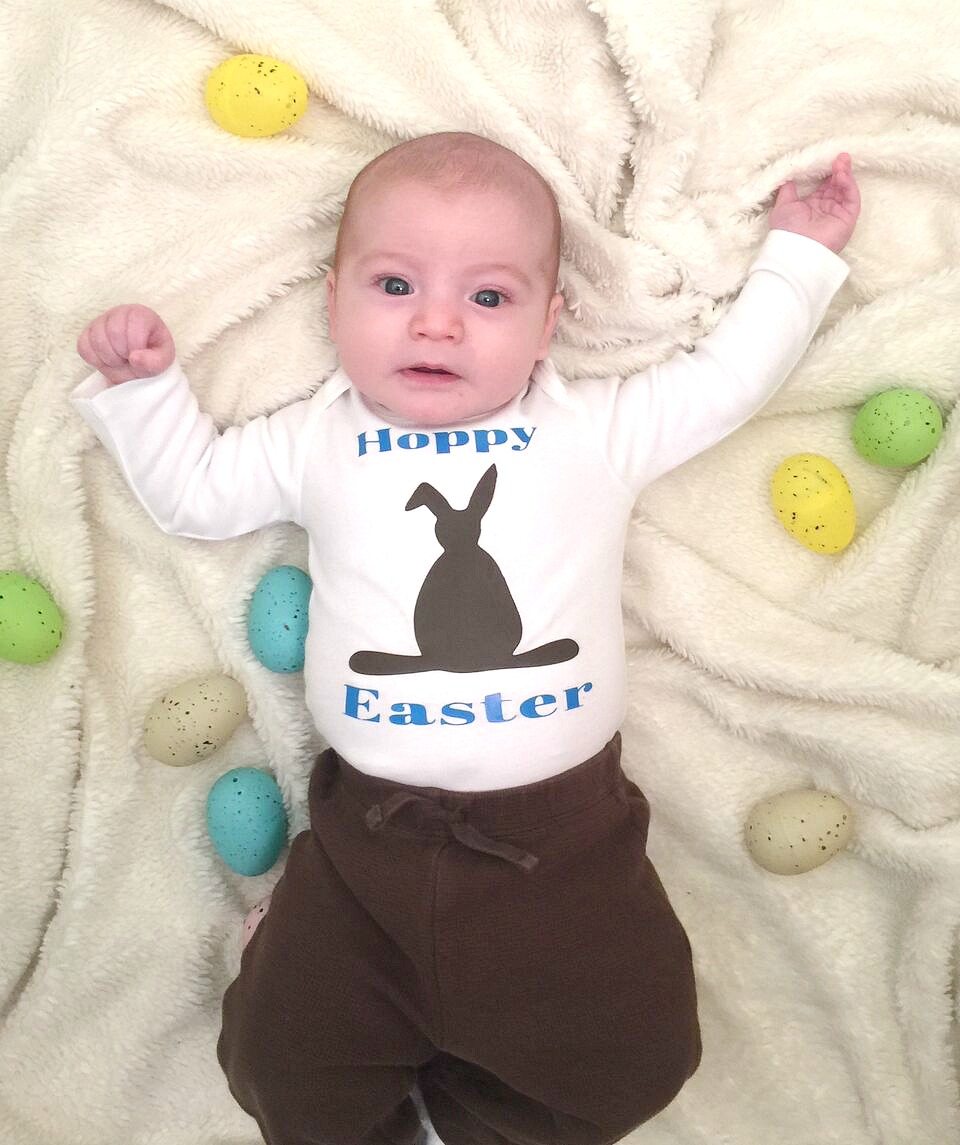
I’m ready for Easter, well, at least my baby boy is. I made him this cute heat transfer vinyl “Hoppy Easter” onesie with a chocolate bunny! He will be so cute with his Easter basket. He won’t technically be able to hunt Easter eggs this year, he’s too little, but I bet I can talk one of his big brothers into helping him…maybe even both of them. I’ve included affiliate links for some of the products used.
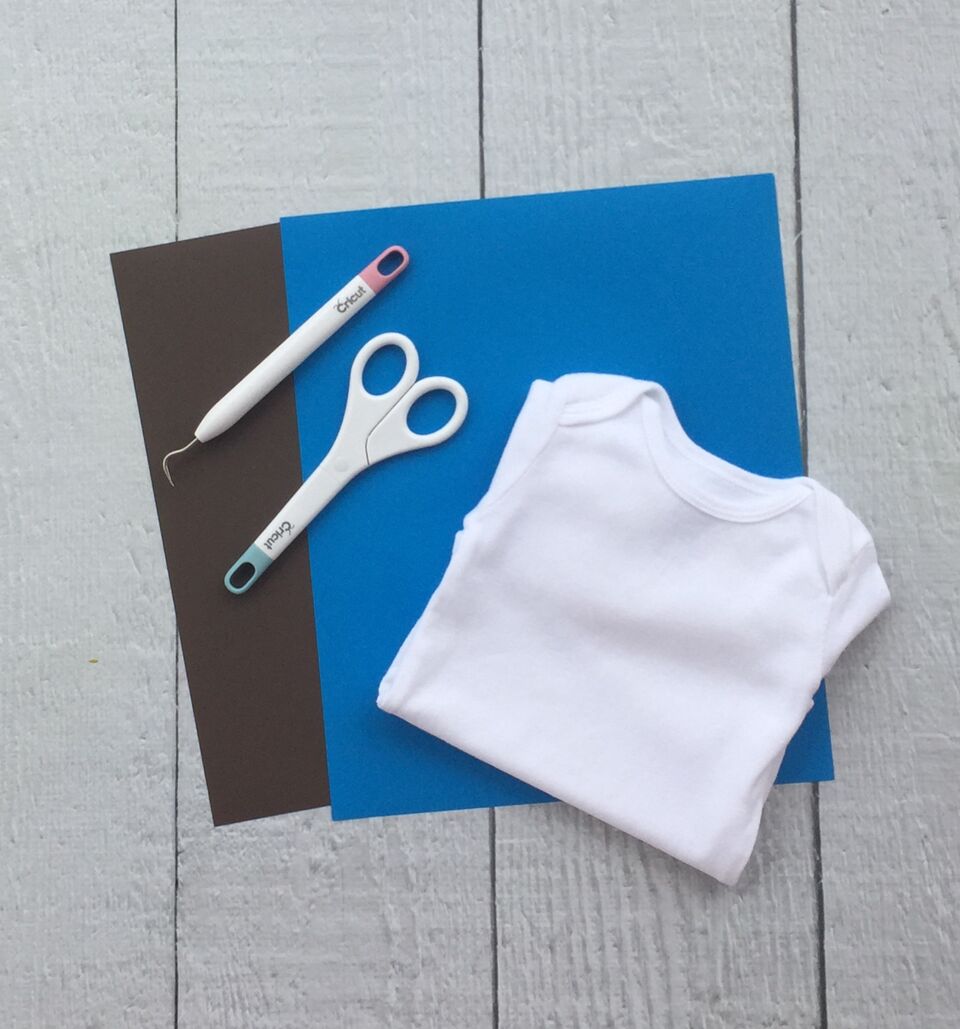
Supplies:
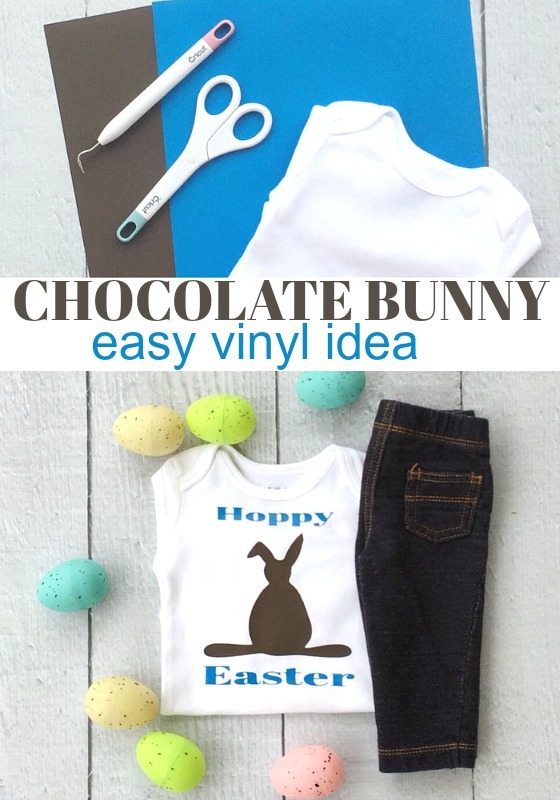
- Unisex baby body suit
- Heat transfer vinyl (blue and brown)
- Cricut Explore Air 2
- Cricut tools
- Heat press or Iron
Process:
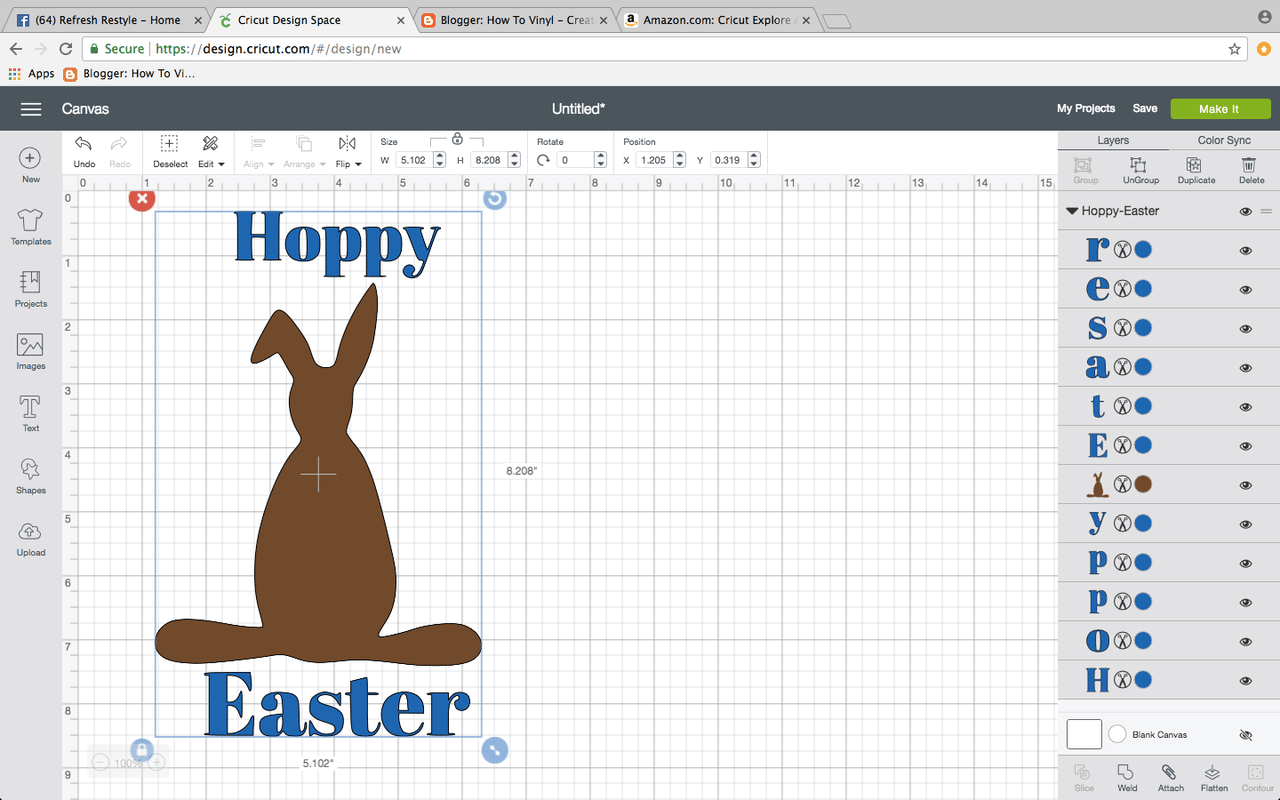
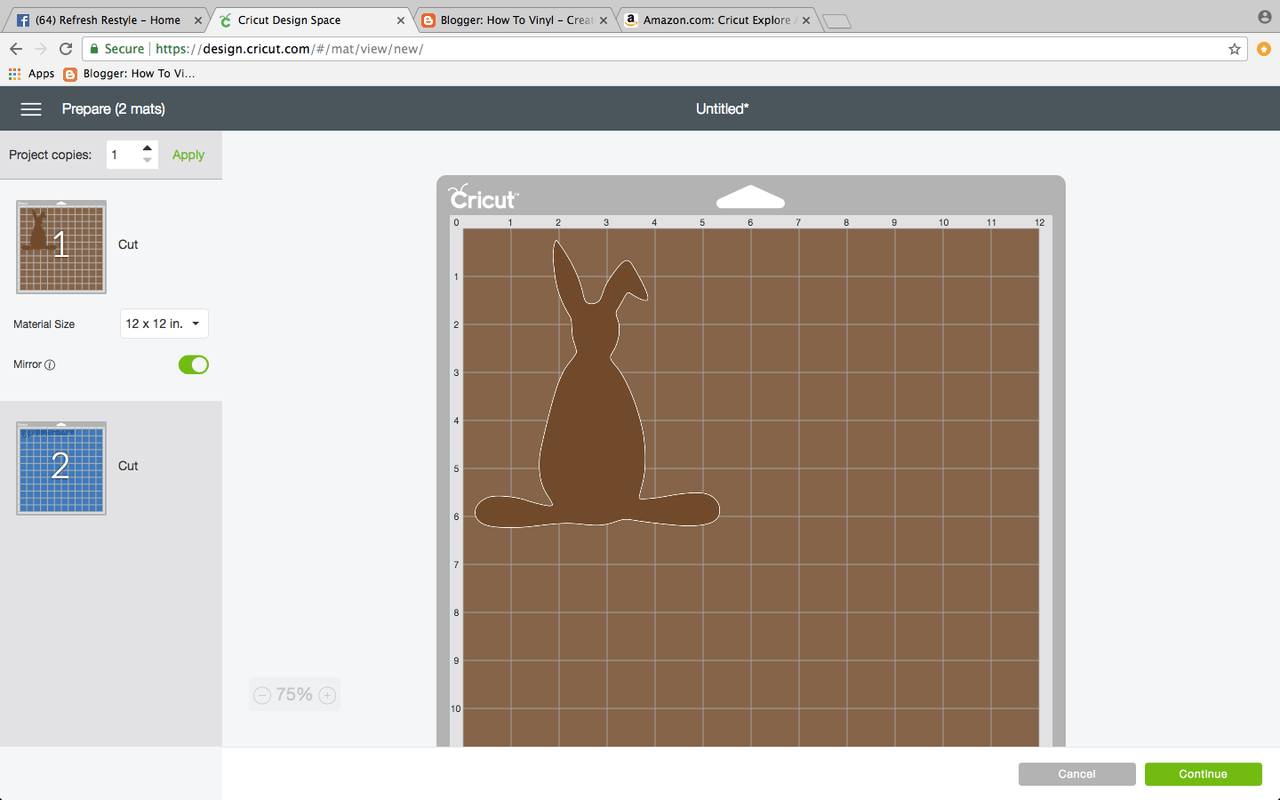
- Decide on a design, and cut it out on your Cricut Explore Air 2 using the mirror image setting because you are ironing this design on. You can use any vinyl cutting machine you have or are comfortable with.
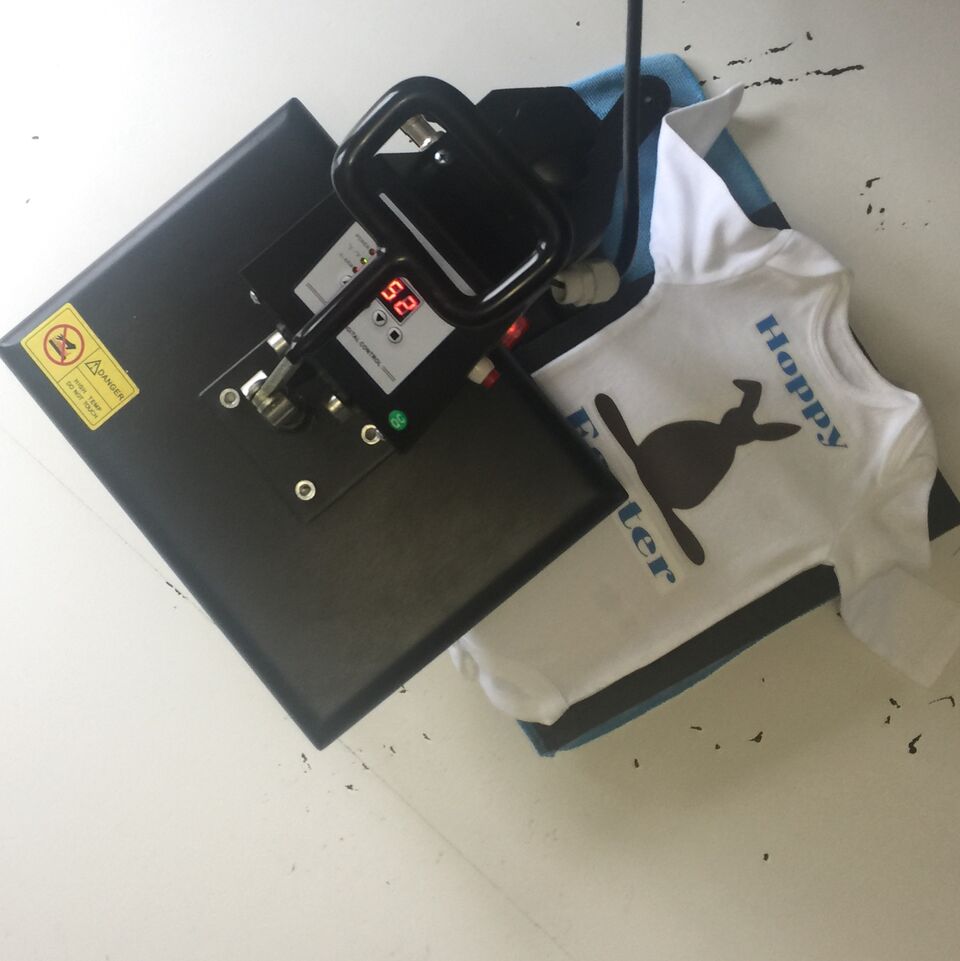
- I like to go ahead and start preheating my heat press to 300 degrees or your iron to cotton setting at this point, so that it is ready when I have my design cut out and in place.
- After your design is cut, weed out all the excess vinyl so that all that is left is your design, in this case leaving your chocolate bunny and Hoppy Easter.
- Now you are ready to place you Hoppy Easter and chocolate bunny on your onesie. The heat transfer backing is a little sticky which helps when deciding on your design placement.
- Once you are happy with the placement you are ready for the heat press or iron which has been preheating to 300 degrees.
- Press the design on medium pressure for 10-15 seconds per area.
- When it has cooled to touch you can remove the heat transfer backing and your onesie is ready to go.
 Tips for vinyl application:
**I always wash and dry and clothing that I plan to heat press in case of shrinkage.
**Always remember to use the mirror image setting when you are cutting heat transfer vinyl. You do this so that once your design is ironed on it will be legible.
**The heat transfer vinyl manufacturer recommends waiting 24 hours after applying the heat transfer vinyl to launder. And when you launder you should turn the garment inside out.
Pin it for later:
See more vinyl ideas: