September 29, 2026 by Debbie Westbrooks
DIY Church Letter Board With Distressed Paint
Live Videos · DIY · Home Interior
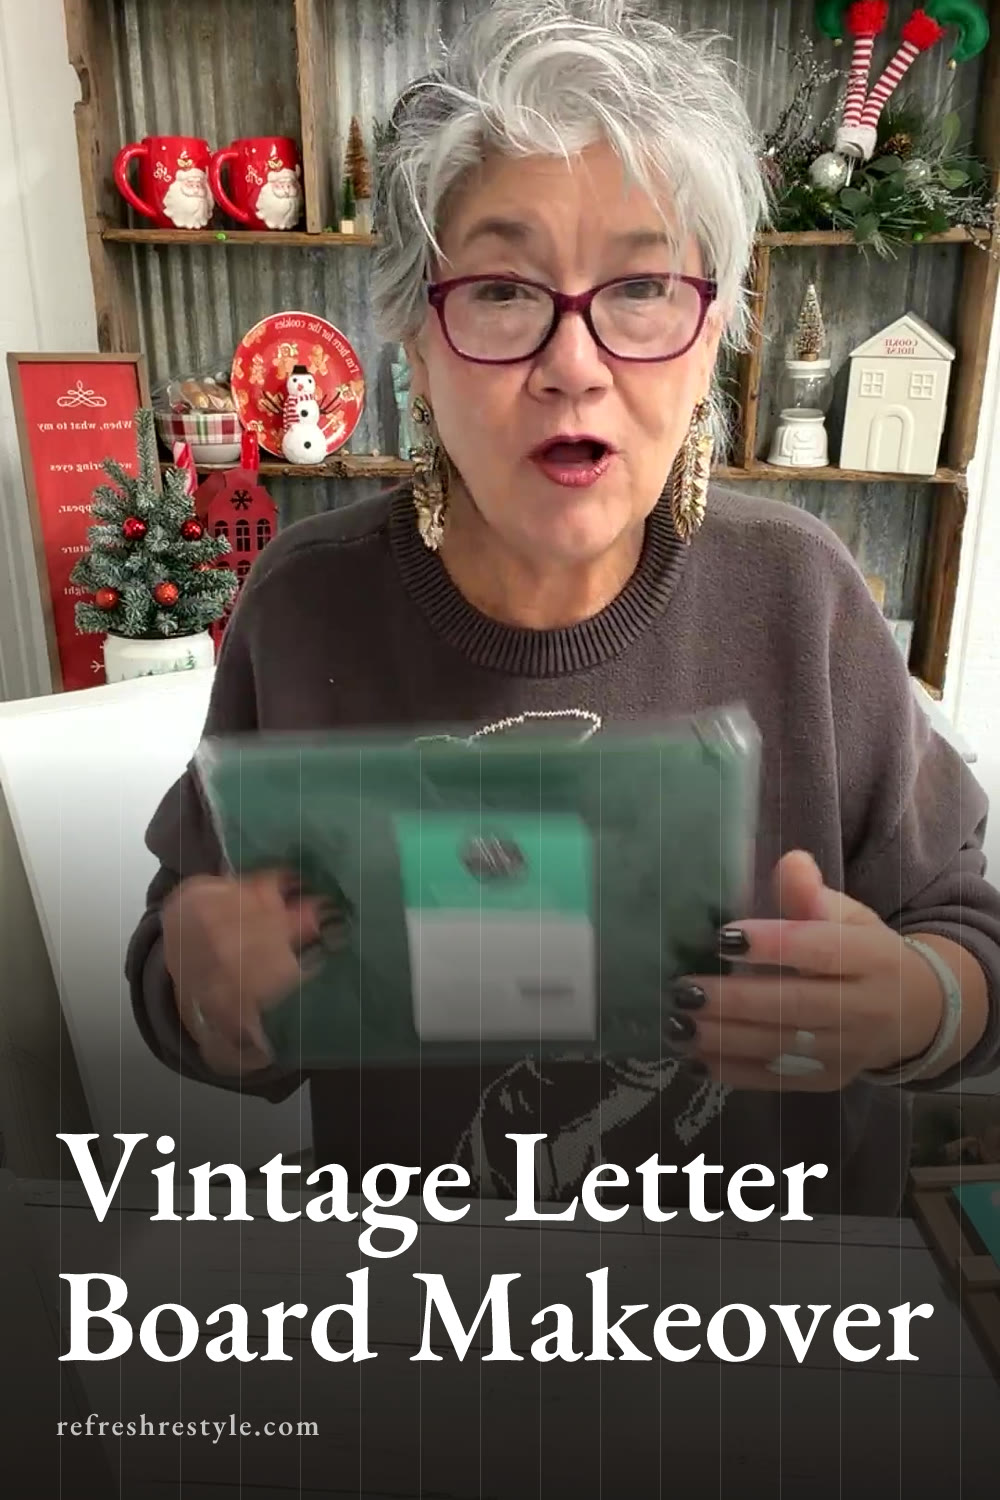
I pulled out my vintage church inspired letter board kit, and right away I knew I wanted to give it a layered black and ivory finish. My plan is to make two versions with the colors reversed, so each one has that collected, slightly worn look I love while still feeling different from the other.
My church inspired letter board
These letter boards remind me of the old boards you might have seen in a church, where the attendance, offerings, or weekly information was displayed. That familiar style gives them plenty of vintage character before any paint goes on.
The kit includes the main letter board along with several wooden pieces in different sizes. Words can go on those separate pieces, and then I can arrange them on the board to change the message or display. I love decor that gives me options because I can use the same main piece again and again without starting a whole new project.
This kit was included in the holiday flash sale when I shared the video, so it was a good time to pick one up. Sale items and prices can change, but I wanted to show what was included and explain what I had planned for mine.
My black and ivory paint plan
I decided on flat black and a soft ivory or off white for the two finishes. Those colors work well with the old church board style, and the contrast should help the distressed areas stand out.
I already have plenty of craft supplies, but I was missing these spray paint colors. That gave me a very good excuse to leave the house and go shopping, which always makes the beginning of a project a little more fun.
Spray paint also felt like the fastest choice for covering the board and all those separate wooden pieces. You could use chalk paste or another paint you already have, but I wanted a quick, even coat without painting every surface by hand.
The black letter board
For the first board, I plan to begin with the ivory color. Once that light layer is ready, I’ll add the distressing step and cover it with flat black spray paint. The goal is for some of the ivory to show through the darker finish and bring out the edges and details.
I want the finished black board to have plenty of contrast without losing the simple vintage look. Flat black will also give the separate word pieces a strong background, especially if I keep the lettering light.
The reversed finish
For the second board, I plan to reverse the colors. Black will become the base, and the ivory or off white will go on top so darker areas can show through the lighter finish.
Using the same two colors in opposite order is an easy way to make a matching pair that still has some variety. One board will feel darker and bolder, while the other will have a lighter look that can work in another spot around my home.
Working with the wooden word pieces
The smaller wooden pieces are one of my favorite parts of this kit. Since they come in different sizes, I can choose pieces that fit short words as well as longer messages and then arrange them on the main board.
Before painting, I like to lay everything out so I can see how many pieces I have and decide which colors belong on each board. For this project, I can paint the pieces to match the board or use the opposite color for extra contrast. I haven’t settled on that final detail yet, so I’ll make that choice once I see the painted boards together.
Keeping the pieces separate while painting will also help me cover the edges more evenly. Once all the paint is ready, I can start deciding which words and arrangements work best for each finish.
Why I chose spray paint
Speed was the biggest reason I reached for spray paint. A letter board has a broad surface, and the kit includes multiple small wood pieces, so spraying everything should move the project along faster.
I chose a flat black because a glossy finish would change the vintage feeling I have in mind. The soft ivory will warm up the lighter version and give me more contrast than a bright white.
You can still use the paint you already have if you want to make a similar board. The main idea is to layer a light color and a dark color, then let the base peek through in the distressed areas.
A few holiday favorites I shared
Along with the letter board kit, I shared two Weekly Wow bundle choices. One included a forest lumbar pillow cover, and the other included a cherry pillow cover. I also showed the Peanuts holiday collection, which had several Christmas designs.
The Snoopy Reindeer Crossing design was my favorite. Those holiday designs would be fun for seasonal projects or Christmas gifts, especially if you enjoy adding handmade pieces around your home.
With my black and ivory spray paint picked out, the next step is to coat the boards, reverse the colors on the second one, and see how much of that lighter or darker base I want to show through.
Chalk Couture supplies
Browse Chalk Couture Chalkology Paste, or shop my full store here.
I am an independent Chalk Couture designer, so I earn a commission on these links. See my disclosure for more.