November 20, 2026 by Debbie Westbrooks
DIY Wooden Santa Cutout Christmas Craft
Live Videos · Crafts · DIY
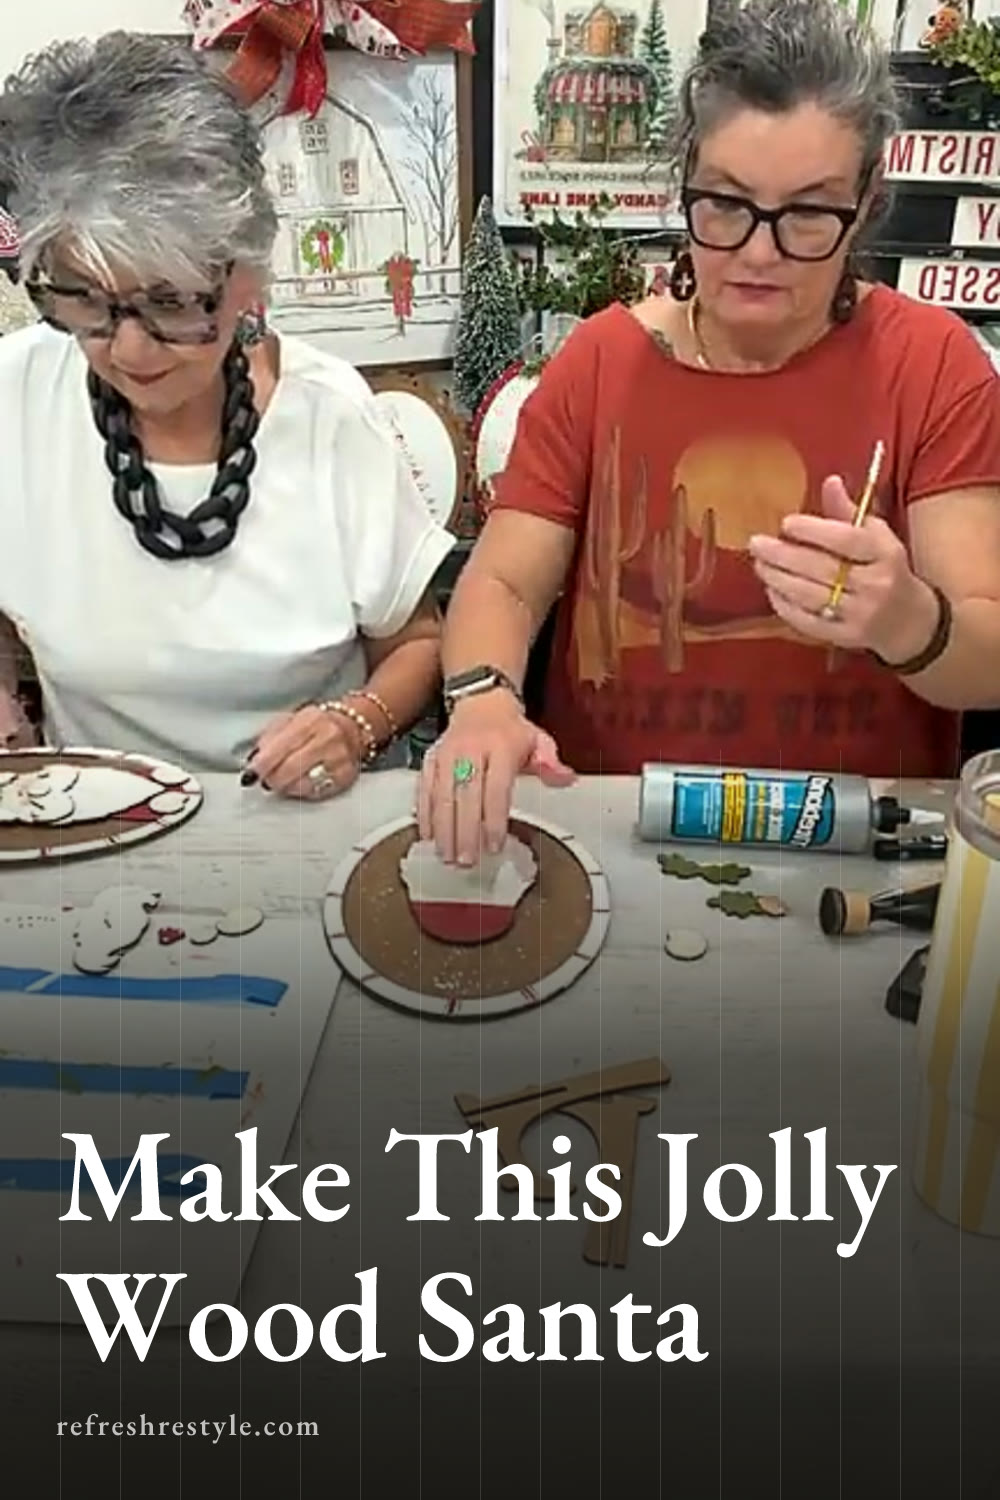
I made the sweetest DIY wooden Santa from a set of layered cutouts, and all the little details gave him so much personality. His bright red suit, snowy splatter, freehand stripes, distressed edges, and rosy cheeks came out just right for Christmas decorating.
My layered wooden Santa
This project started with the November craft box, which included the wooden pieces needed to build the Santa. Layered cutouts are always fun because the project starts looking simple, but each new piece adds depth and character.
I used red, green, white, and a soft vanilla color for the main pieces. The darker stained wood added contrast behind the painted layers and helped Santa stand out once everything was assembled.
You can change the colors to work with your Christmas decor. A deeper red would feel traditional, while pink, pale green, or icy blue could give Santa a completely different look. I love giving color suggestions, but I also want you to make the project fit your home.
Supplies I used
Here are the basic supplies I used for this Santa craft.
- Layered wooden Santa cutouts
- White chalk paste, acrylic paint, or chalk paint
- Red, green, and vanilla paint colors
- Small brushes or foam daubers
- Ruby Red POSCA pen
- Sandpaper
- Ground Espresso Distress Ink
- Water and an old toothbrush
- Wood glue
- A small paintbrush and old makeup for the cheeks
I used white chalk paste on some of my pieces, but acrylic craft paint or chalk paint will work too. This is a good project for using supplies you already have in your craft room.
Painting the wooden pieces
Sort the colors before painting
I started by sorting the wood pieces according to color. Santa’s hat and clothing needed red, while the beard, mustache, and hat trim needed white. I used vanilla for the warmer face and hand details, and green added a festive accent.
Sorting everything first helps the painting move along faster. It also gives you a chance to dry fit the pieces and see where each one belongs before the glue comes out.
Some colors needed a second coat. I let the first coat dry, then added more color where the wood still showed through. Thin coats worked well and kept paint from building up around the edges.
Add movement with the brush
For the final coat on Santa’s hat, I moved the brush in small swirling motions. That little bit of texture made the hat look soft and gave the solid red area more movement.
The red color was one of my favorite parts. It was bright and cheerful, and it looked especially pretty next to the white beard and trim.
Adding playful painted details
I used a Ruby Red POSCA pen to draw freehand lines and small accents. I skipped the ruler and let the lines look handmade because that is part of the charm of a painted wood project.
A small dot tool also worked well for the tiny round details. You can use the end of a paintbrush if that is what you have nearby. Dip it lightly into the paint and press it straight down for a simple dot.
For the snowy splatter, I thinned a little white paint or paste with water. Then I dipped an old toothbrush into it and flicked the bristles over the painted pieces. I like a generous splatter because it shows up well and gives the whole project a snowy Christmas finish.
Give the splatter time to dry before touching the pieces. Those tiny drops can stay wet longer than expected.
Distressing the painted wood
Once the paint and splatter were dry, I lightly sanded the pieces. I focused on the edges and a few raised areas where natural wear might happen.
Then I added Ground Espresso Distress Ink around the edges. I started with a small amount and built it up as needed. The brown ink softened the fresh paint colors and helped define each layer once the Santa was assembled.
You can keep the finish cleaner if that suits your style, but I enjoy adding a little age and warmth to painted wood. The mix of sanding and ink makes every piece look slightly different.
Assembling the wooden Santa
Before gluing, I arranged all the pieces in place. This step helped me check the spacing and understand how the layers overlapped.
The hidden wood piece behind Santa’s body acted as a spacer, raising the front pieces to the right height. I glued the body in place first, then added the beard so it overlapped the torso. The face, hat, mustache, nose, and hands completed the layered design.
I used enough glue to hold the pieces securely, but I kept a paper towel nearby for any glue that squeezed out. Larger wood pieces can slide for a few seconds, so I held them in place until the glue began to grab.
Giving Santa a rosy face
The final face details brought this Santa to life. I used a small paintbrush and a little old makeup to add rosy cheeks. A soft pink craft paint would work just as well.
Start with a tiny amount and build the color slowly. A light circular motion creates a soft blush without leaving a hard painted edge. His white beard, round nose, and pink cheeks made him look warm and friendly.
Displaying the finished Santa
This layered Santa works well on a shelf, mantel, or Christmas entry table. For hanging lightweight wood decor, I often use Velcro Command strips because they hold the piece securely and make it easy to remove later.
He would also look cute beside small trees, greenery, or a bowl of ornaments. The red, green, white, and stained wood give him enough color to stand out while still mixing easily with traditional Christmas decorations.
Chalk Couture supplies
Browse Chalk Couture heat transfers, or shop my full store here.
I am an independent Chalk Couture designer, so I earn a commission on these links. See my disclosure for more.