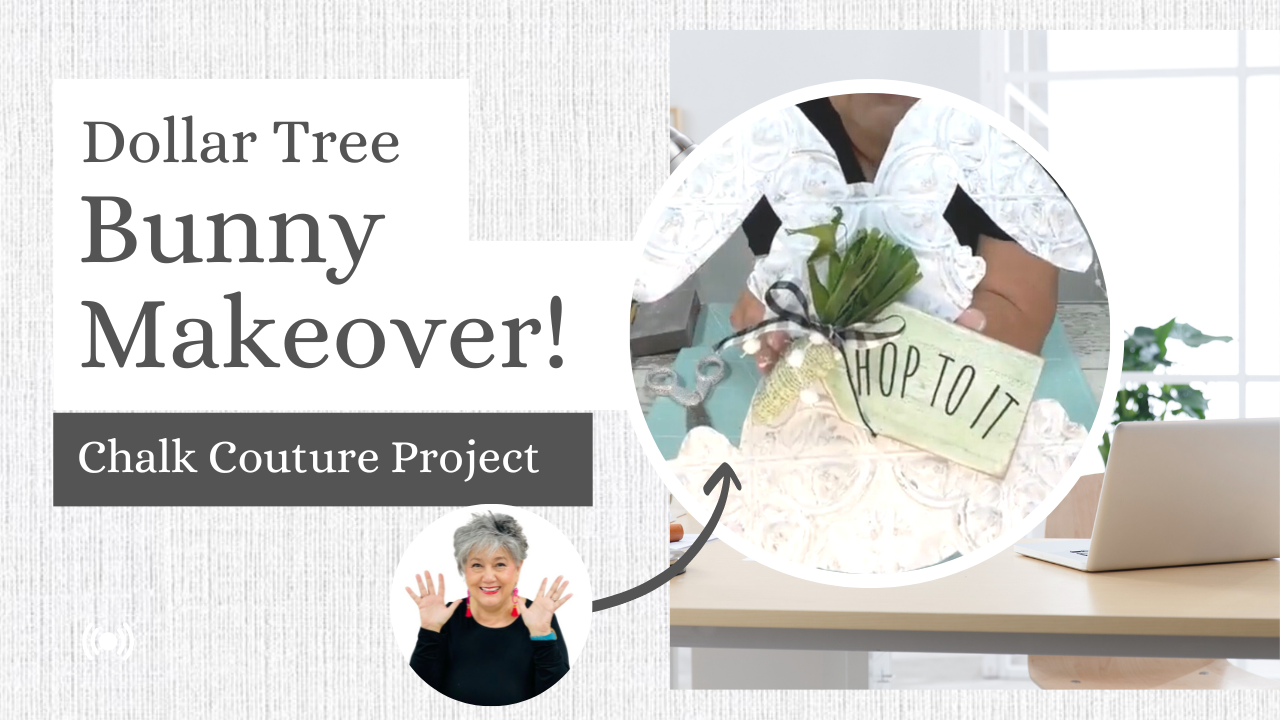
Today’s project comes from Chalk Couture’s Hippity Hop Transfer! Create a festive Easter atmosphere with the Easter Bunny Craft transfer! This transfer includes six charming designs perfect for celebrating Easter and springtime. The designs feature adorable illustrations of carrots, bunnies, Easter eggs, and birds, and are accompanied by sentiments such as “hop to it”, “spring has sprung”, “hoppy easter”, “hippity hop”, and “somebunny loves you”. With a range of colors available, you can chalk these designs onto your décor to add a touch of whimsy to your Easter celebrations.
Easter Bunny Craft Supplies:
- Hippity Hop Transfer from Chalk Couture
- Bunny Cutout: I got mine from DollarTree, but you can check Chalk Couture or Barry’s Woodshop as well.
- Adhesive Ceiling Tile of your choice
- Chalk Paste from Chalk Couture
- Paint Brush Set
- Quick Dry Tool from Chalk Couture or a hair dryer
- Squeegee or Scraper
- Hot Glue Gun
- Ribbon
- Tag Cutout
- Fake Plant Greenery Goodness
Easter Bunny Craft Instructions
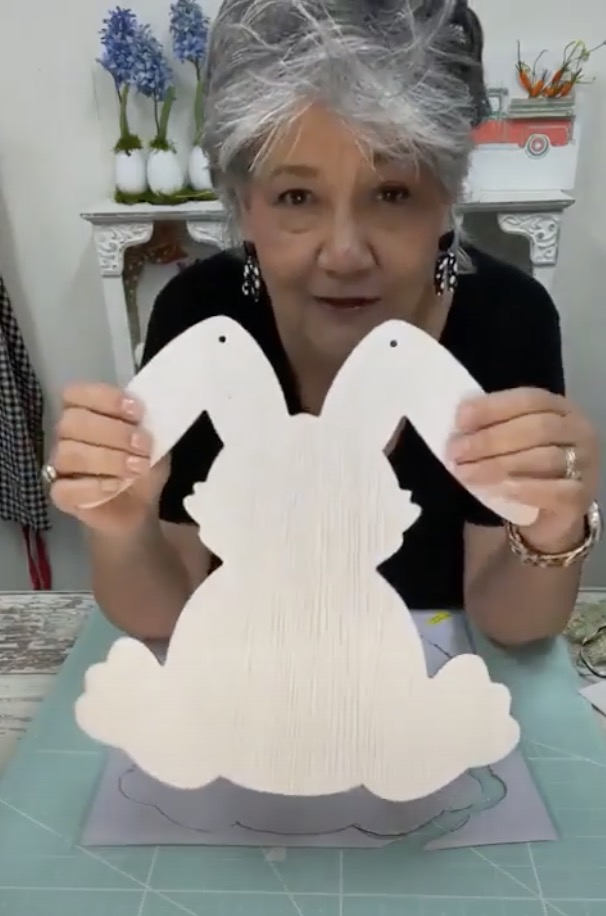
Step 1: Get your bunny craft cutout.
You can find these at many places, and you can check at Chalk Couture or Barry’s Woodshop for my favorites.

Step 2: Trace Your Bunny Cutout Onto Your Ceiling Tile
Now trace your bunny cutout shape onto the ceiling tile using a permanent marker.
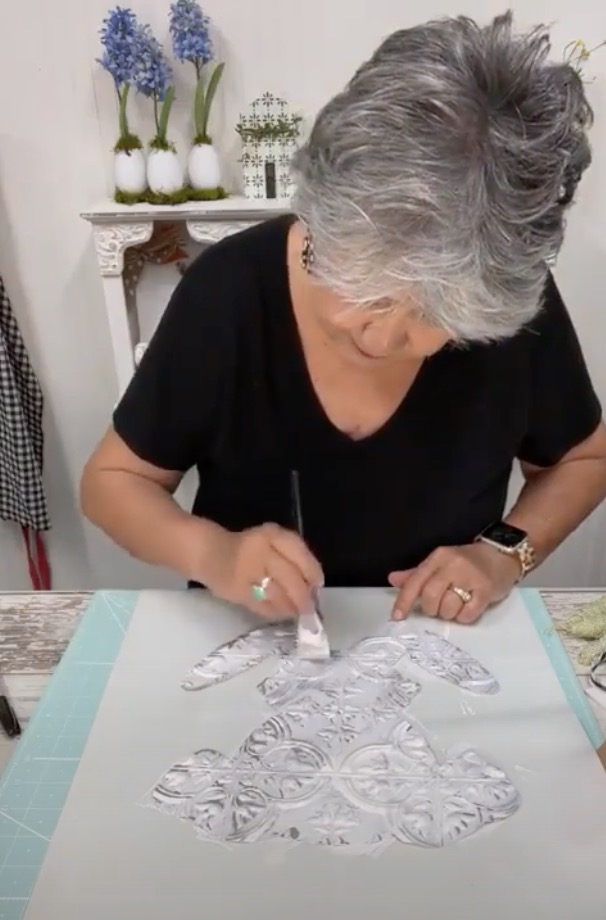
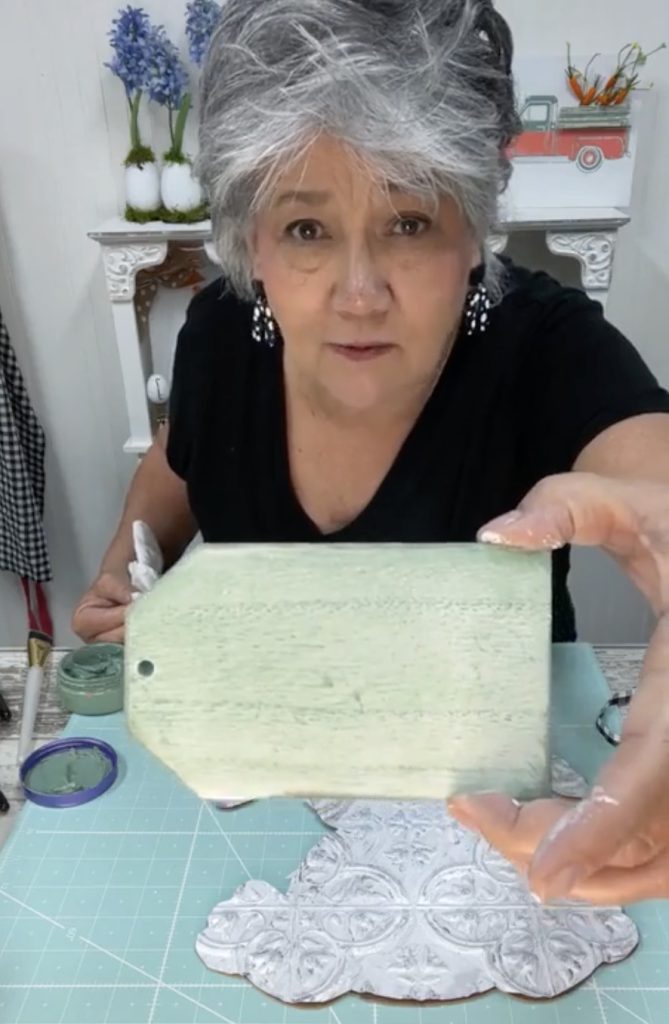
Step 3: Cutout Your Bunny Shape & Paint It
Now cutout your bunny shape from the ceiling tile and paint it with your favorite paint color to give it some shine!
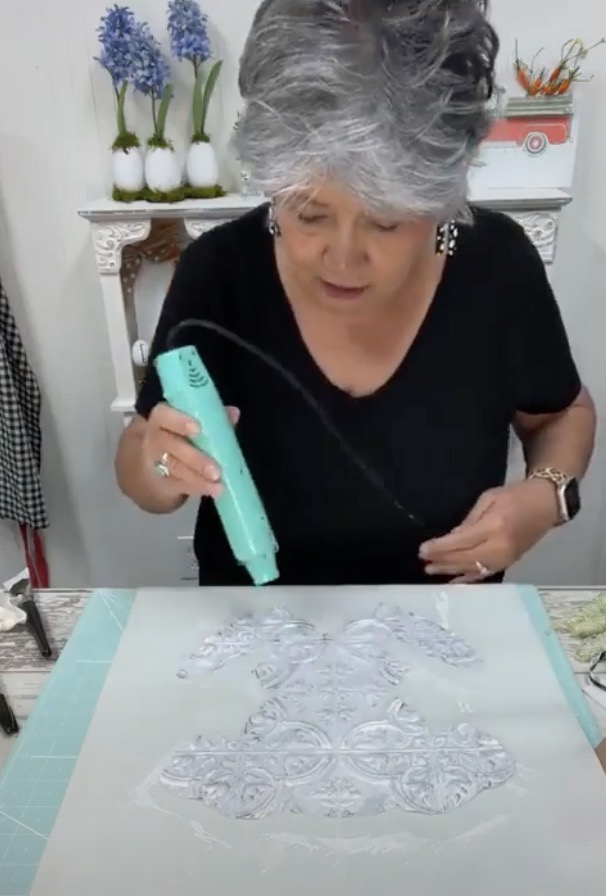
Step 4: Dry the paint & sand edges to distress
Make sure you thoroughly dry your paint and use a sanding block to add any distress you want!

Step 5: Hot Glue Your Bunny Tile Cutout Onto Your Wooden Cutout
By doing this, you’ll give your work of art some strength to make it easier to work with later!
Step 6: Paint Your Tag with a Nice Spring Color
This will make your tag “POP” when you add it to your Easter Bunny Craft cutout later.
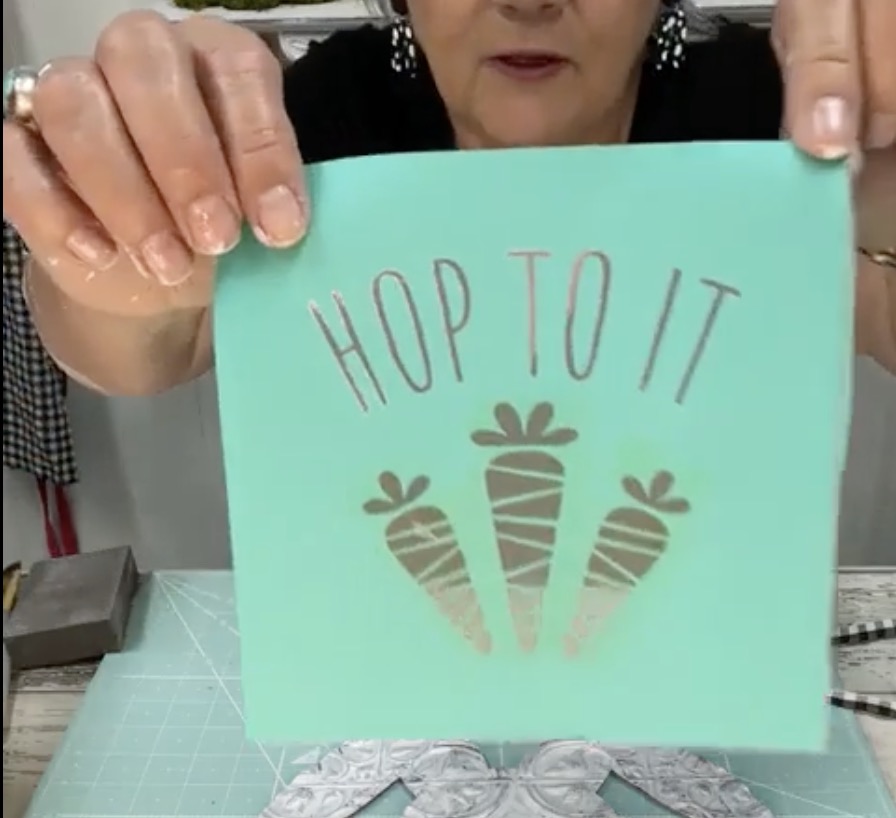
Step 7: Use Your Stencil to Add Letters to Your Tag
Use your Chalk Couture Hop To It Stencil to add some letters to your tag.
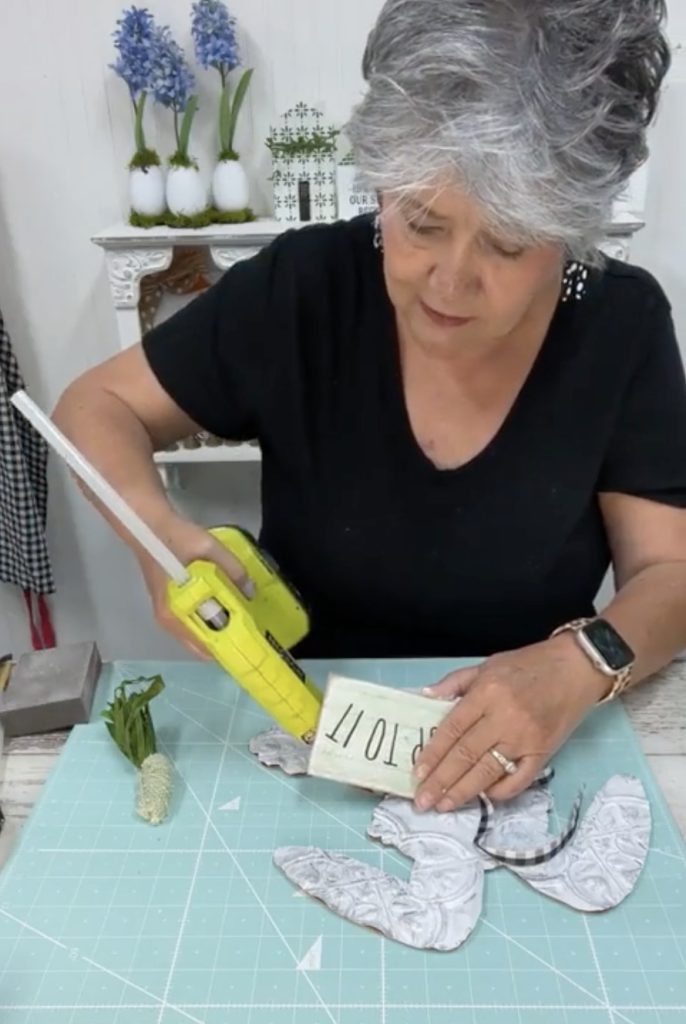
Step 8: Hot Glue Your Tag onto the Easter Bunny Cutout
Use your hot glue gun to set it into place so it won’t move around.

Step 9: Add Ribbon and Greenery
Grab some small greenery elements and ribbon and tie them around the center of the Easter Bunny Craft cutout.
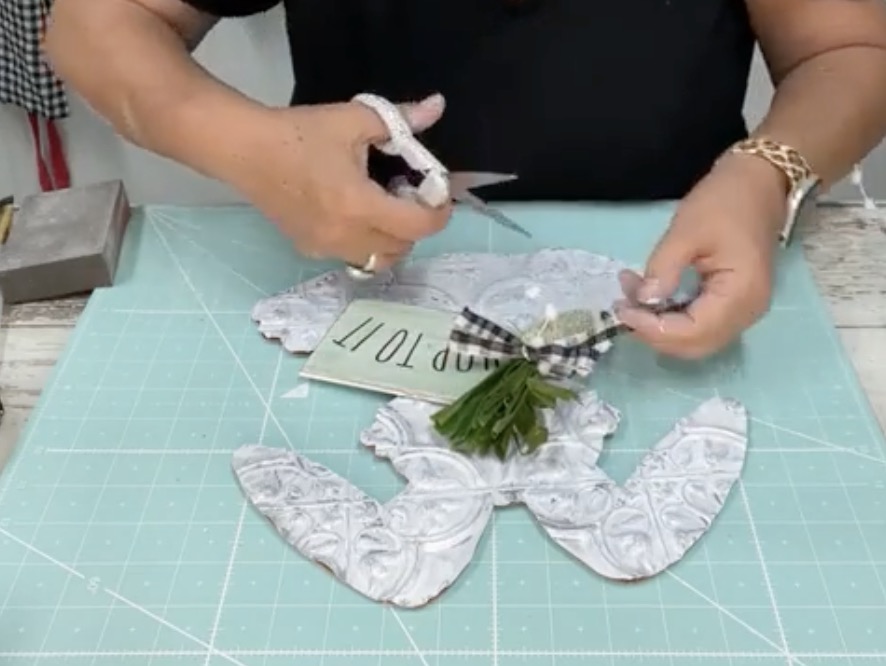
Step 10: Trim Your Ribbon
After tying the ribbon around the greenery, give it a trim to create a nice bow-like feature.
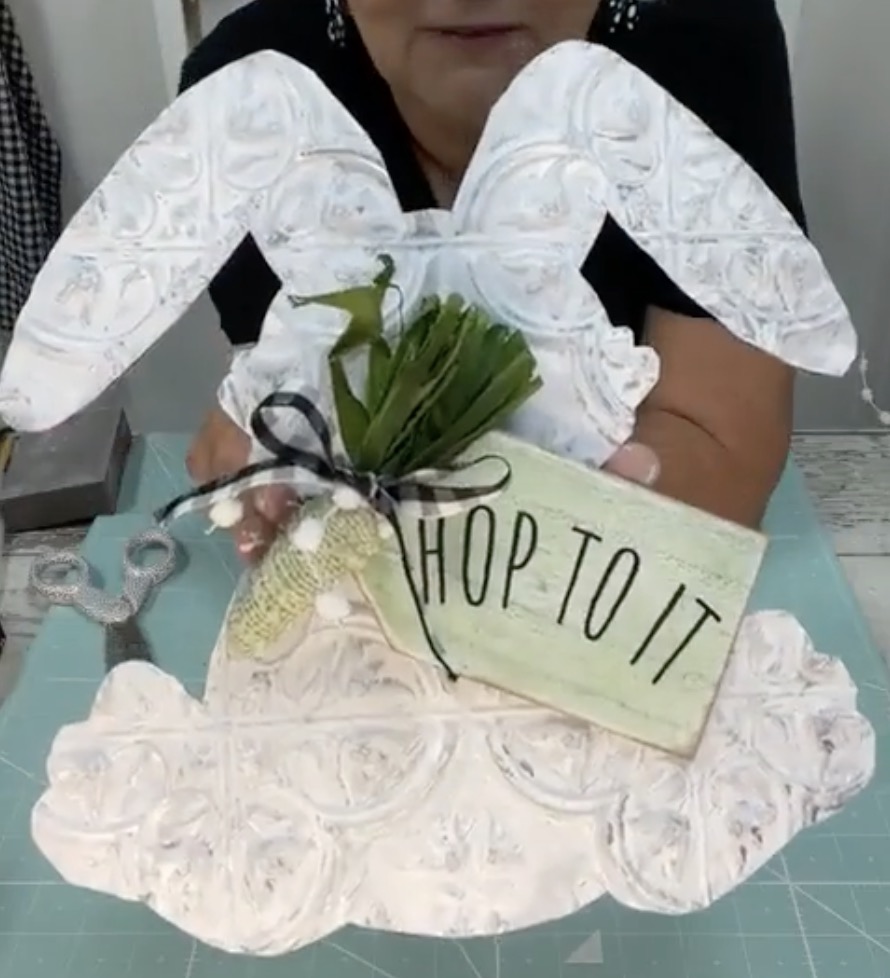
Step 11: Enjoy your Easter Bunny Craft!
That’s it! This Easter Bunny Craft is a fun one to create and there are a lot of ways to create it! Try different versions, add your own style, and have a lot of fun!
I just adore Easter bunny crafts! There’s something so charming and whimsical about those little bunny rabbits that just puts a smile on my face.
For me, Easter is all about celebrating new beginnings and the arrival of spring. And what better way to do that than with some good old-fashioned crafting? I love how Easter bunny crafts can be as simple or as elaborate as you want them to be. You can make them out of anything from felt to paper to yarn, and there’s no end to the creative possibilities.
One of my favorite things about Easter bunny crafts is that they’re a great way to bring the whole family together. Whether you’re making Easter baskets, decorating eggs, or crafting bunny-themed decor for the home like this project, there’s nothing like some good old-fashioned family fun to get everyone in the Easter spirit.
And let’s not forget about the joy that Easter bunny crafts can bring to others. There’s something so heartwarming about making a special Easter craft for a friend or loved one. Whether it’s a handmade card or a cute little bunny craft like this one, the joy that comes from giving a thoughtful Easter gift is truly priceless.
So there you have it! Easter bunny crafts are just the sweetest thing, and I can’t get enough of them!
Thanks, y’all! I hope you enjoyed this project!