August 18, 2026 by Debbie Westbrooks
DIY Happy Jack O Lantern Wood Pumpkin
Live Videos · DIY · Crafts
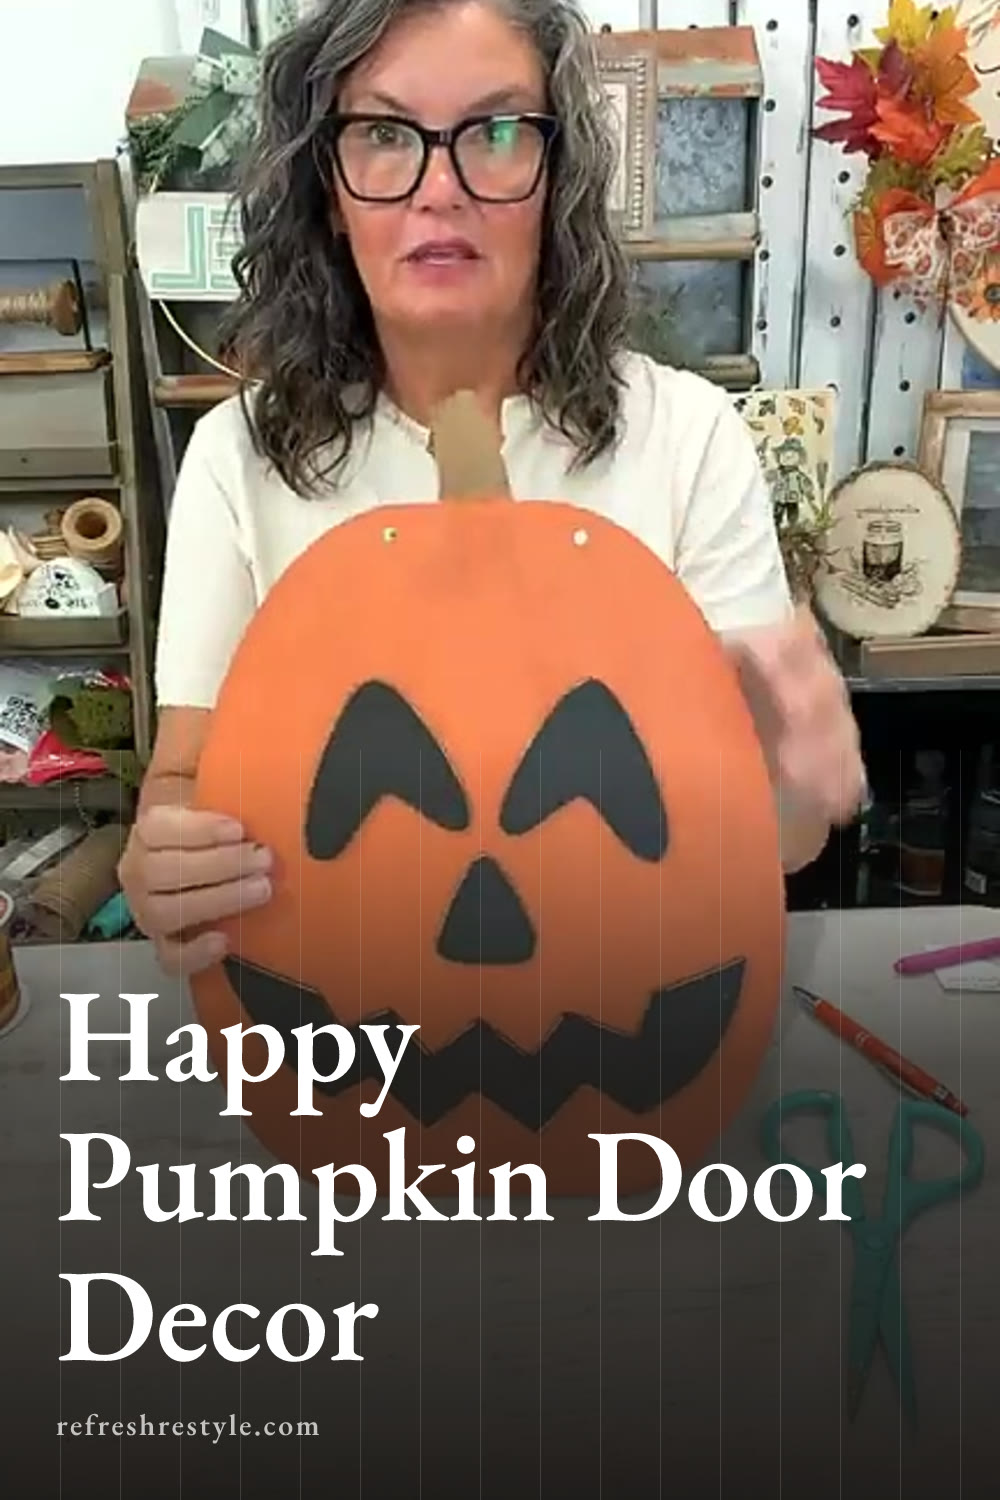
I made the happiest little jack o lantern from a large wood pumpkin and a set of separate face cutouts. The warm papaya color, jagged smile, rusty wire, and full fall bow gave my wood pumpkin craft a playful look that works on a door, wall, shelf, or mantel.
Supplies I used
My pumpkin was a large blank wood cutout, around 15 inches tall, with a separate Happy Pumpkin face. The face set included two eyes, a nose, and a big smiling mouth. Since the pieces were separate, I could move everything around until the expression looked right.
For the finish and assembly, I used these supplies.
- Papaya paint
- Black Chalk Paste or acrylic paint
- Brown stain for the stem
- Distress ink and a small dabber
- Paintbrushes
- Masking tape
- Sandpaper
- Titebond Quick and Thick Glue
- A handheld hole punch
- Rusty wire
- Orange and plaid ribbon
- Orange velvety ribbon
- Jute and raffia
- A small fall foliage and berry pick
Use the paint and ribbon you already have. Acrylic craft paint works well on these wood pieces, and the bow can be made from any mix of fall ribbon in your stash.
Painting the wood pumpkin
I started by painting the large pumpkin with papaya paint. It gave the wood a warm orange finish that felt right for fall without being too dark. I kept a little distilled water nearby while I worked and added another coat where the wood needed more coverage.
Finishing the stem
I used brown stain on the stem instead of pulling out another paint color. A bow would cover part of the stem later, but I still wanted the visible wood to look finished. Brown paint or green paint would work too, depending on the colors you want to use.
I dried the pumpkin with a heated craft tool between steps. That tool gets very hot, and the wood can heat up quickly, so I handled the surface carefully and gave it time to cool.
Painting the Happy Pumpkin face
I placed strips of masking tape on my work surface with the sticky side facing up, then pressed the face pieces onto the tape. This helped keep those small wood pieces from sliding around while I painted.
I painted the eyes, nose, and smiling mouth black with Chalk Paste. Acrylic paint would give you the same bold contrast, so use whichever one you have available. I applied the black color generously enough to get good coverage without needing several coats.
After the paint dried, I lightly sanded around the edges. I like my painted wood projects to have a little age and texture, so I rarely leave every edge perfectly smooth and fresh.
Adding a distressed finish
Once the papaya paint felt dry, I used distress ink and a small dabber across the pumpkin. I applied it lightly over the center and added more around the outside edges.
This step brought out the pumpkin shape and softened the fresh paint color. You can skip the distressing if you prefer a clean finish, but I love the worn look it gives a fall project.
Making the wire hanger
The pumpkin cutout came without hanging holes, so I made my own with a handheld hole punch. The wood was thin enough for the punch to go straight through without needing a drill.
I made one hole on each side near the top, checking that the wood sat fully inside the punch before squeezing. Taking a second to check the placement helps keep the punch from catching only the edge of the cutout.
I threaded rusty wire through the holes to create the hanger. After securing it, I wrapped each loose end around a paintbrush to form a small curled pigtail. Jute, ribbon, or wrapped craft wire would also work for the hanger.
Attaching the jack o lantern face
Before adding glue, I arranged the face on the pumpkin. I placed the eyes a little lower than usual because I wanted to leave room for the bow near the stem.
The nose had a slightly wonky shape, which made it fun to turn and adjust. I moved it around until the angle worked with the eyes and smiling mouth.
I used Titebond Quick and Thick Glue to attach each piece. I squeezed a small amount onto the back and spread it into a thin, even layer with a paintbrush. The glue grabbed quickly, but it still gave me enough time to slide a piece into place. That extra working time is one reason I prefer it for projects like this.
Making the layered fall bow
I kept the bow simple but used several textures to make it full. I layered orange ribbon, plaid ribbon, and a soft orange velvety ribbon, then tied everything together with jute.
I added raffia for a little more fall texture. Once it was tucked around the face, the raffia looked a bit like straw hair, which gave my happy pumpkin a hint of scarecrow personality.
For the final detail, I tucked in a small fall pick with leaves and berries. It filled the center of the bow and added color without covering the pumpkin’s expression.
Attaching the bow
I tied the bow onto the pumpkin first so I could adjust it or replace it later. This also made it easy to fluff the ribbon and move the raffia until everything sat where I wanted it.
The bow can stay tied on if you like changing ribbon from season to season. Once I found the angle I liked, I planned to add a little glue behind it so it would stay straight and keep from flopping around.
Displaying the finished pumpkin
The rusty wire makes this pumpkin ready to hang on a door or wall. You could also leave off the wire and prop it on a mantel, shelf, or console table with fall greenery.
Command adhesive strips with the hook and loop style are another good hanging option. They let the pumpkin sit close to the surface and save you from making holes in the wall.
Chalk Couture supplies
Browse Chalk Couture Chalkology Paste, or shop my full store here.
I am an independent Chalk Couture designer, so I earn a commission on these links. See my disclosure for more.