
February 9, 2017
How To Stencil Fabric
Home Interior
How to Stencil Fabric
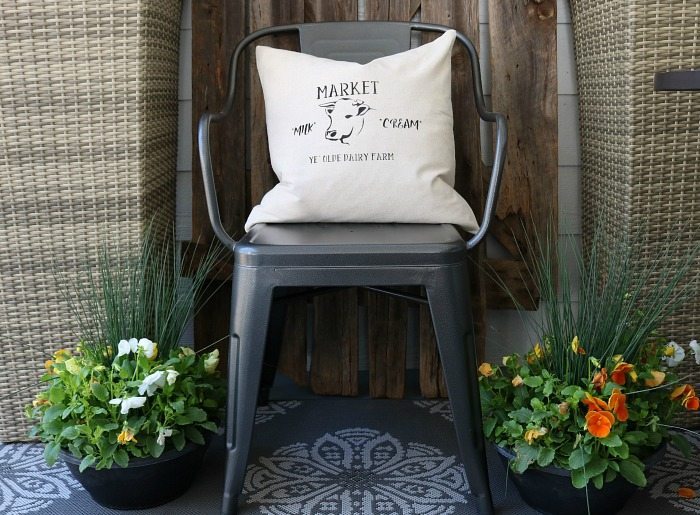
I have a confession, I have never been a fan of stenciling. Yep, I have always taken short cuts and it never turned out right. I’m happy to say that I was armed with all the proper tools for this project and I have changed my mind, I love to stencil fabric. Take a look at this farmhouse pillow stencil idea! Today I’m joining my Decor Enthusiast blogger friends and we’re all sharing our stenciled projects. 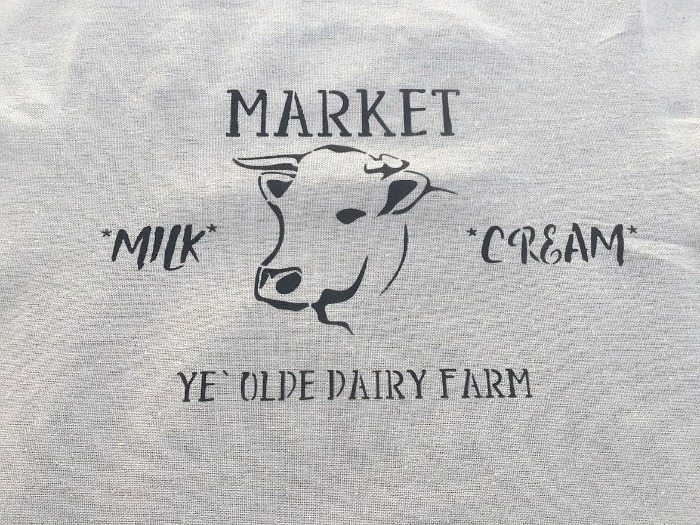
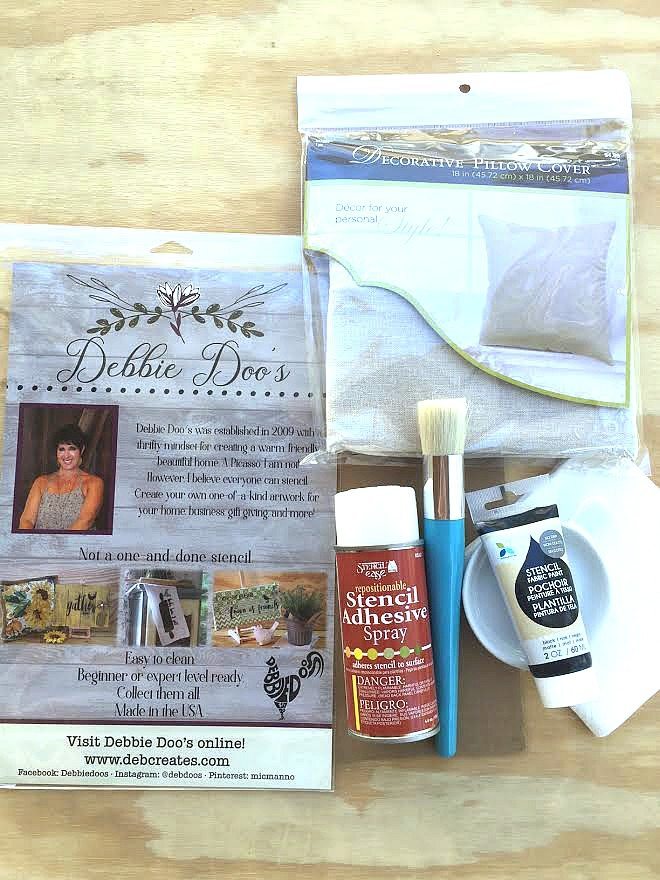
 Supplies needed to stencil fabric:
- Fabric (I used a pillow cover.)
- Stencil - I used one of Debbiedoo’s Farmhouse stencils
- Stencil adhesive spray
- Stencil brush
- Stencil fabric paint
- Cardboard
- Paper towel
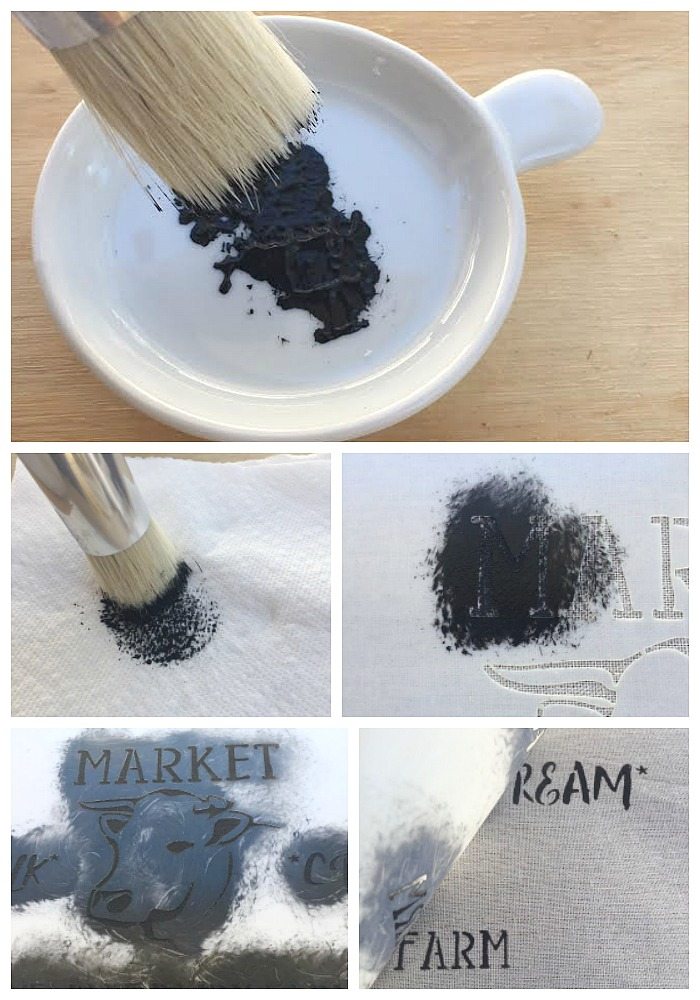
- Place a piece of cardboard inside the pillow cover so the paint doesn’t bleed through the fabric.
- Spray the stencil with the stencil spray adhesive.
- Place the stencil on your fabric. Using your hand to press the stencil in place.
- Squeeze out a dollop of paint, load your brush with the fabric paint. Grab a paper towel and press the brush into the paper towel to removed some of the paint.
- Dab the brush over stencil.
- Remove the stencil.
- Follow the drying instructions of the paint.
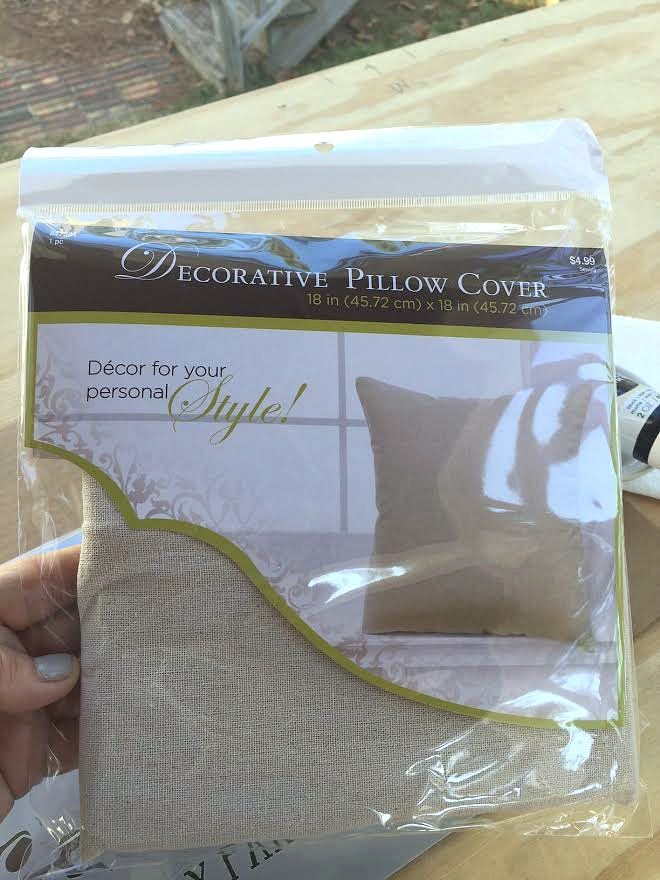 I grabbed this pillow cover at Hobby Lobby for 50% off of $4.99 - great deal!!
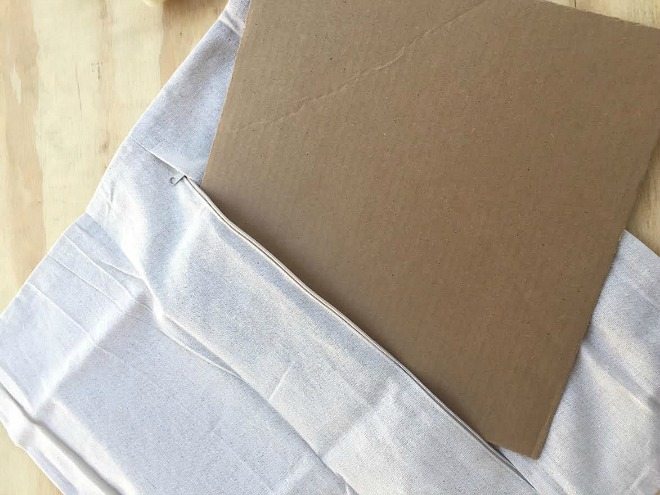
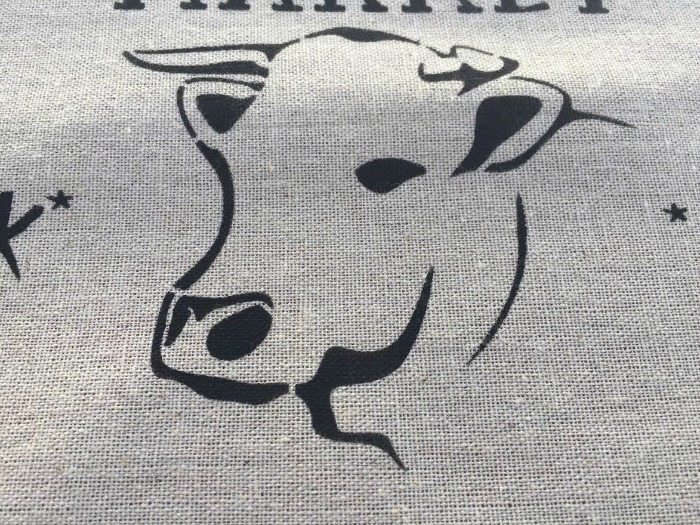 Using the stencil spray and offloading the paint created this very crisp stencil project. See the close up of my farmhouse stencil.
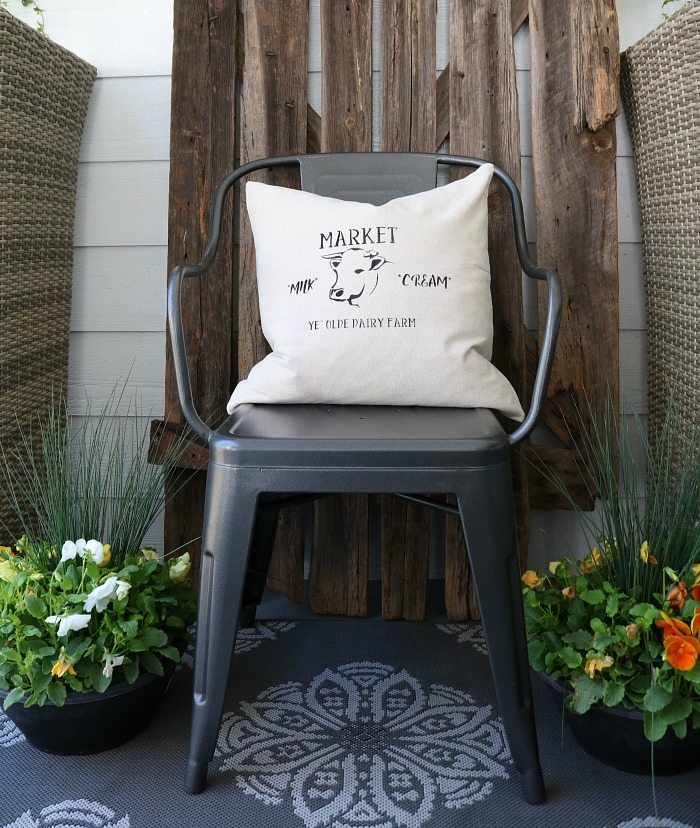
 I have a few more stencil projects in mind, maybe a grocery tote :)
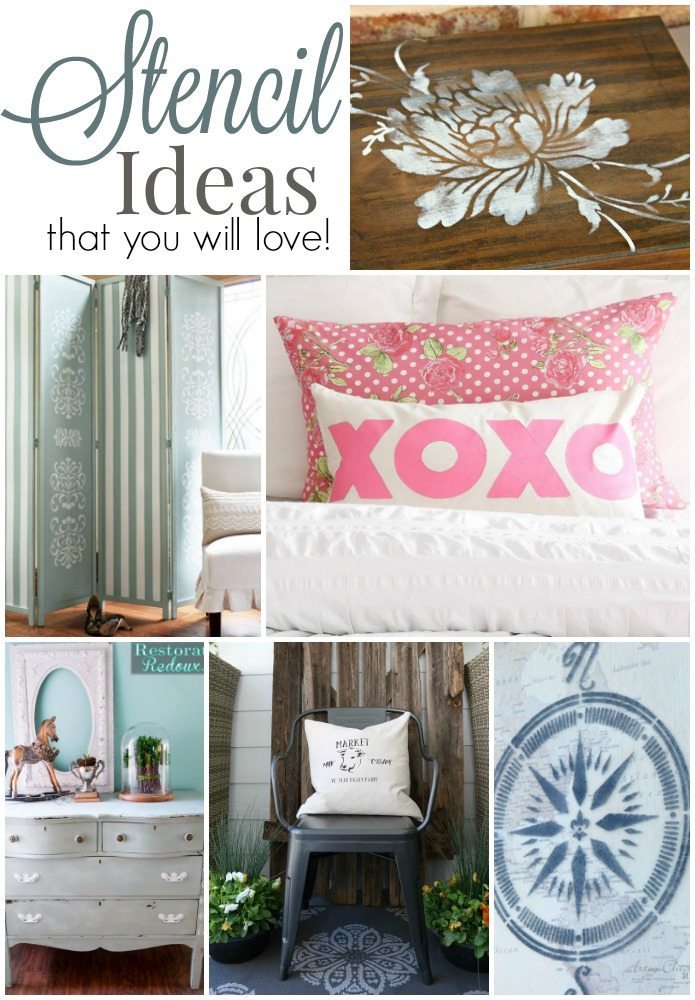
Visit the other awesome stencil projects:
Click here: Restoration Redoux - Antique Dresser
Click here: Our Southern Home - Essential Oils Box
Click here: Confessions of a Serial Do-It-Yourselfer - Folding Screen Makeover
Click here: Refresh Restyle - How to Stencil Fabric
Click here: Duke Manor Farm - Cute Pillow Stencil
Click here: Artsy Chicks Rule - Nautical Compass Stencil
Join us next month for Spring Decor Using Baskets - vignette, centerpiece, wreath----anything. Click here to become a part of our Decor Enthusiast Facebook community.
12 Comments
ArchiveThis is so cute, Debbie!! There are so many pillow possibilities with all the fantastic stencils out there! XO
us nonstencilers will hang together with our pillows in the corner. ha...looks great.
That is so cute Debbie! I love that stencil and love how crisp you got it too! :) xo
Well Deb I would consider you a professional now! I am so happy you finally got to sit down for a second and use my stencil:) Looks fantastic. Thanks so much for sharing.
I so love this pillow. You make it look so simple especially with that spray adhesive. I really need to try Debbie's stencils. Such a cute project perfect for your new Alabama Farmhouse!
Debbie,
Your stenciled pillow turned out beautifully!!! So crisp and neat. Love it!
gail
Your pillow turned out great! I love the stencil you chose, too. Thanks for linking up with Merry Monday this week.
Thank you so much!
Your stencil choice was so great! We would love to have you at our To Grandma's house we go link party that opened this Wednesday morning and lasts all week!
This looks like it was professionally made, you did a great job! I've never stenciled on fabric before but now I'm going to have to try it out. Stopping by from Tatertots and Jello BFF party!
Thanks so much Maggie!
I love Debbie's Stencil & kits! Sharing on Twitter. Thank you for sharing on Merry Monday! Hope to see ya next week!
Kim