Today I’m sharing a quick and easy idea for DIY Moss Covered Clay Pots.
You can do so much with a simple clay pot. They can easily steal the show with a little paint and greenery, they become the life of the centerpiece.
I’m joining the Craft Lightening bloggers today for this fast and easy project.
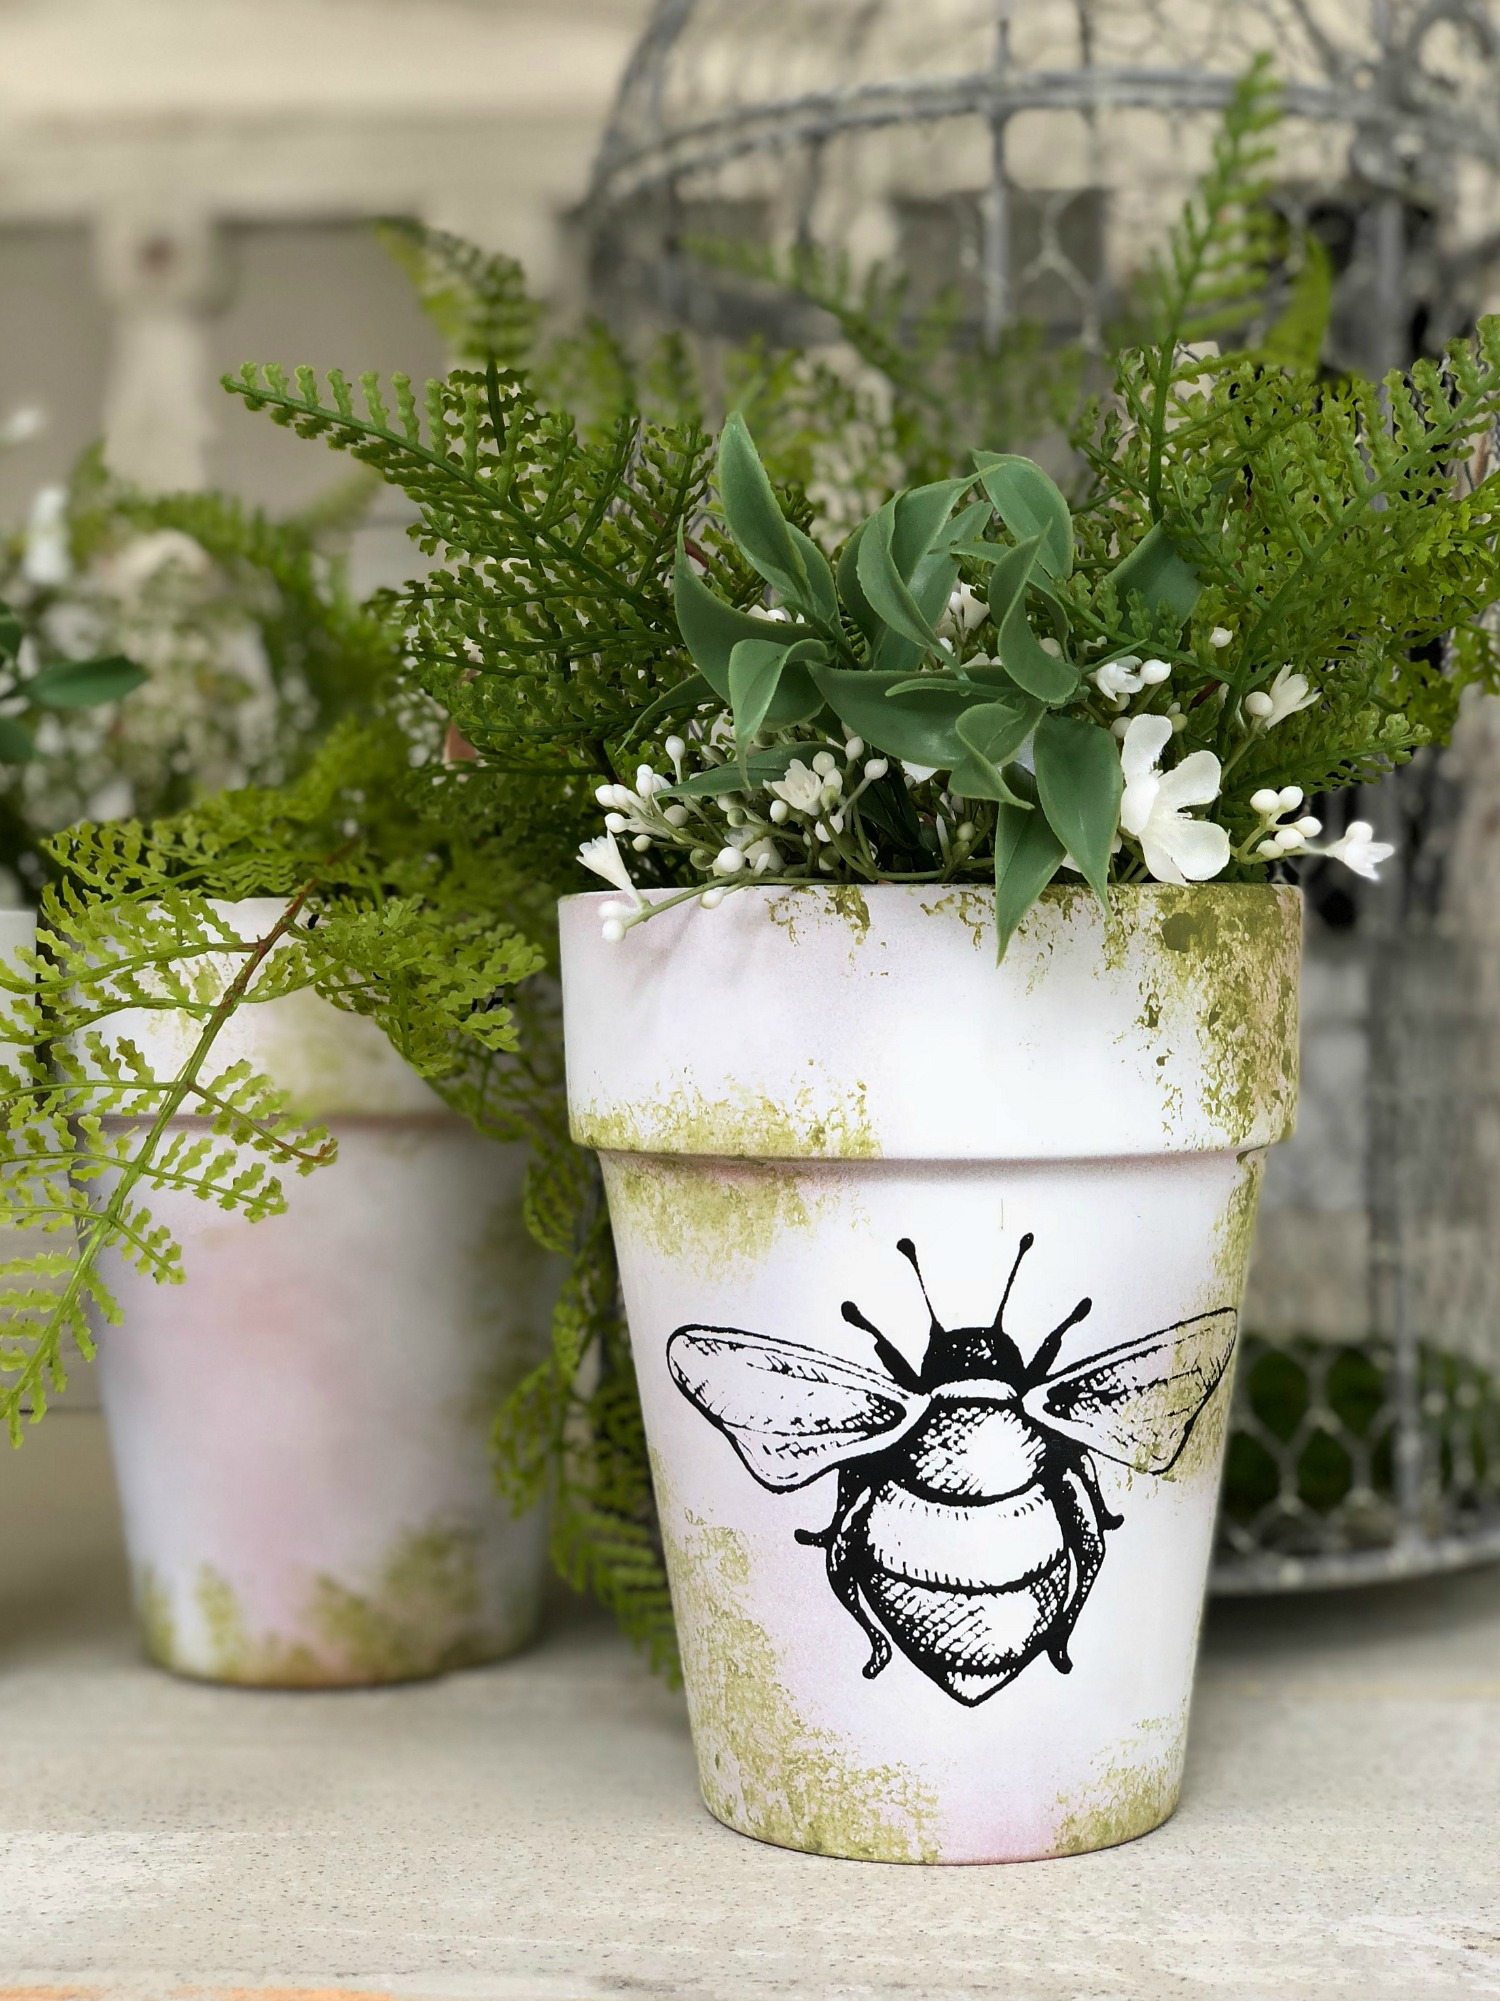
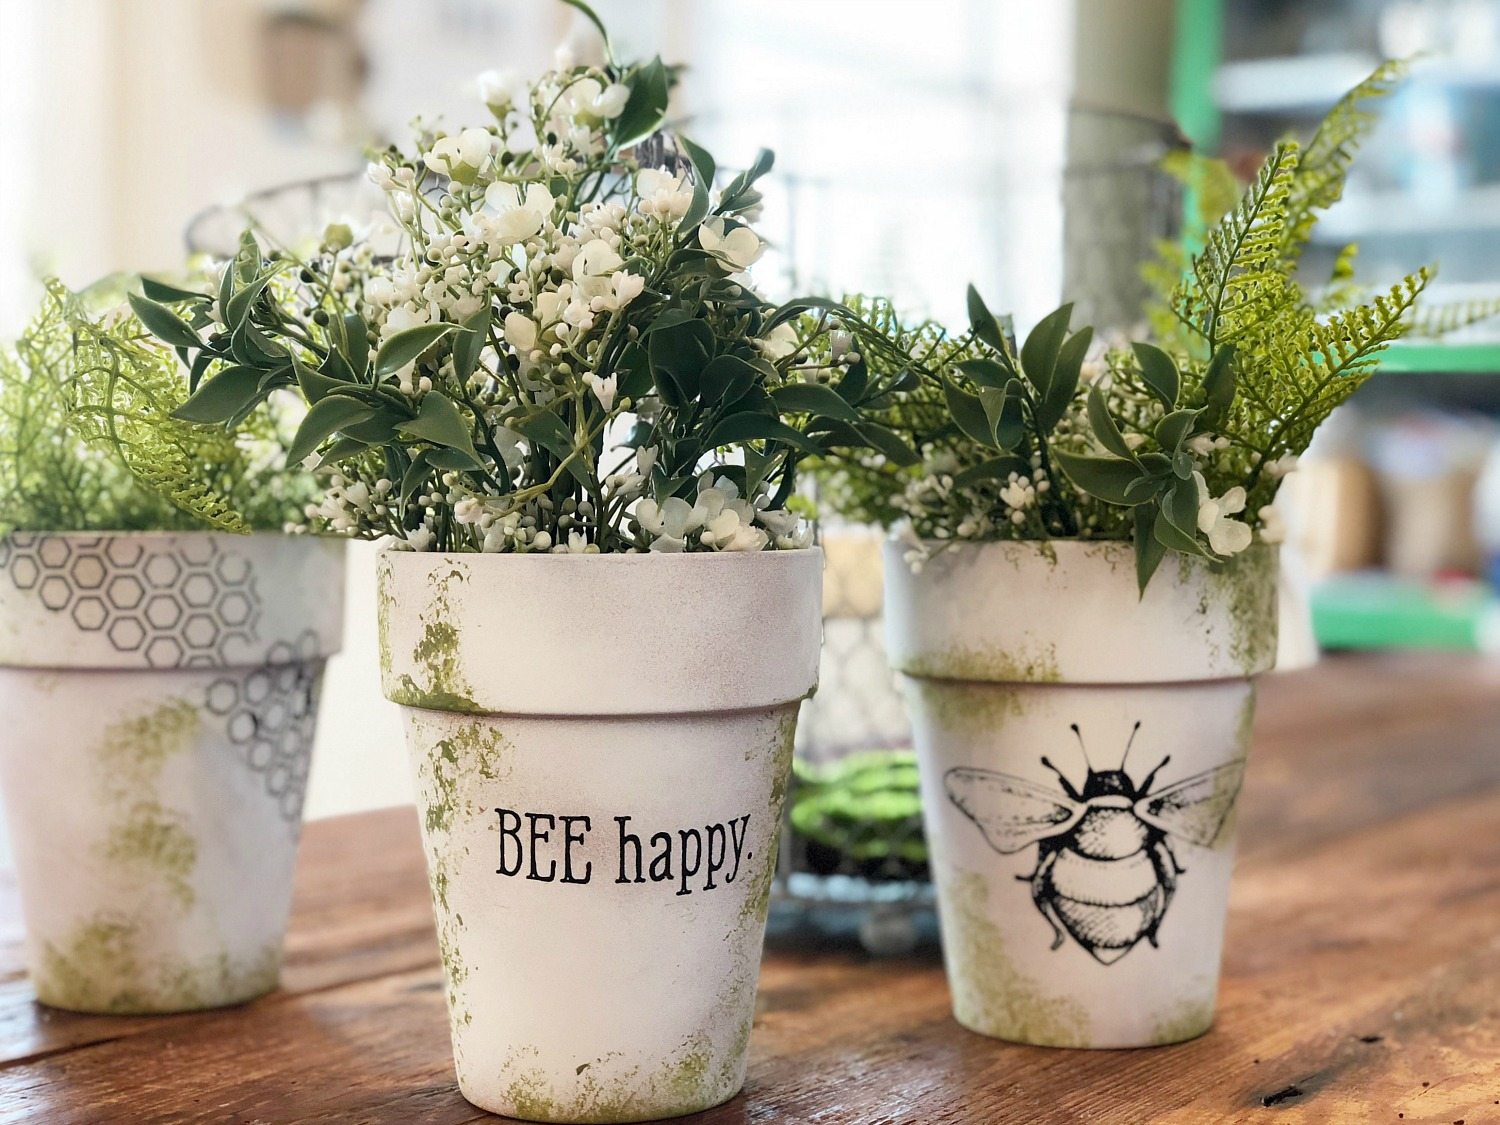
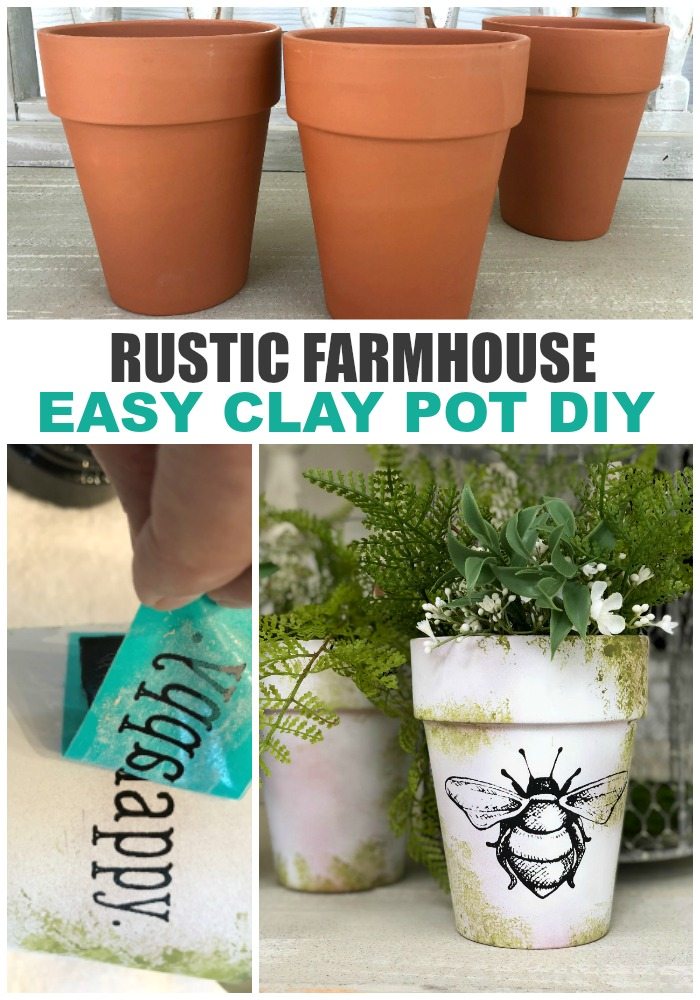
To create a rustic centerpiece for my farmhouse table, I used faux greenery, white flowers and three clay pots. This fast and simple idea is easy to create with spray paint, craft paint and Chalk Couture transfers and chalkology chalk paste. I am including affiliate links to the products used for this project.
Supplies Needed For Moss Covered Clay Pots:
- 3 terra cotta clay pots
- white spray paint
- Folk Art Forest Moss acrylic paint
- sponge or I used a paper towel
- Bee Humble & Kind transfer
- Black Chalkology Paste
- Faux greenery and flowers
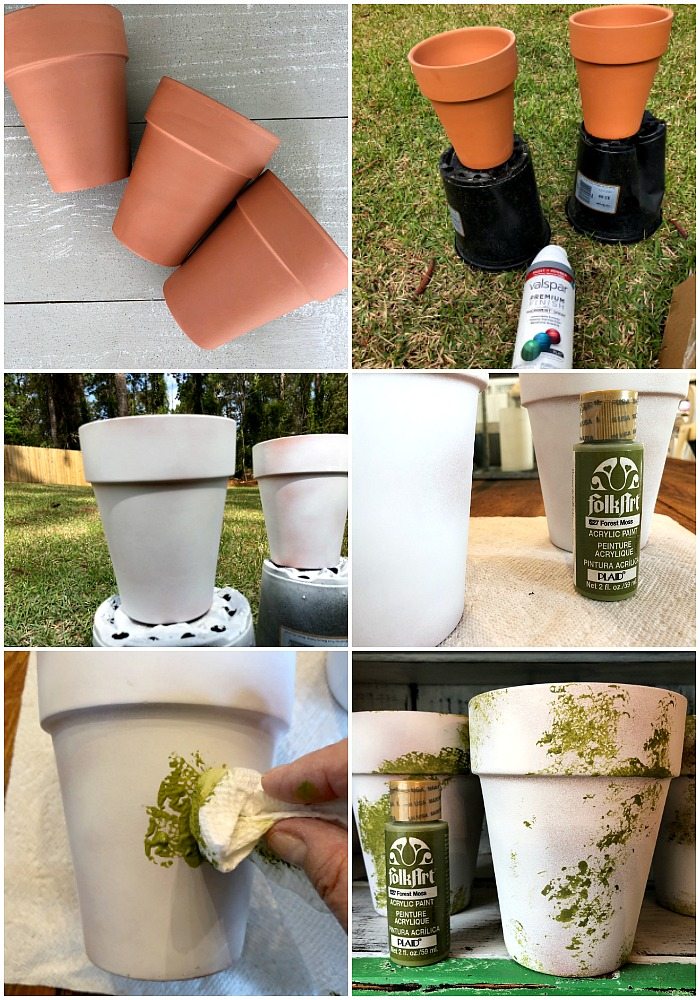
I sprayed the clay pots with one light coat of white spray paint. I wanted some of the orange of the pot to be visible. In other words, not perfect spray coverage. After the spray paint dried, I used a paper towel to place the Folk Art Forest Moss craft paint randomly around the pot.
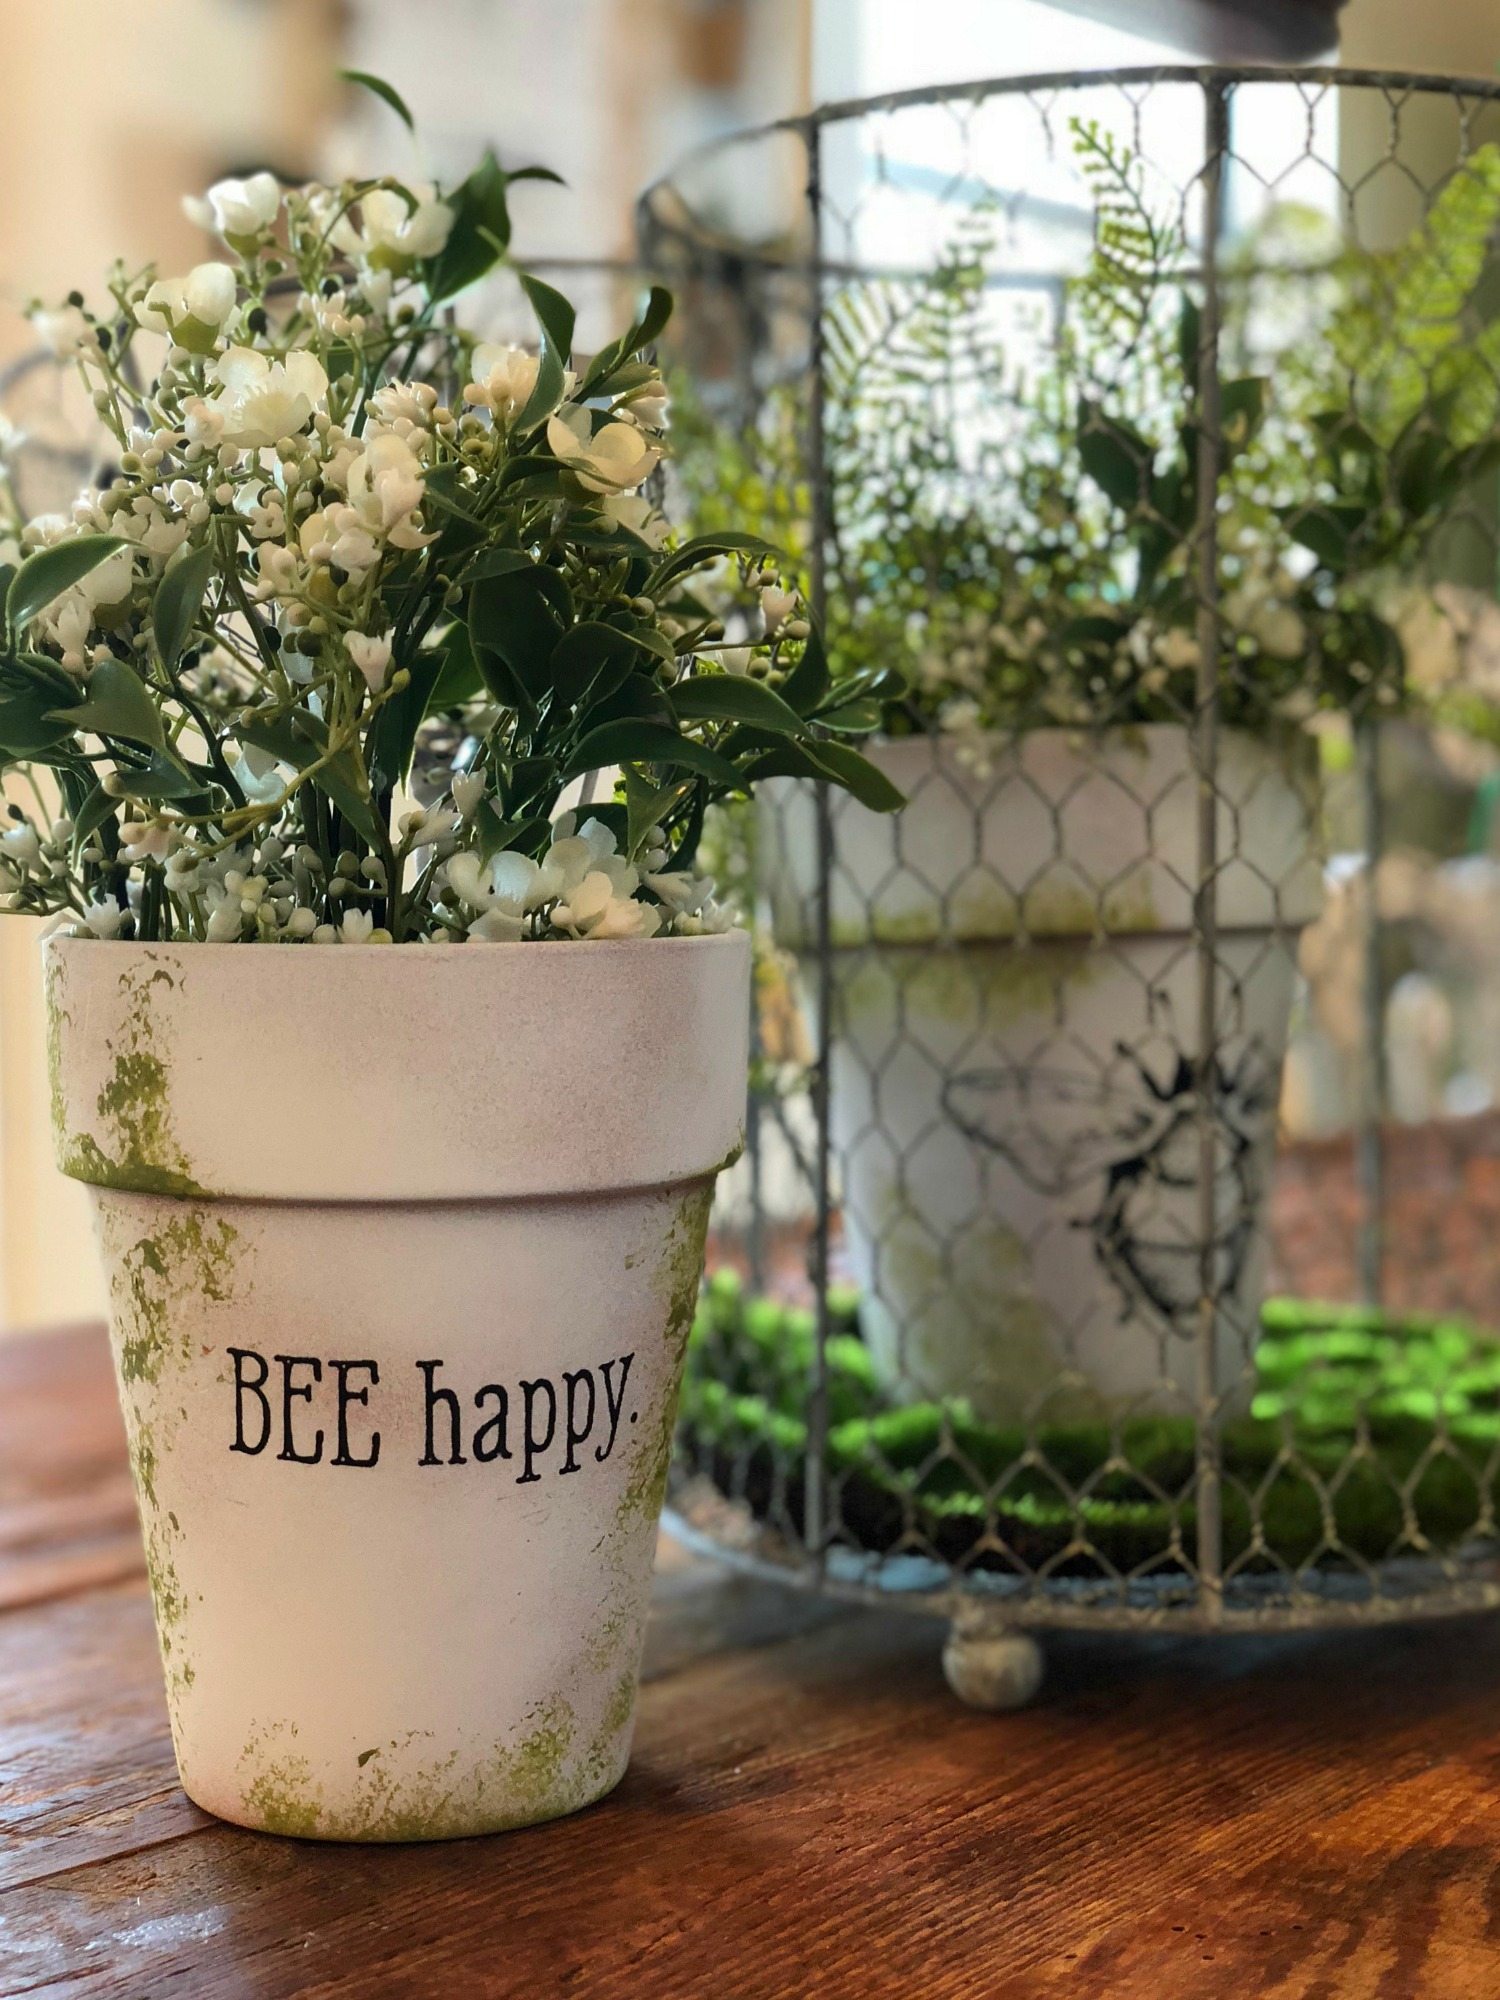
Use the Chalk Couture Bee Happy transfer to create the graphics on the pots. I created this video on Facebook to show you how to use Chalk Couture. It’s easy and fast. I trimmed the transfers and placed them on the pots. I chose black chalk paste and love the way it pops against the white. I included the photo directions below:
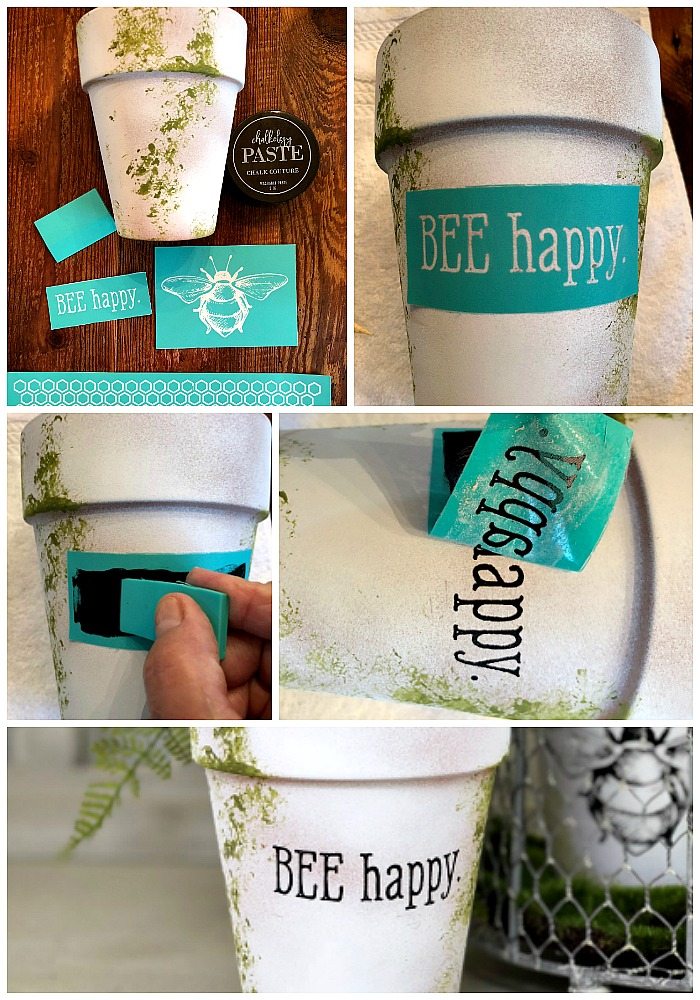
How I used the Bee transfer:
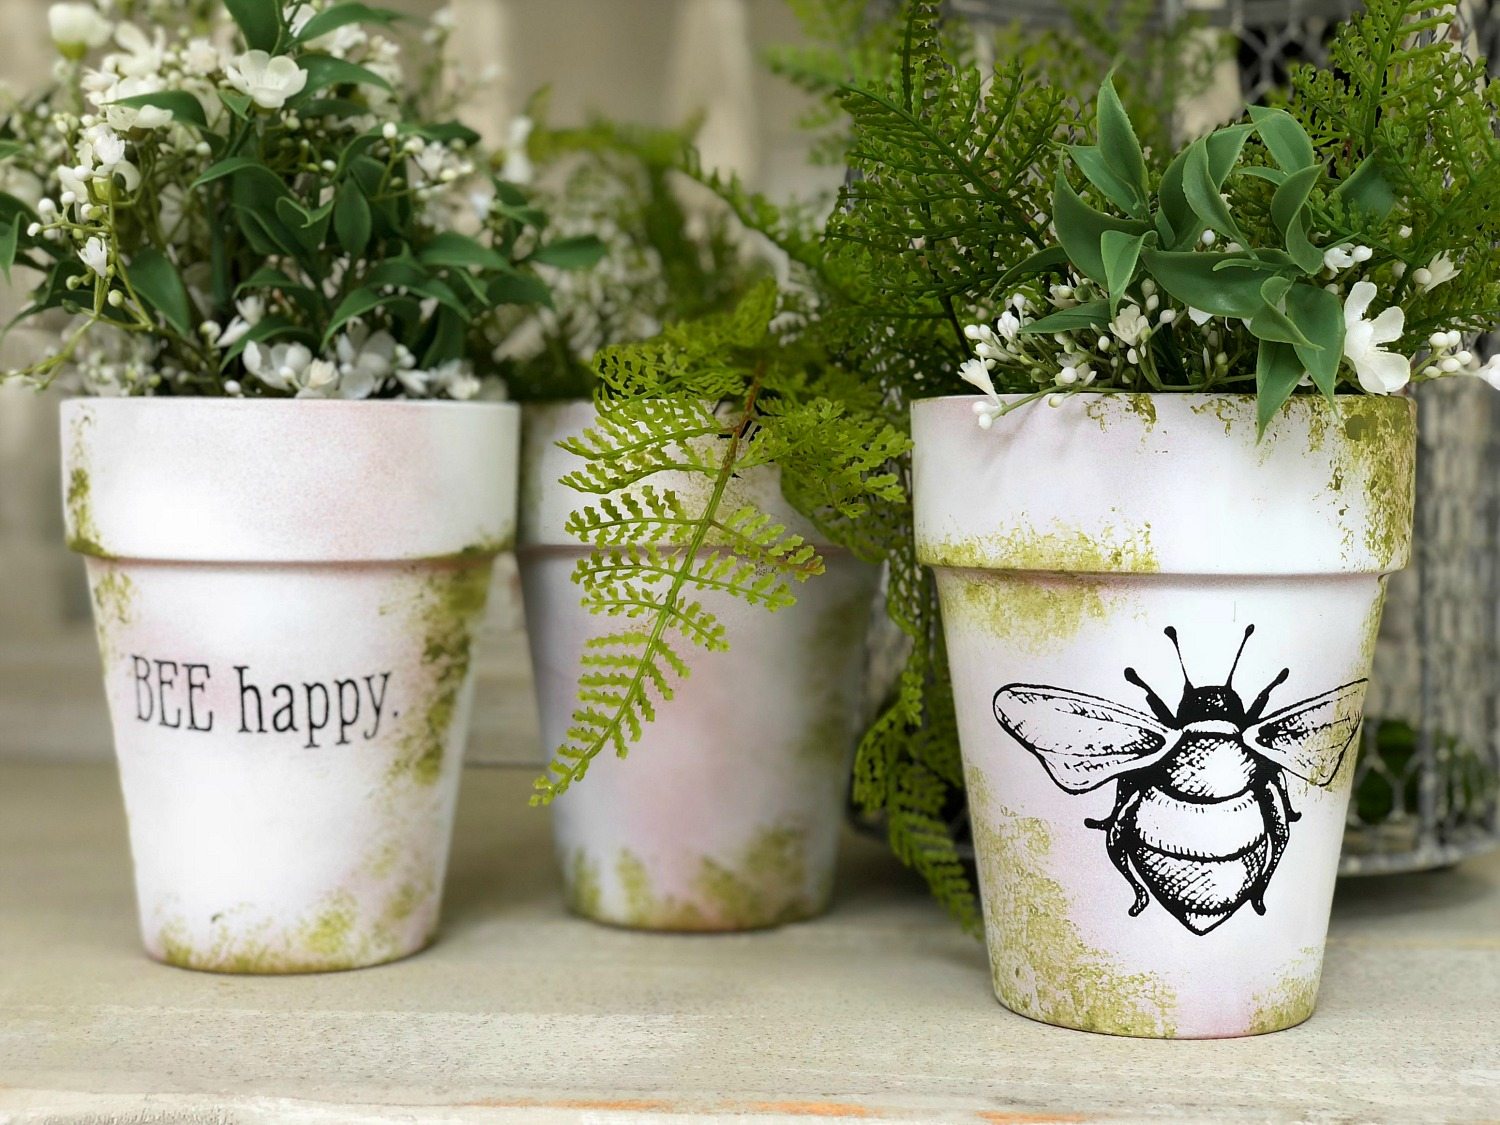
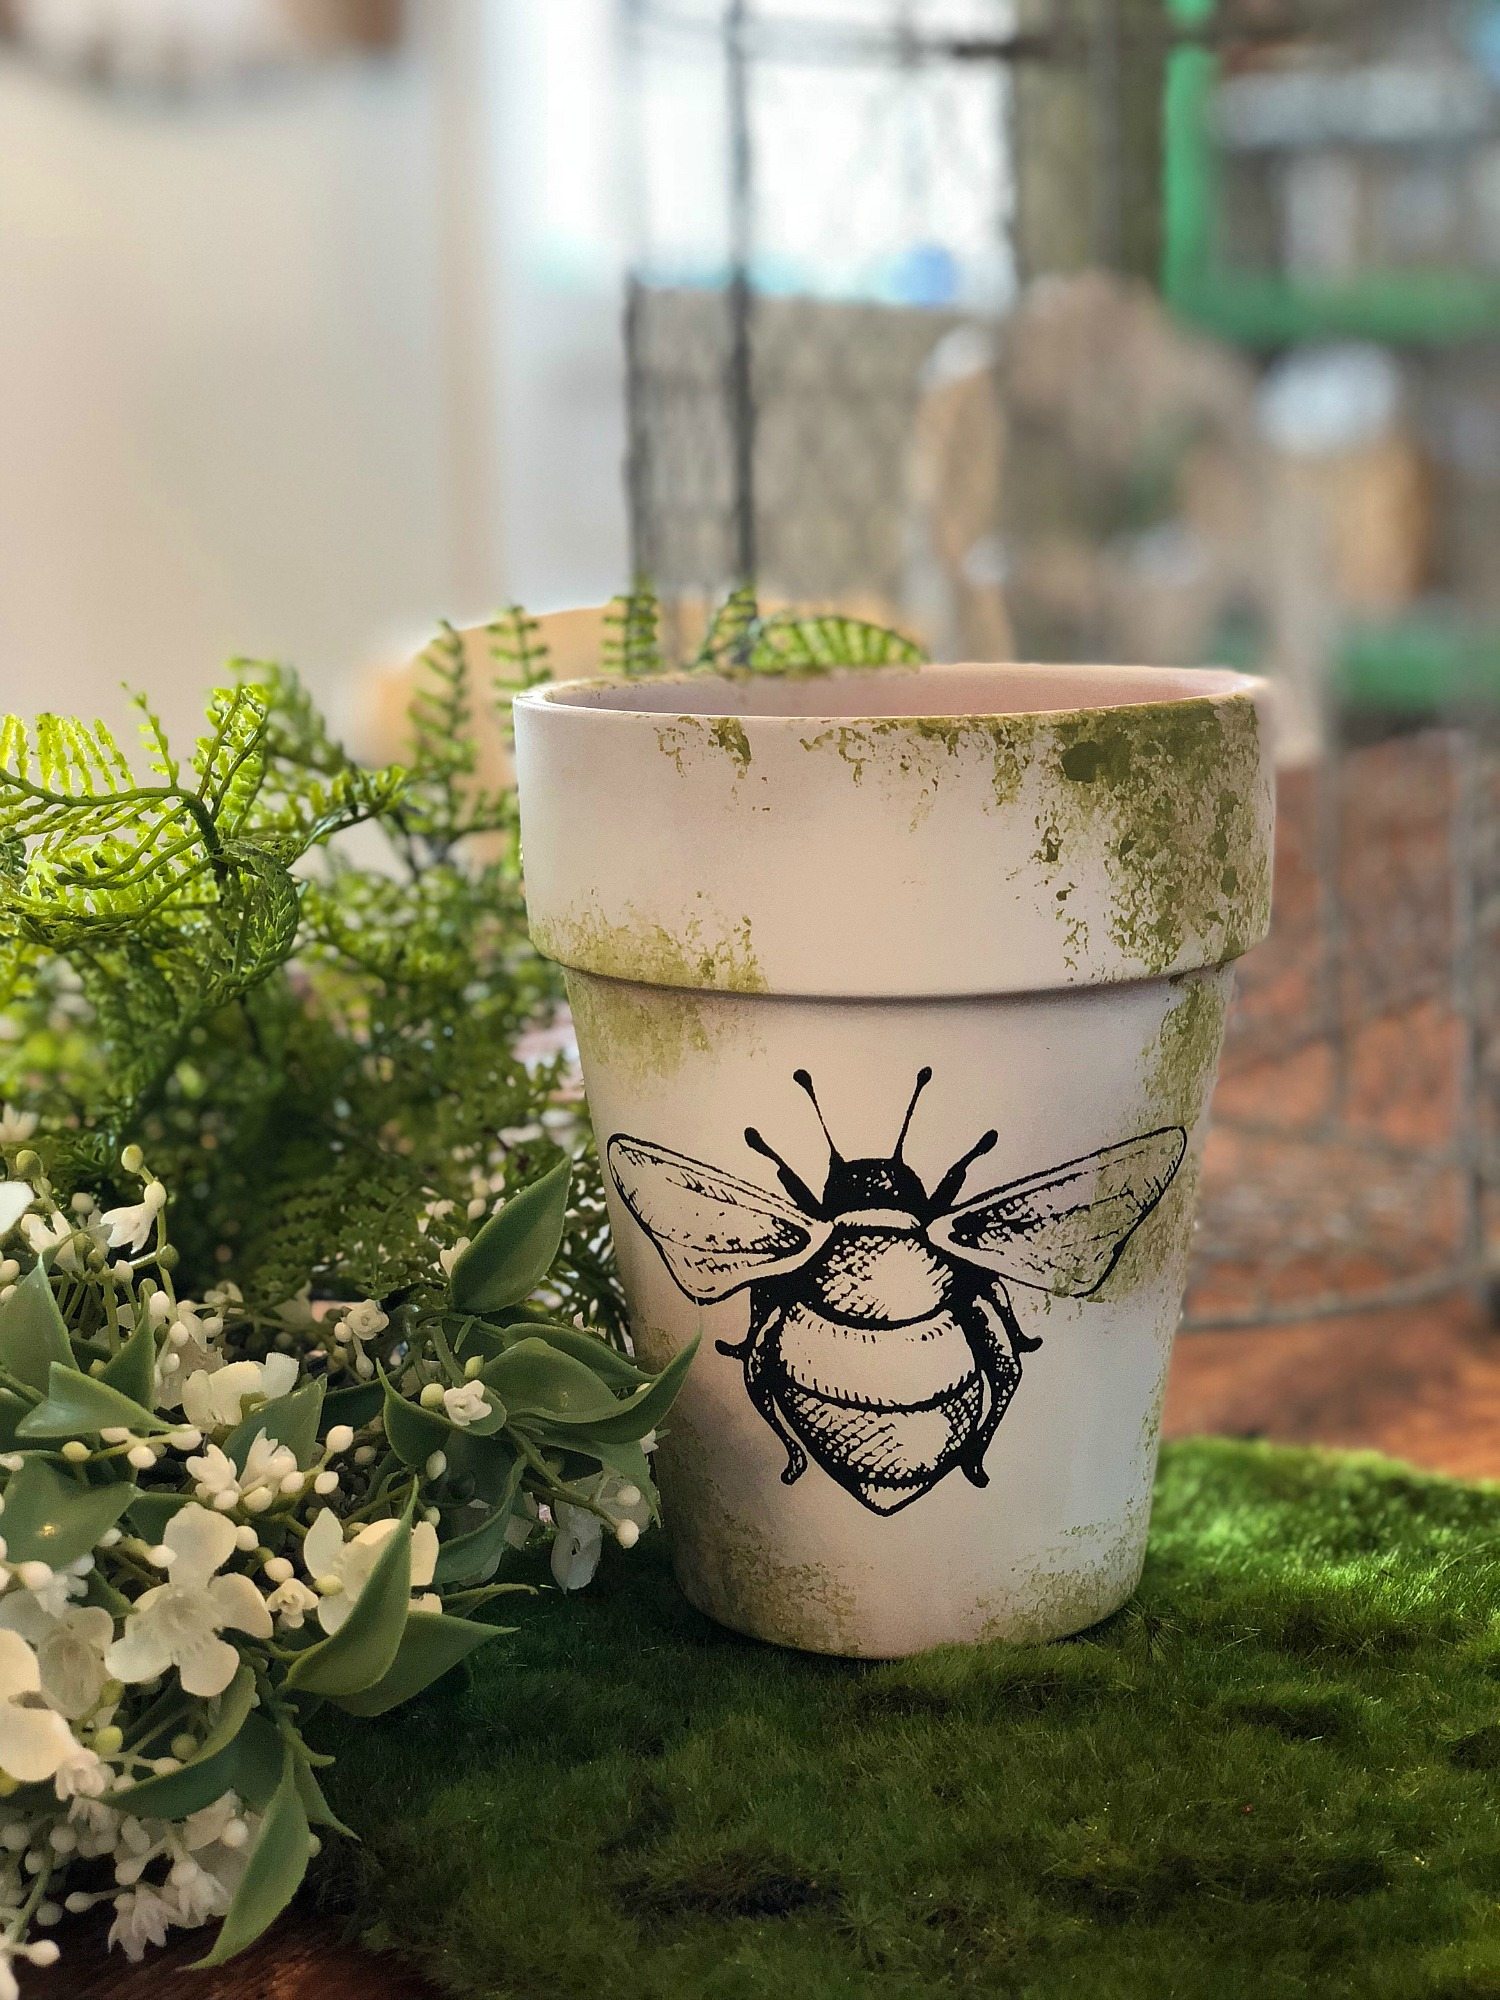
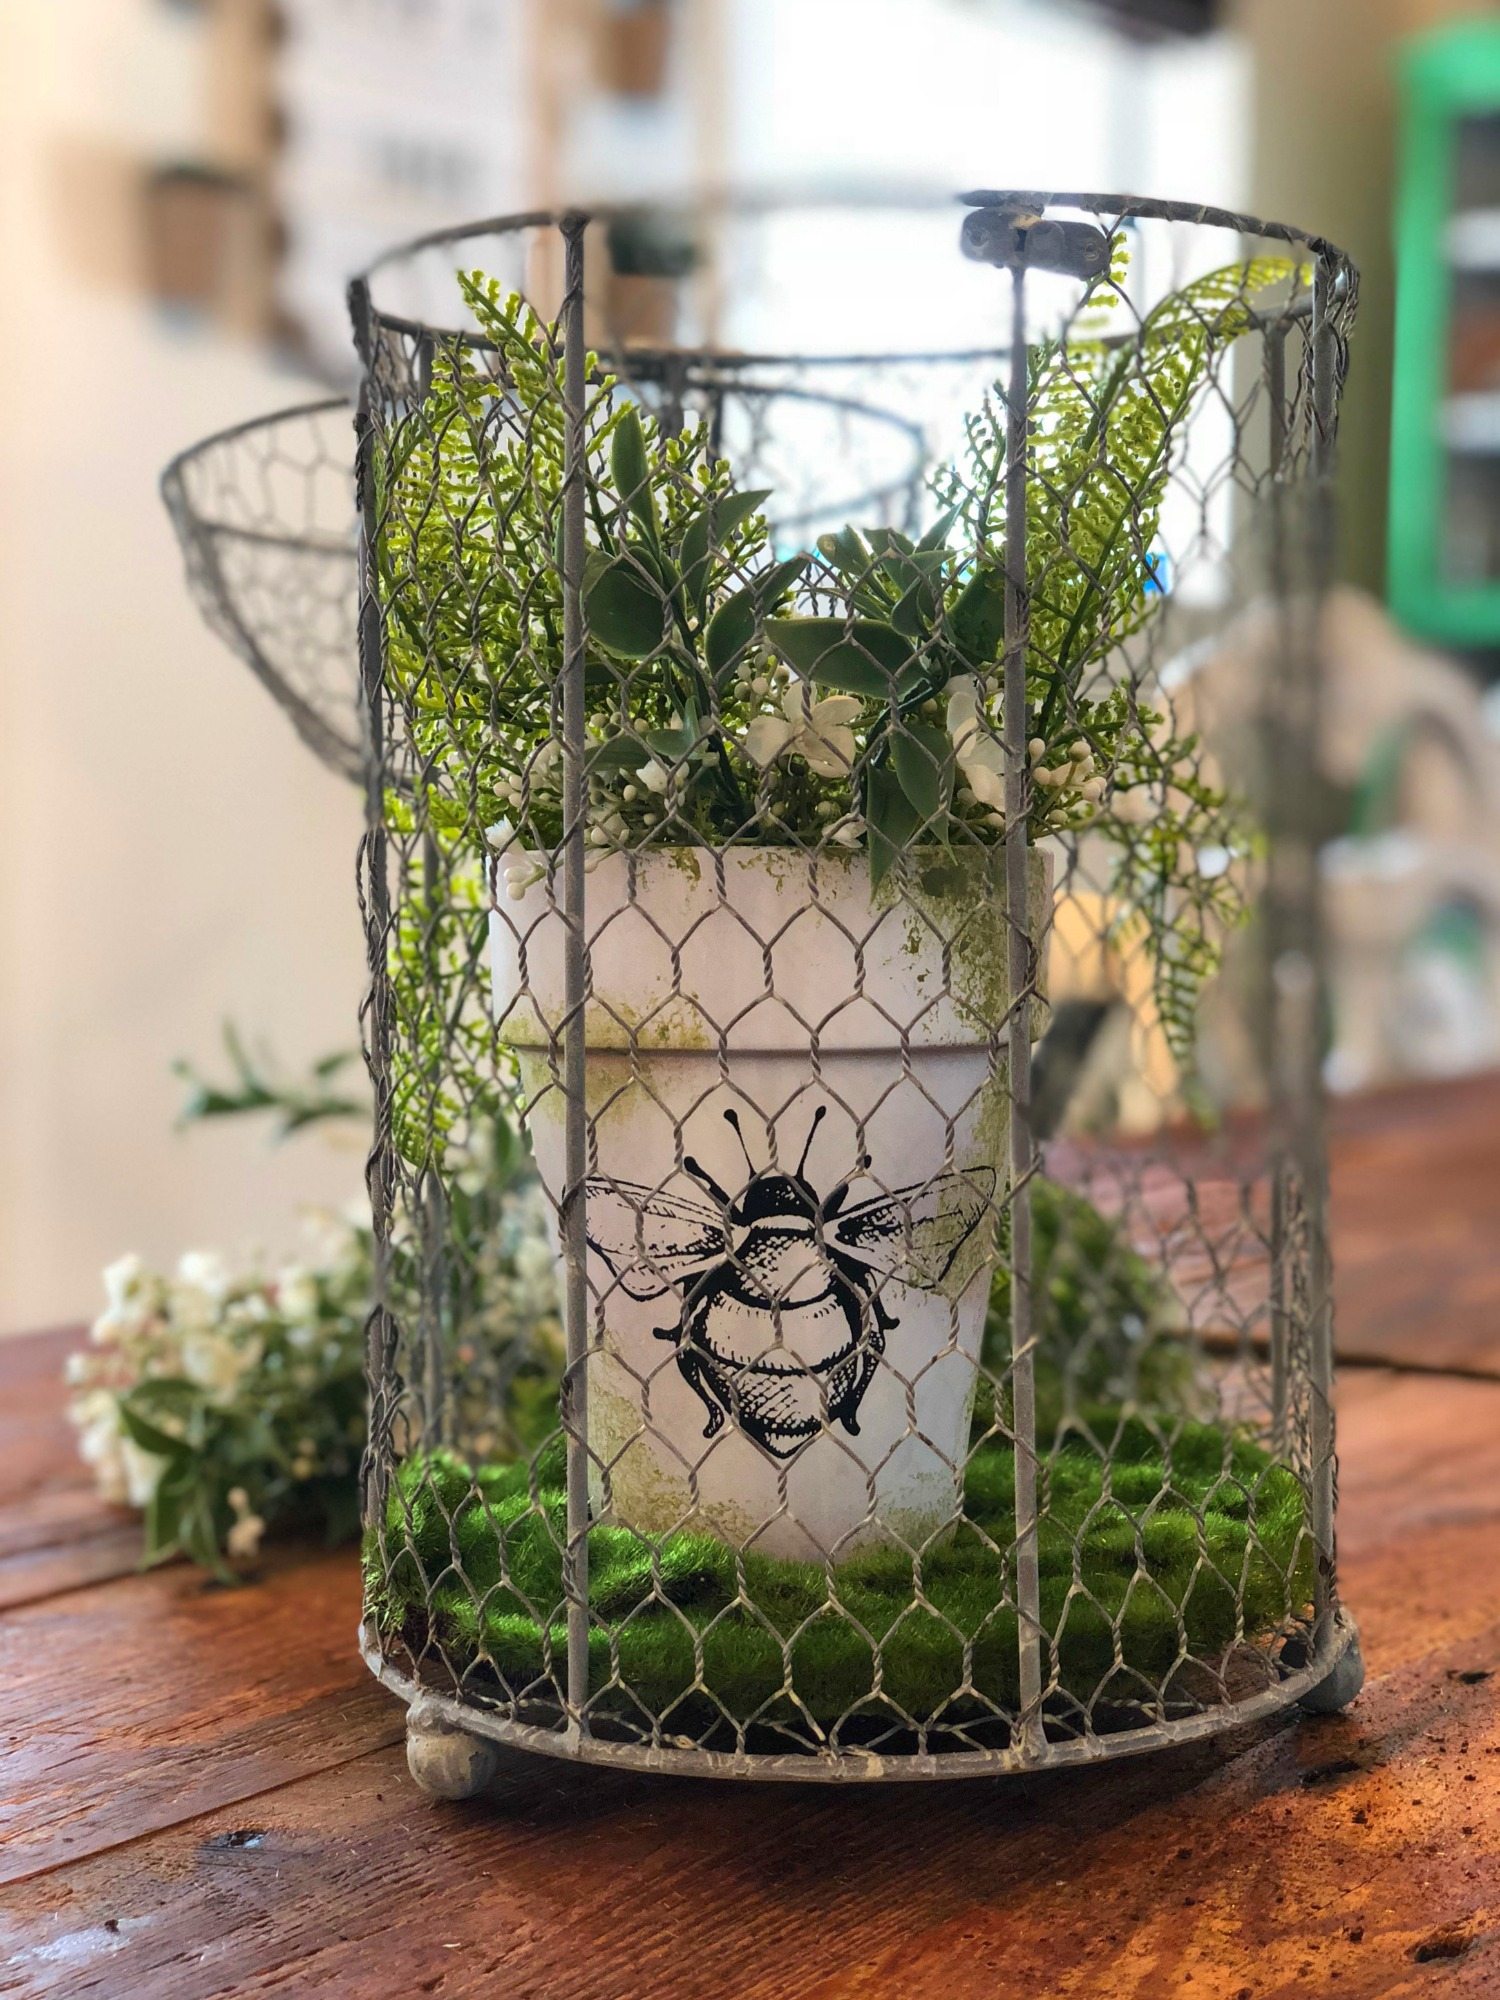
After filling the clay pots with greenery, I placed one of them in a chicken wire birdcage. I found it at Michael’s, on sale!

Pin it for later:


I must say that clay post gives different looks to the garden
Oh goodness… where is my sage green paint? I need to make something with faux moss on them STAT! Thanks for the inspiration! So spring!
I’m featuring this project this weekend on DIY Salvaged Junk Projects. Thanks for linking up! 🙂
I love everything about these! The color, the bees, everything!
This beeyond is darling. I am adding it on my must try list.
Love these! They all turned out so pretty! Like how you added the moss green paint, and let some of the terra cotta color of the pots show through. Cute was to display them with one inside the wire birdcage! <3
Thank you Linda, I love a quick and cute project, don’t you!
Yes I do! There the best!
This is so wonderfully rustic and bee-utiful! Thanks!
Thanks so much Leda!!
What changings.. I love it.
You make it look so simple, Debbie. I’ll only do container gardening til we move so this will fit in nicely. Thanks.
Thank you Jenni!
These are stunning! I’m always a sucker for a good pun, too! 😉 Happy Sunday!
Thank you Lydi!