Repair and paint a Vanity
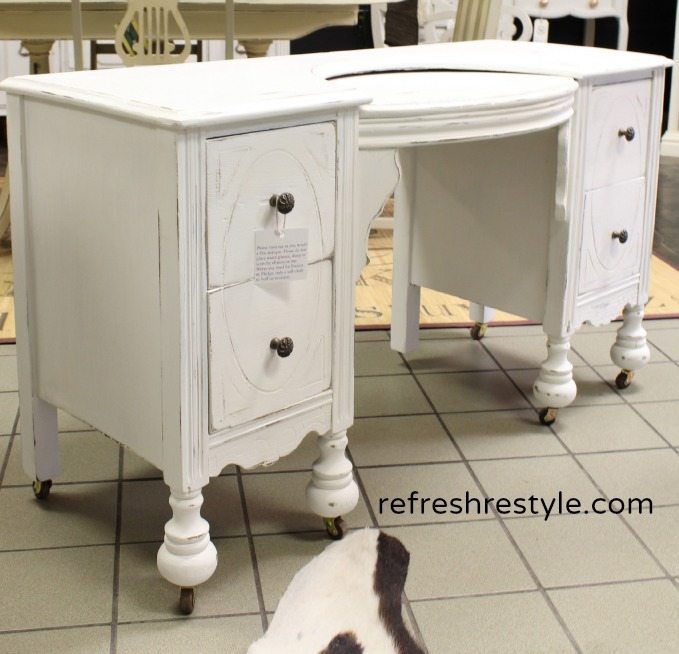
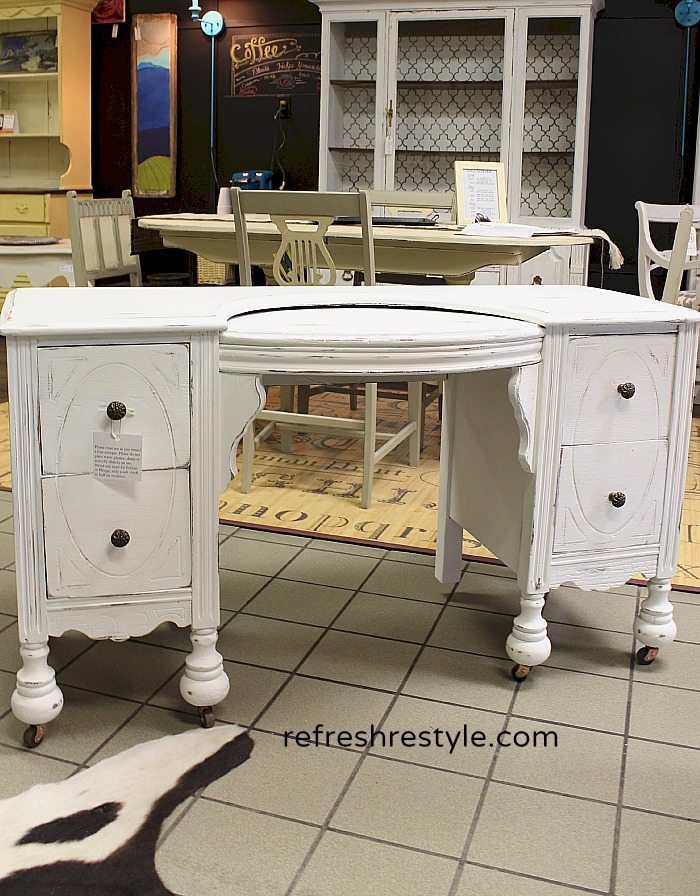
This vanity makeover included a little more than paint. I’ll be showing you what I did.
She had a few casters missing. I ordered these from House of Antique Hardware. I replaced all of them, so they would match.
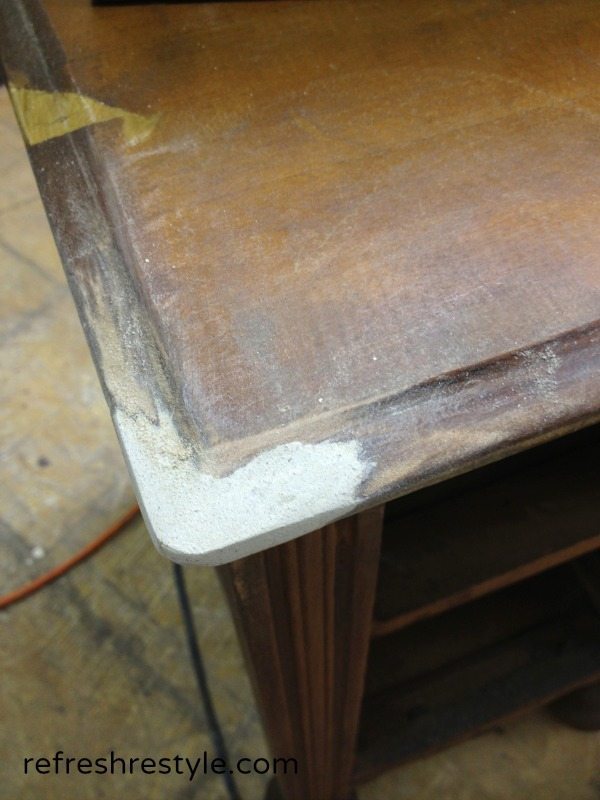
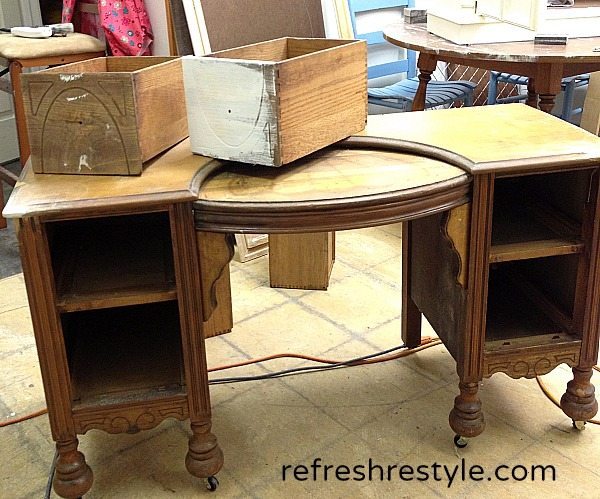
and she was used as a chew toy…
Both of the corners must have been very tasty 🙂 I used Elmer’s Probond Wood Filler, Professional Strength, Repairs Holes + Gauges, Interior / Exterior
When I use wood filler, I always overfill and let it dry as directed on the container. I used my sander and sanding block to recreate the curve on the top of the vanity.
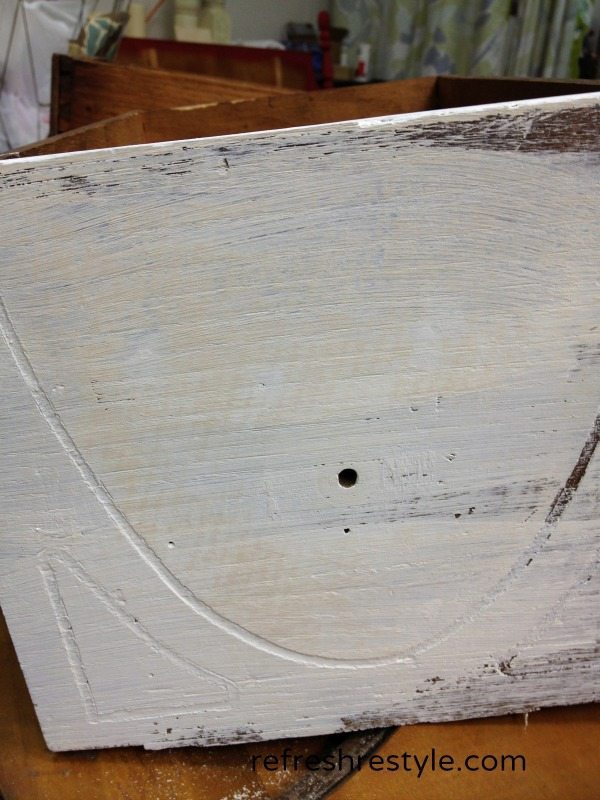
At her age, I suspected that she may bleed through, so I tested one of the drawer fronts. I usually don’t use a primer, but on the older pieces I paint one coat let it dry and see what happens. As you can see from this photo, the stain was bleeding through. No matter how many coats you apply, it would bleed through. Just give in an use a primer. I used Rust-Oleum 3504 Zinsser Oil Primer Sealer Cover Stain White Interior/Exterior, 1-Quart.
Using primer will keep your true white, white. I waxed with clear wax after I distressed. (Wax and Paint by Maison Blanche Vintage Paint Co.)
It’s hard not to just jump in and start painting. Make your repairs, test your piece and just wait. You will be glad you did.
After the repairs are sanded, be sure to wipe down the piece before priming.
She came in dark, dirty and tired,
she left light and refreshed.
I included my Amazon affiliate links to the products that I used, but you can find them locally too.

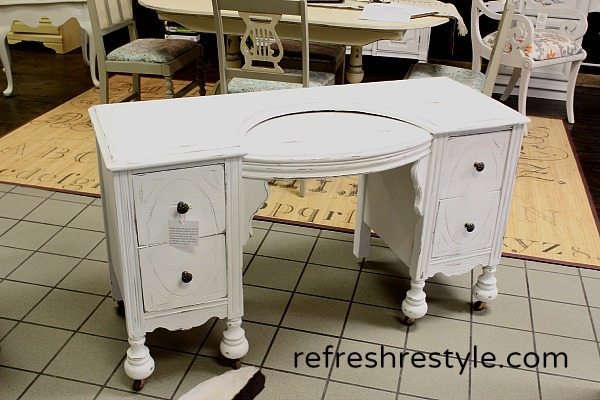


She is so pretty now. Thanks for the tips 🙂
Love this! Plus such good (though hard to follow) advice! It is so hard not to just jump in!
Nice job!
That’s a beauty, I’d chew on it too.
Very pretty!