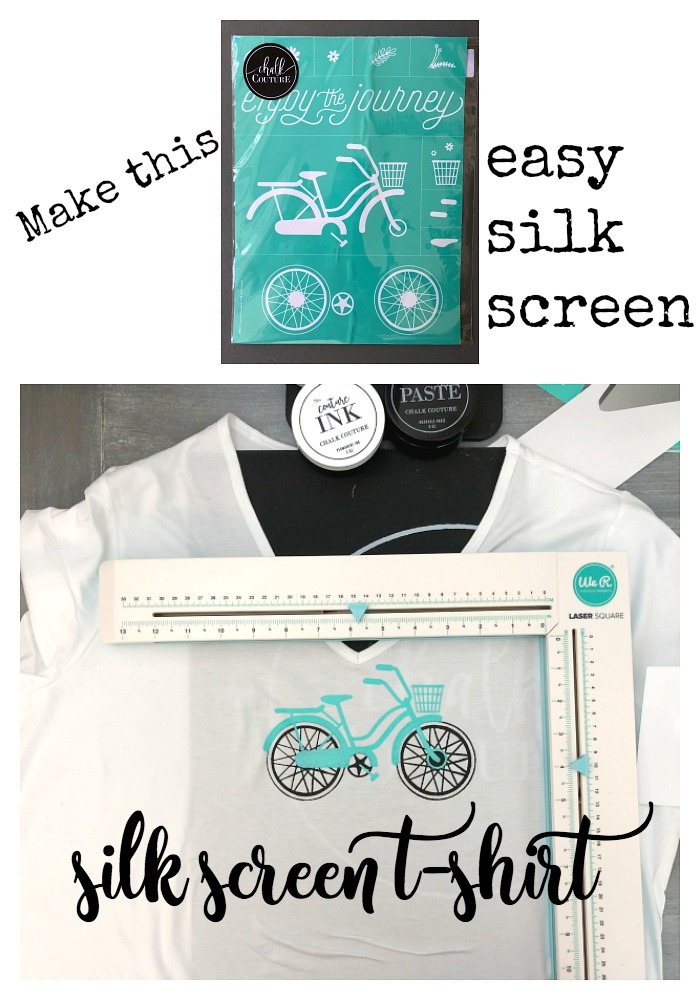
I’m a t-shirt and jeans kinda girl, so this silk screen bicycle idea fits perfectly in my wardrobe. I used the Enjoy the Journey, silk screen transfer from Chalk Couture.
They are similar to stencils but create a much more crisp print as they have a mesh center. When using a squeegee and ink it allows the ink to fill in the open mesh area onto your fabric or other material like glass or wood.
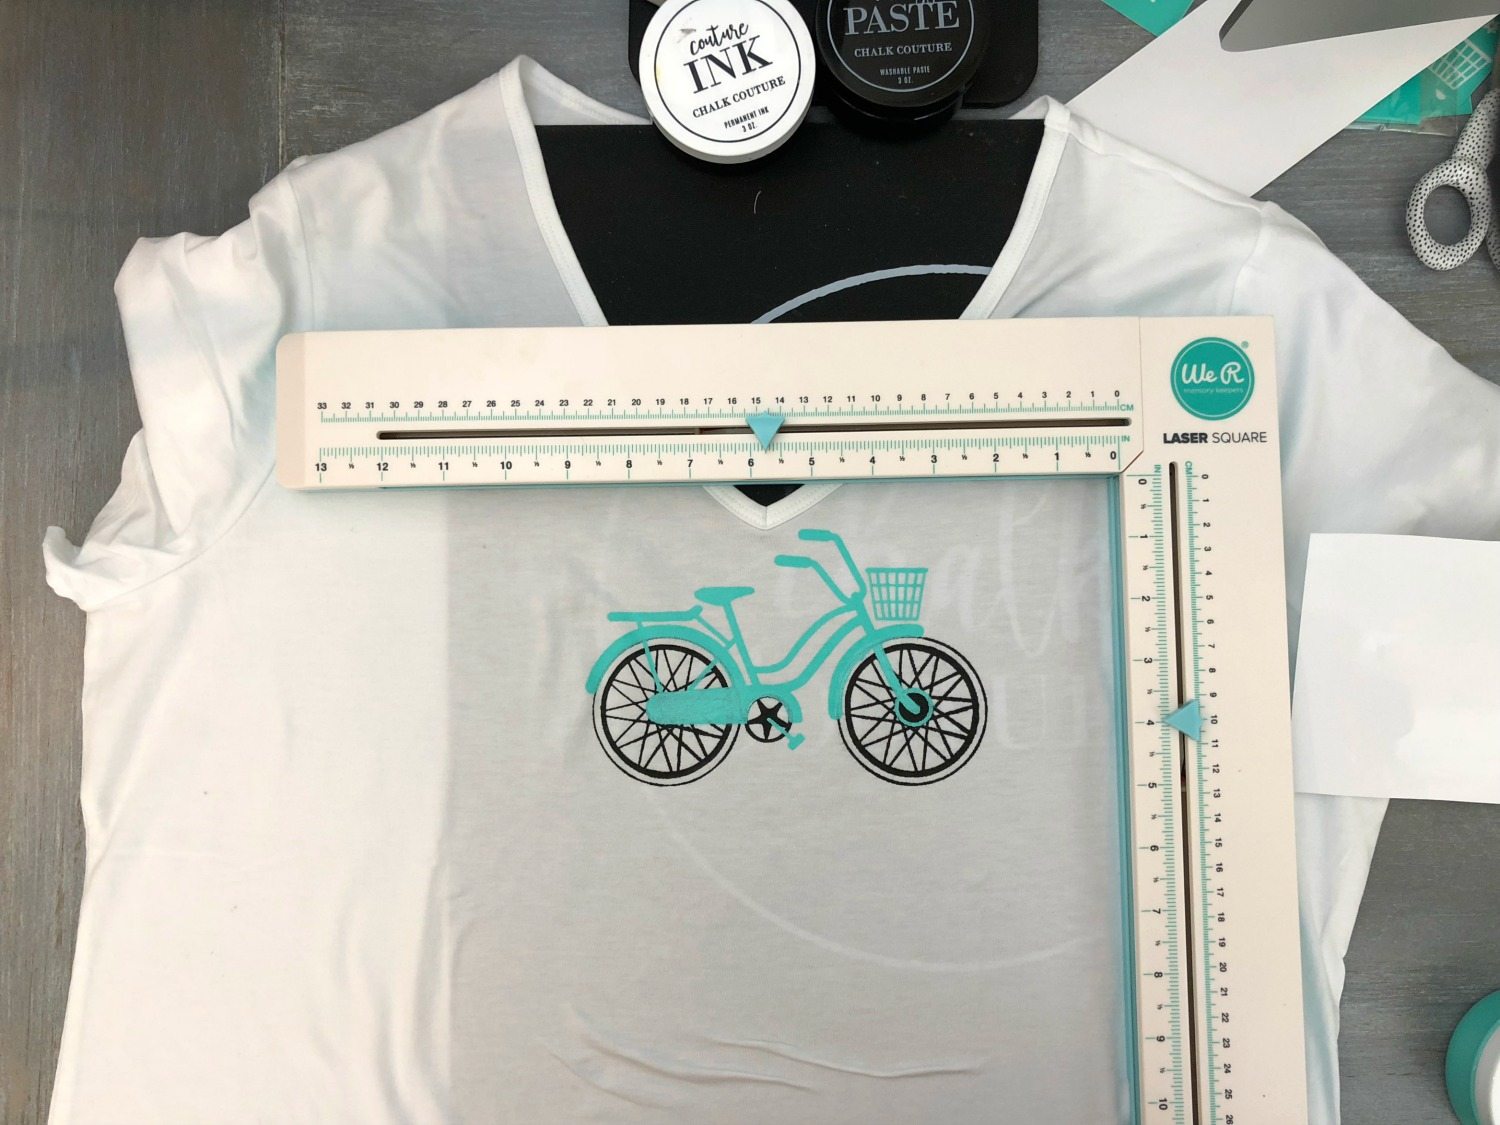
I created this cute t-shirt in no time, seriously it was one of my quickest craft ideas.

Supplies needed for silk screen t-shirt:
- Transfer: Enjoy The Journey (Bicycle)
- Couture Ink – Any color, I used: Couture Teal, Black
- Laser square mat (optional)
- Sticky mat to protect t-shirt (adhesive mat)
- T-shirt – I got my white t-shirt at Walmart.
- Iron or Easy Press
Steps to create inked t-shirt with a silk screen transfer:
- Wash and dry t-shirt and press if needed.
- Place sticky mat between front and back of t-shirt, so the ink doesn’t bleed through.
- Place transfer on to the t-shirt, press it down good so the ink doesn’t bleed under the silk screen. I used a laser square mat to line up the transfer.
- This transfer has several options for layering, let each layer dry in between before adding another transfer layer. For mine, I just used two, the tires and bicycle frame.
- Use a squeegee to apply ink.
- Let the t-shirt dry completely, press with an iron for 4 minutes on both sides or use the Easy Press for 30 seconds on each side with the 305º. This sets the ink and makes it permanent, now you can wash and dry your t-shirt as needed.
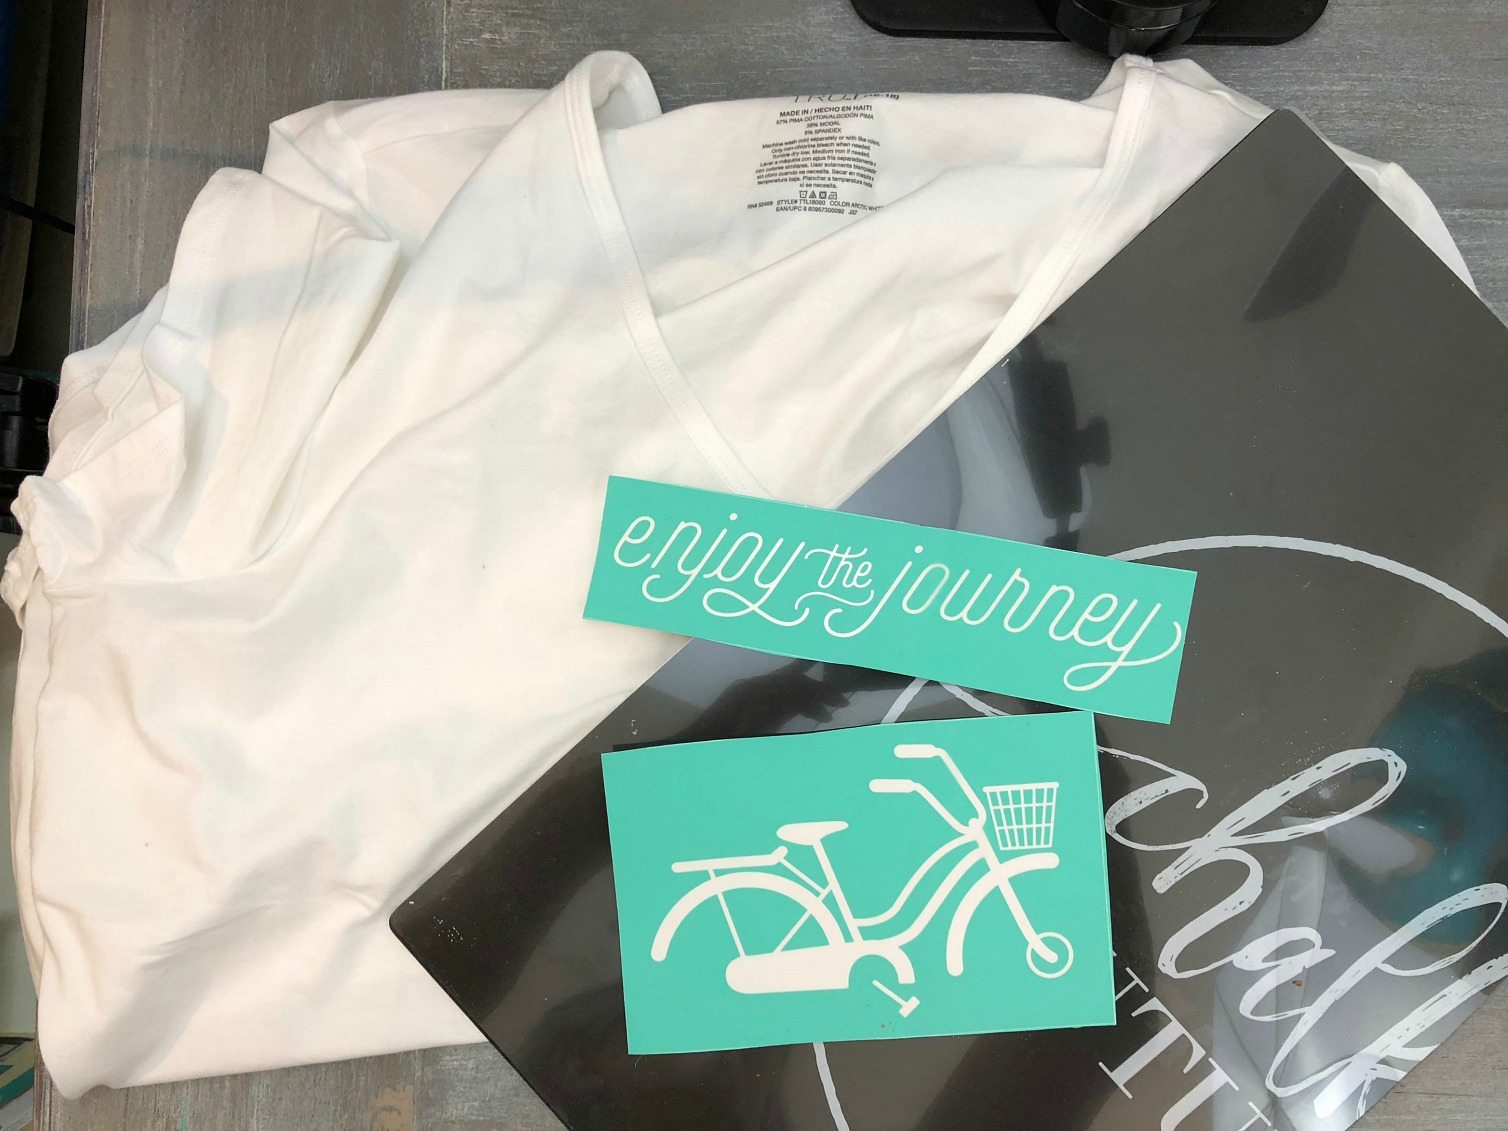
Watch the video:
How To Silk Screen a T-shirt at Home
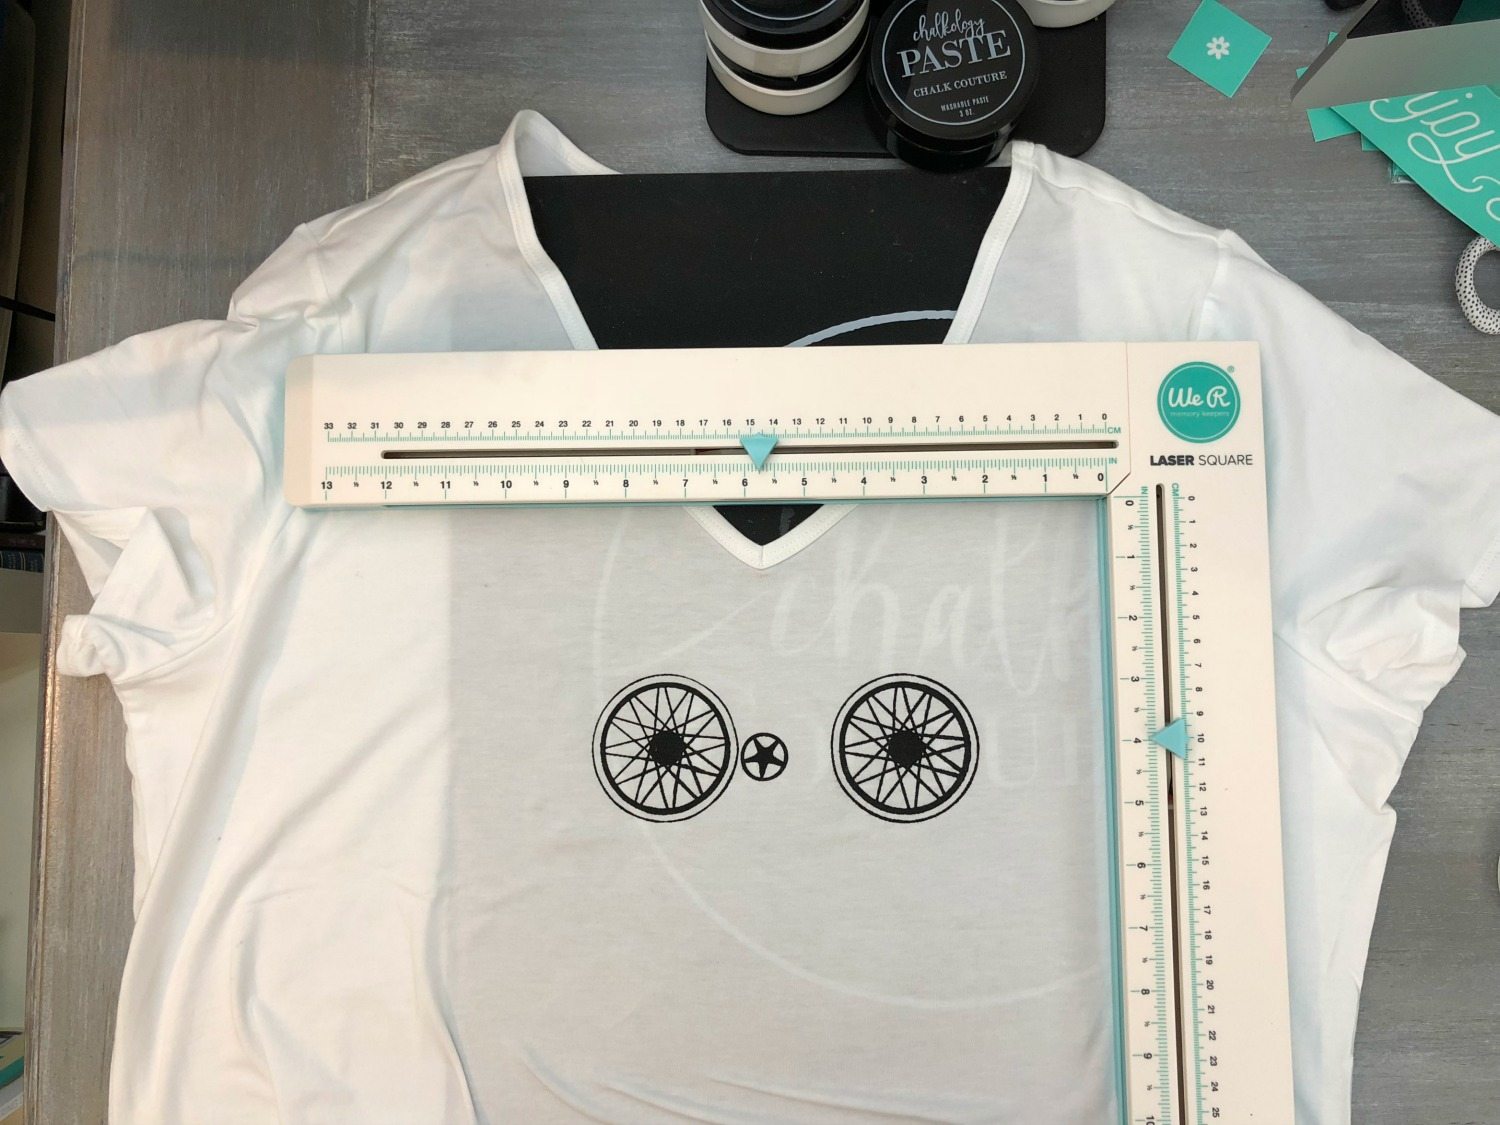
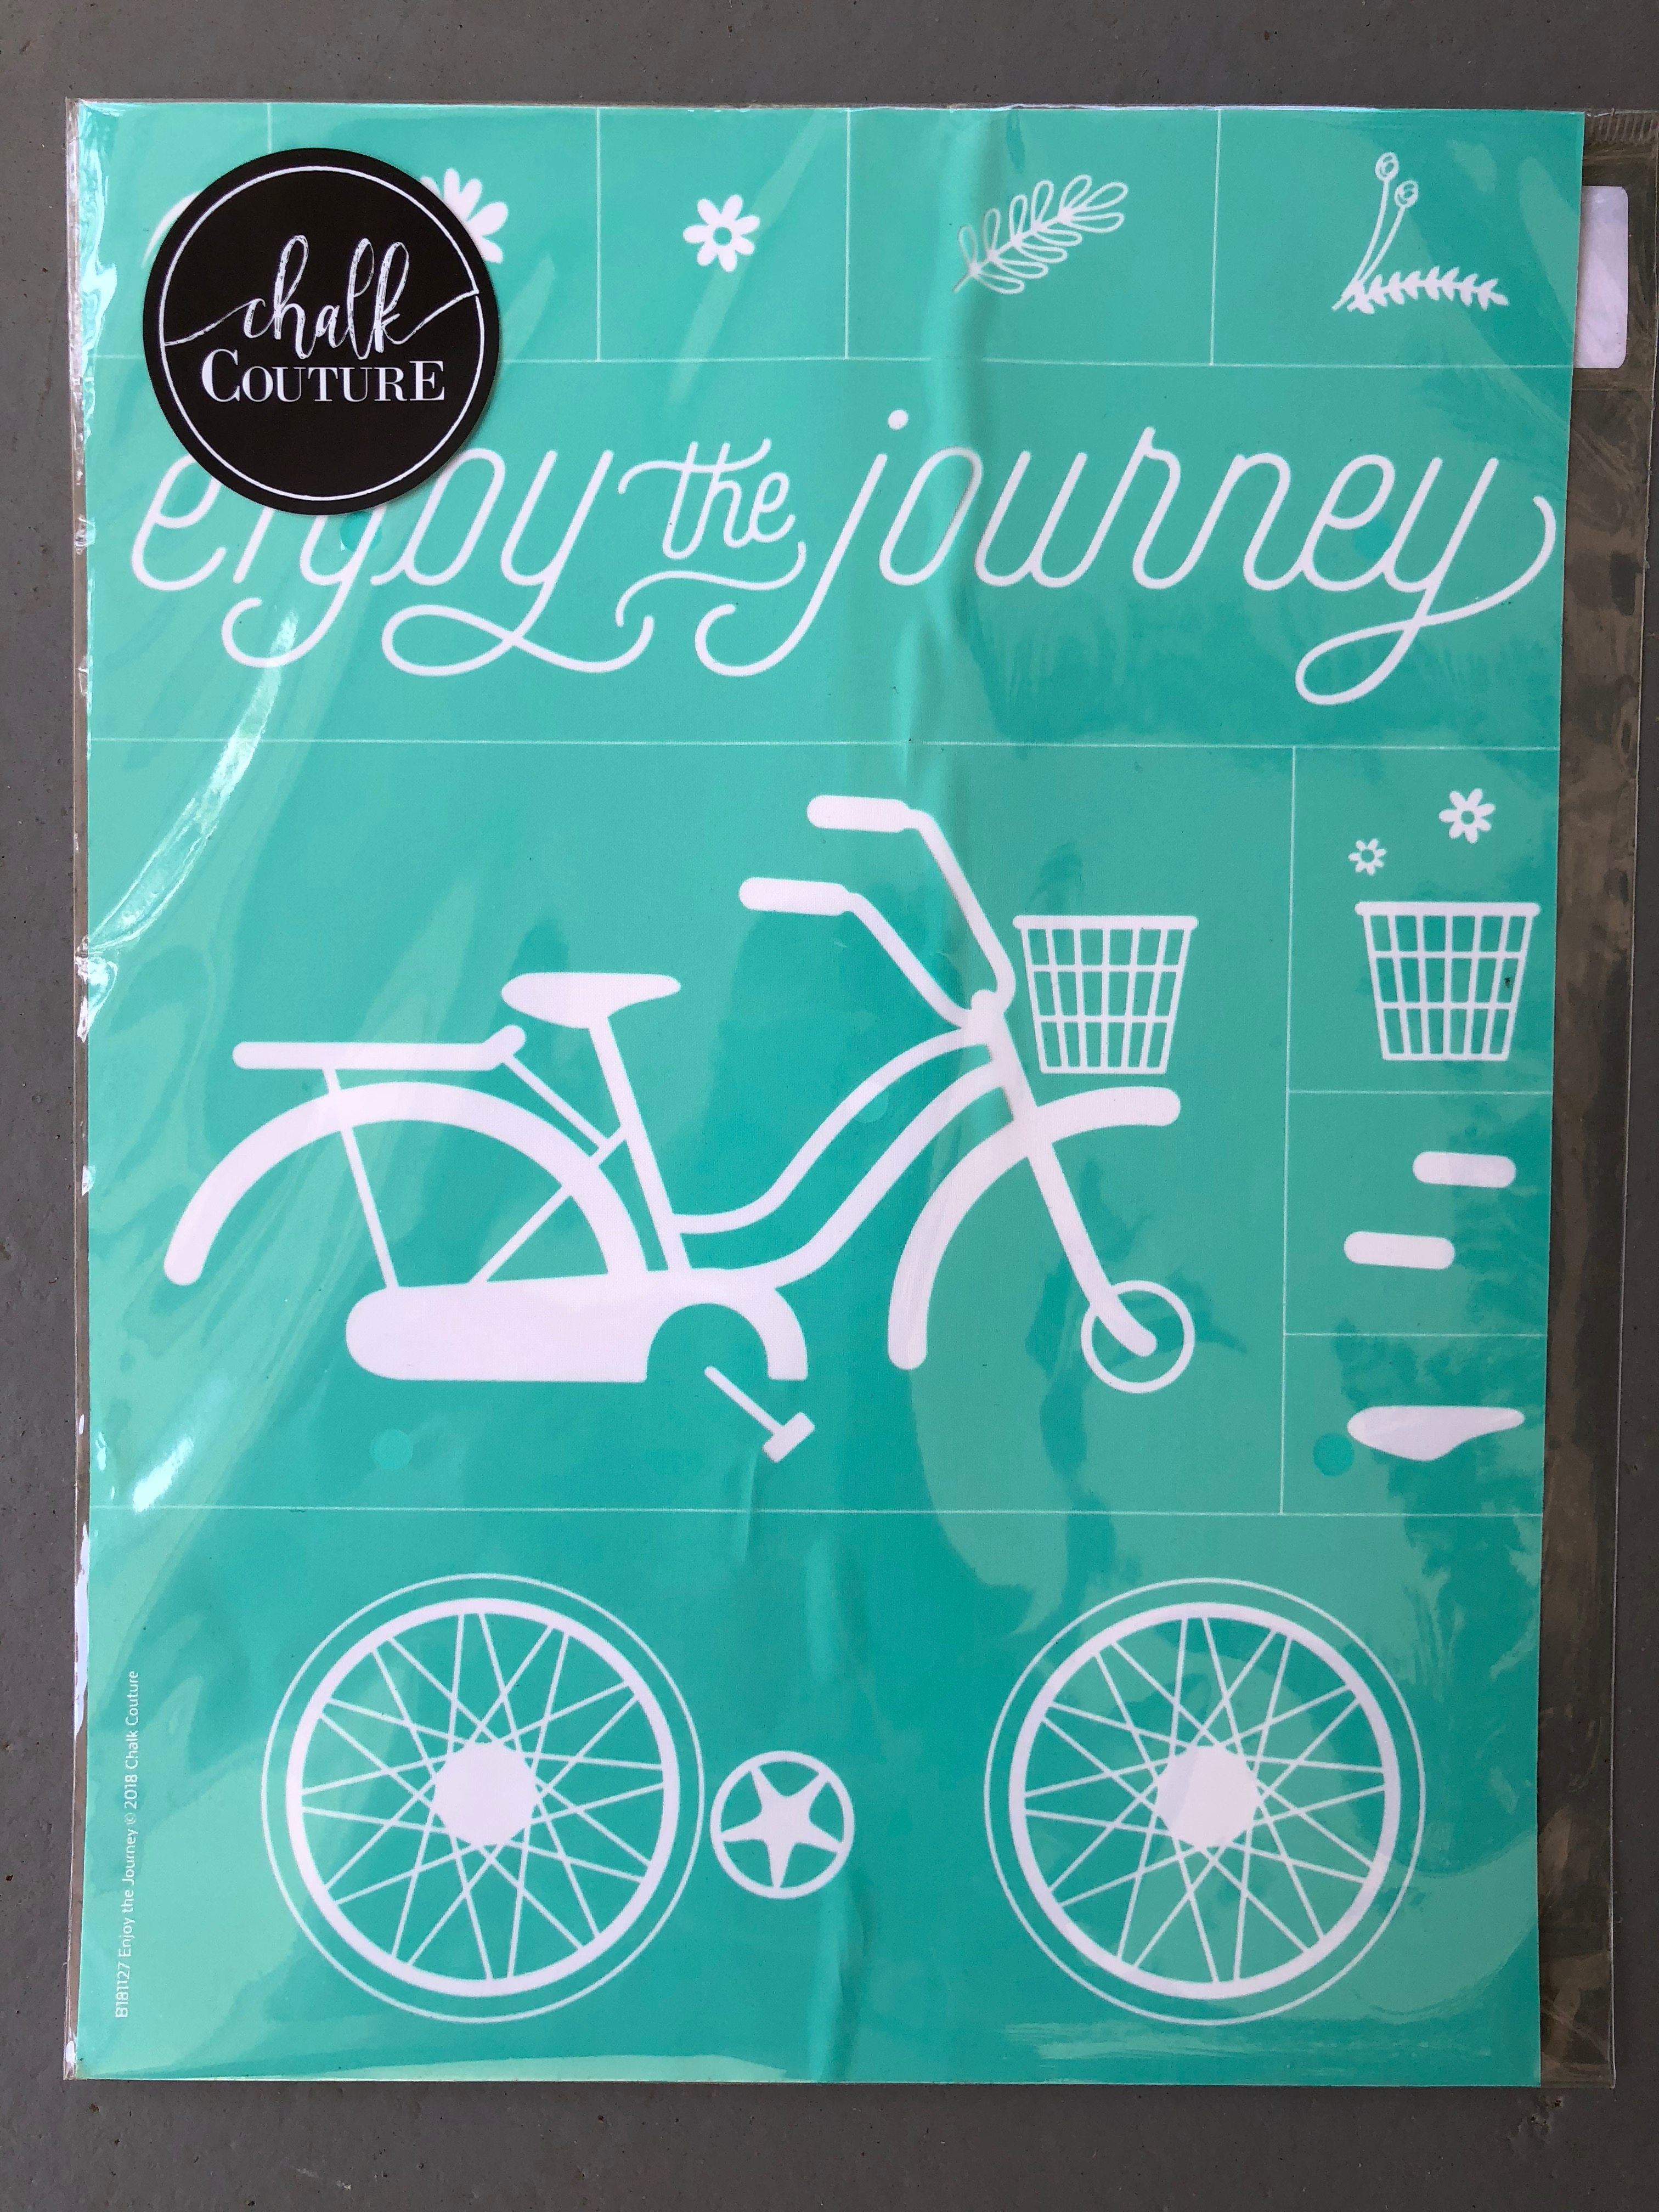


Silk screen printing at home is so easy with the Chalk Couture adhesive transfers. They are durable and perform really well. You can use them dozens of times.
Thanks for pinning and sharing, this is so easy! I hope you and your friends give it a try!


Oh that is so cute and you make it look easy.
It is so easy!! Thank you!
XO
Debbie