November 13, 2026 by Debbie Westbrooks
How to Make a Sublimation Shirt at Home
Live Videos · DIY · Crafts
I made the cutest winter shirt with a Snowy’s Creamery sublimation design and a light striped top. I almost chose a Merry Christmas design, but Snowy’s Creamery felt like something I could enjoy all winter long, especially on one of those cold days when hot cocoa and a cozy spot on the couch sound just right.
Why I Chose a Winter Sublimation Design
I love making seasonal shirts, but I also like getting plenty of wear out of them. Snowy’s Creamery has that fun winter feeling without tying the shirt to one day in December. The ice cream theme is playful, the colors are bright, and it looks so cute with the striped sleeves.
The shirt tag said medium, though it had a roomy feel when I held it up. It also had the smooth inside that I prefer rather than a fuzzy sweatshirt lining. That made it a comfortable choice for a casual winter shirt.
Choosing the Right Shirt for Sublimation
Fabric content makes a big difference with sublimation. This shirt is 62 percent polyester, which gave the design enough polyester fibers to hold the color. I have also used shirts with 65 percent polyester and had good results.
A higher polyester content usually gives you a brighter finished design. The color of the shirt matters too. Sublimation works best on white or other light colors because the ink becomes part of the fabric and has no white base beneath it.
Choose a light shirt so every part of the design can show. Black, navy, and other dark fabrics will hide most of the color. This striped shirt worked because the main body was light and gave the Snowy’s Creamery design a good background.
Supplies I Used
For this project, I used a light 62 percent polyester shirt, the Snowy’s Creamery sublimation design, a heat press, tape, and a wool mat. I also kept parchment paper nearby in case I needed an extra layer inside the shirt.
The sublimation design came in a package with the pressing directions printed on the outside. I love having that information right there because I can check the recommended temperature and time before I start.
Preparing the Shirt
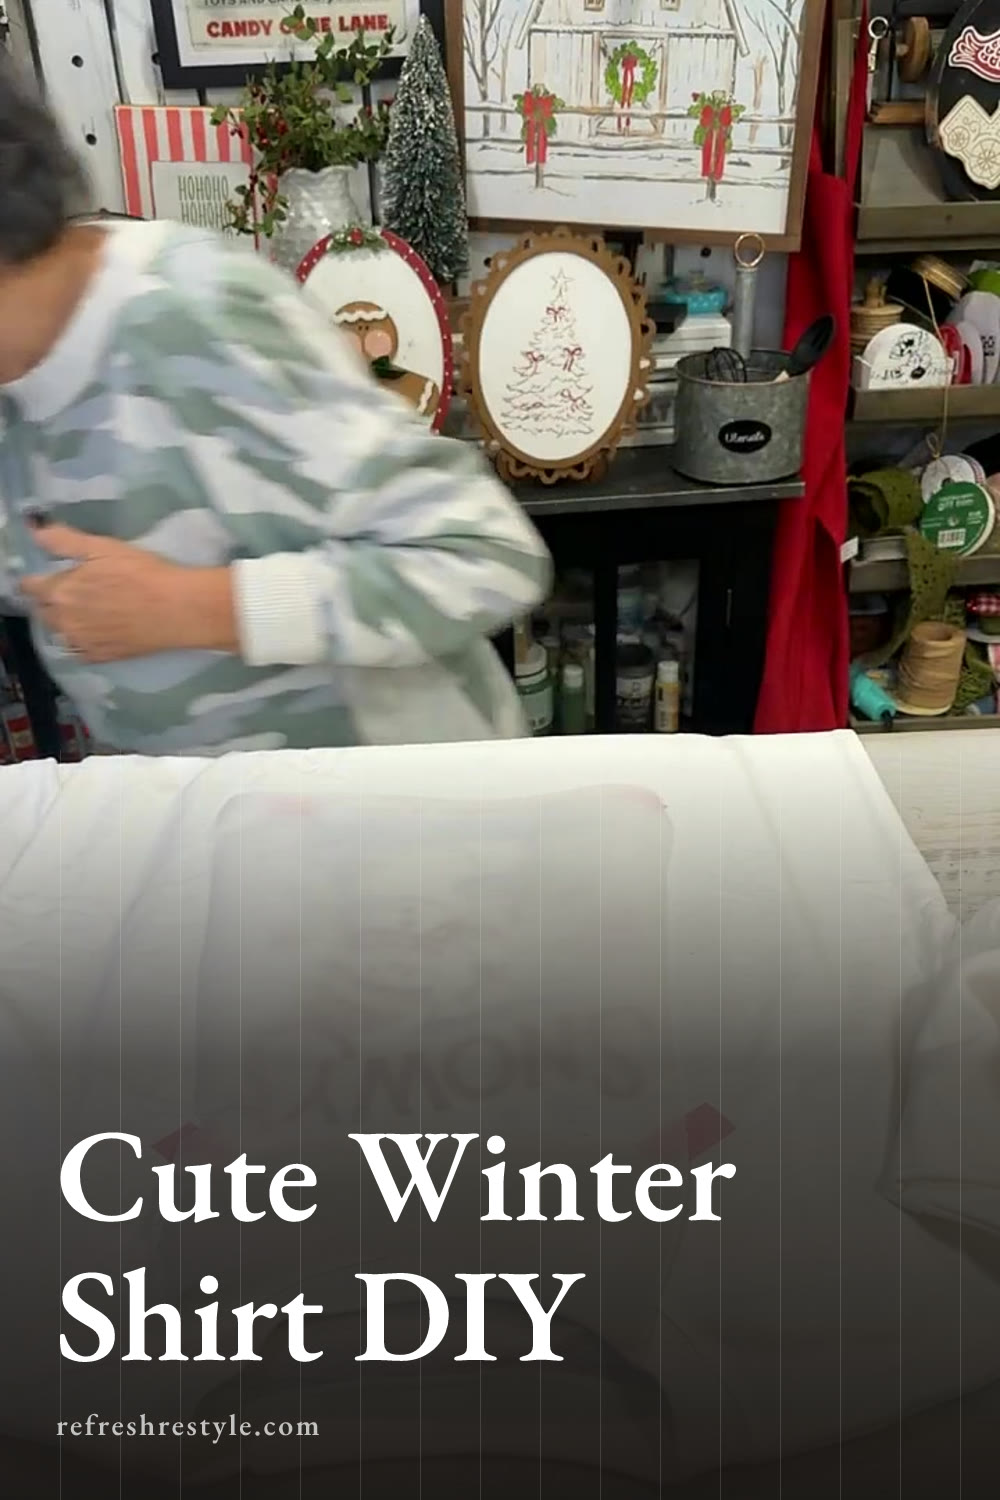
Before pressing, I spread the shirt over my wool mat and smoothed the front. A flat work area helps the design make even contact with the fabric.
For a very thin shirt, I like to place a piece of parchment paper inside between the front and back layers. That extra layer helps protect the back of the shirt from any ink that may pass through. This shirt felt thick enough, so I decided I could press it without the parchment inside.
I also made sure the design would sit straight on the front. Take a moment with placement because sublimation becomes permanent once it transfers.
Taping the Sublimation Design in Place
Once I liked the placement, I taped the design down. This step is important because any movement during pressing can create a blurry or shadowed image.
Keep the paper secure while you move the shirt onto the press. Even a small shift can affect the edges of letters and detailed parts of the artwork. I wanted the Snowy’s Creamery lettering and all those pretty colors to come through clearly, so I held everything steady and added pressure while pressing.
Heat Press Time and Temperature
I heated my press to 360 degrees and set the initial pressing time for 60 seconds. Since the directions were printed on the design package, I could follow the information that came with the transfer.
After the first press, I carefully lifted a small area to peek at the color. Peeking helped me see that the red areas could use a little more time, so I pressed those sections again and held steady pressure.
Every heat press can work a little differently, and the fabric blend can affect the result too. Watch the color as you work and use the directions from your design as your starting point. If an area needs a little more heat, keep the paper in place so the design stays aligned before pressing again.
The shirt and paper get very hot during this process. Give yourself room to work and be careful when lifting the paper or moving the shirt away from the press.
The Finished Snowy’s Creamery Shirt
When I lifted the paper, the design looked adorable against the light fabric. The colors came through beautifully, and the striped sleeves added even more personality without competing with the artwork.
I especially liked how the red looked after the extra pressing time. Holding steady pressure and checking the design before removing the paper completely gave me a finished shirt I was happy with.
My Best Sublimation Shirt Tips
Start with a light polyester shirt and check the percentage on the tag. A shirt with 62 or 65 percent polyester can work well, while a higher percentage generally gives you stronger color.
Keep the design taped down so it stays in the same spot through the entire pressing process. Follow the temperature and time listed on the package, then check the color carefully before removing the design paper.
If your shirt feels thin, place parchment paper between the layers. Always remember that the fabric, paper, and press will be hot when the pressing time ends. Once the shirt cools, it’s ready to wear for a winter outing, dinner, or a cozy day at home.
Chalk Couture supplies
Browse Chalk Couture heat transfers, or shop my full store here.
I am an independent Chalk Couture designer, so I earn a commission on these links. See my disclosure for more.