September 22, 2026 by Debbie Westbrooks
Chalk Couture Argyle Snow Globe Canvas
Live Videos · Crafts · DIY
I turned a flat Dollar Tree canvas into a big retro snow globe, and the Chalk Couture Argyle transfer gave the background the prettiest winter sweater look. Once I added the little skating scene, faux snow, silver tinsel, and ribbon, it reminded me of an old fashioned Christmas decoration from childhood.
Supplies I Used
I started with an eight by ten flat canvas from Dollar Tree. A piece of wood, a scrap board, or a regular canvas would work too, as long as the surface is flat enough to hold the clear globe.
For the design, I used my Chalk Couture Argyle transfer with black color. I also used a six inch clear globe, a miniature Santa and children skating scene, light blue and white paint, gold paint, faux snow, silver tinsel trim, velvet ribbon, hot glue, a paintbrush, a squeegee, and a sander.
The clear globe was actually one half of a large clear ornament. I like the six inch size because it gives me plenty of room for a scene and a good amount of snow.
Tracing the Snow Globe
Before adding the background pattern, I placed the clear dome near the center of my canvas and traced around it with a pen. I set it a little lower than center because I already knew I wanted room for ribbon at the top.
You can measure from side to side if you want everything centered exactly. I usually place mine where it looks right and keep going.
That traced circle showed me where to leave an open area for the snowy sky. The Argyle pattern would cover the canvas around it.
Creating the Chalk Couture Argyle Background
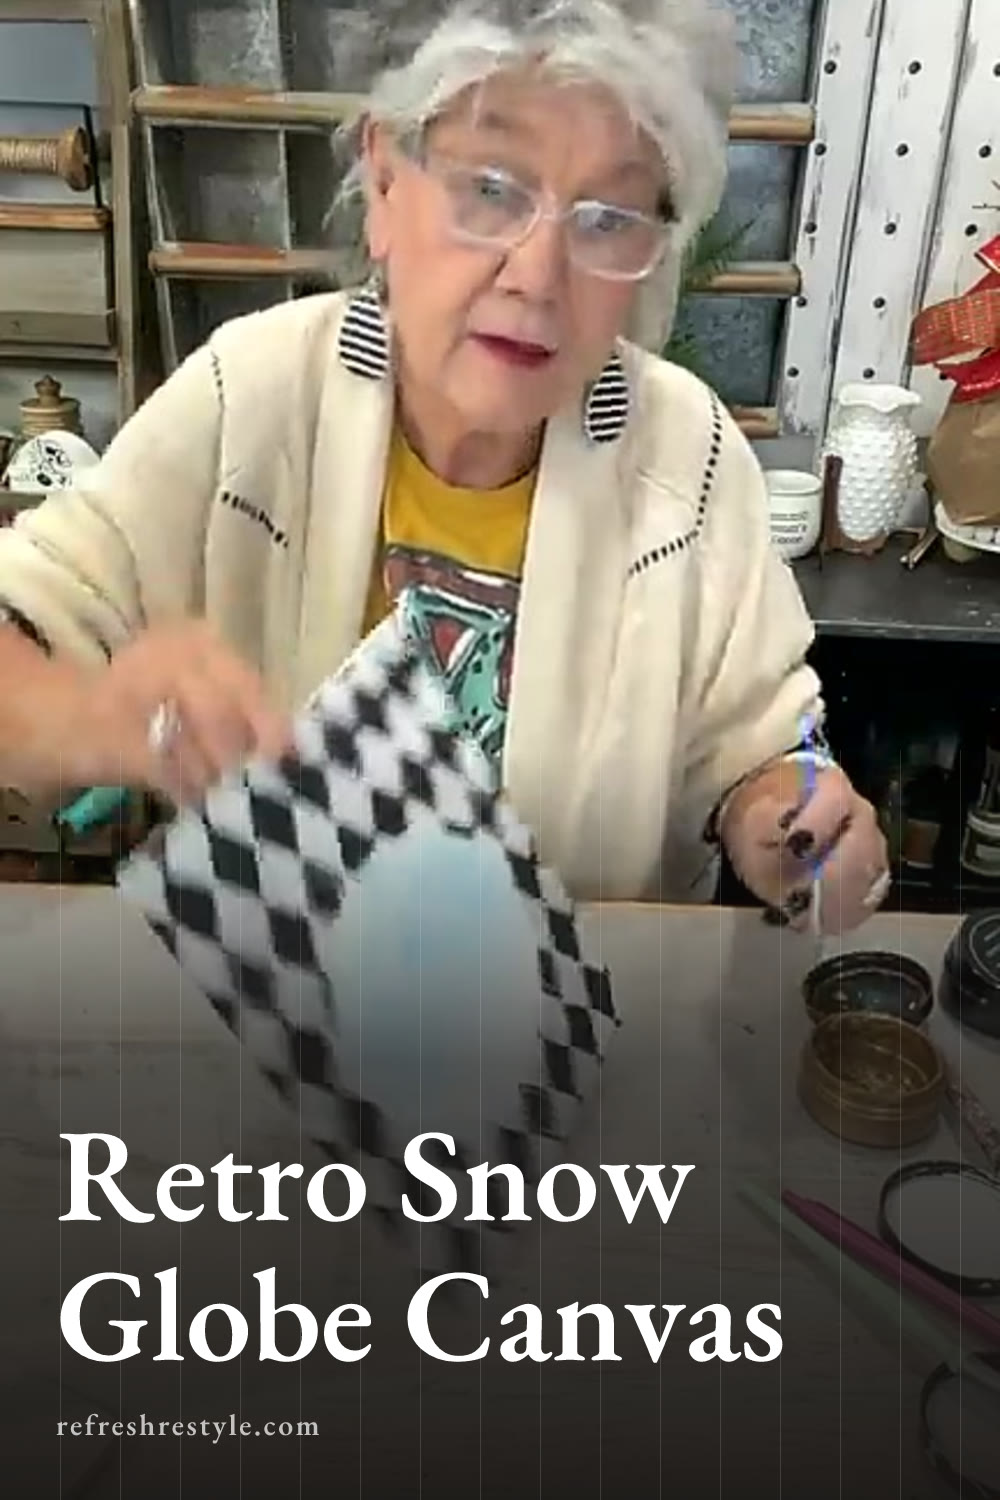
I placed the Chalk Couture Argyle transfer over the canvas and applied black through the design with a small squeegee. I worked around the traced circle and kept the center open.
This Dollar Tree canvas had a rough texture, so the pattern had a rustic finish in a few areas. I was fine with that because I planned to distress it anyway. If you want a smoother result, you could lightly sand or paint your surface before adding the transfer.
I lifted the transfer after working across part of the design so the color wouldn’t dry in the screen. Then I repositioned it to add more pattern along the bare edges. Some of the pattern went on a little crooked, but that added to the handmade look.
Once the black design was dry, it looked a little stark against the white canvas. I lightly sanded over the pattern, which softened the black and turned parts of it gray. That one step made a big difference.
Adding Gold Details
After sanding, I used a small brush to add gold paint to a few parts of the Argyle pattern. I kept the gold scattered instead of painting every section.
The little gold marks looked almost like shadows, and they gave the background a fancier vintage feel. A lot of this area would eventually sit behind the clear dome, but the touches around the outside still showed.
I made sure the gold paint dried well before moving on to the globe scene.
Painting the Snowy Sky
Inside the traced circle, I painted a simple sky with light blue and white. The skating figurine already had icy blue colors, so I tried to match those shades and make the whole scene feel connected.
I blended the colors right on the canvas and kept the look soft and snowy. The bottom of the circle stayed mostly unpainted because I knew the faux snow would cover that area.
You can paint all the way to the bottom if you prefer. I’ve made plenty of these snow globes, and the loose snow usually hides that section once everything is assembled.
Building the Skating Scene
I tested the miniature Santa and children inside the traced circle before gluing anything. I placed the figurine a little above the bottom edge so there would be room for a layer of snow.
Once I liked the placement, I added hot glue to the bottom of the figurine and behind Santa’s head. I held it firmly against the canvas until the glue set because I wanted the piece secure before adding the dome.
Miniature holiday figurines are wonderful for these projects. I always look at the faces before buying them since some tiny figures can have funny details. This skating group had sweet faces and worked perfectly with the snowy background.
Adding Faux Snow and the Clear Globe
I added hot glue along the lower part of the scene, then sprinkled faux snow over it so some of the snow would stay in place. I also poured loose snow into the clear dome before attaching it.
I traced the edge with hot glue and pressed the dome onto the canvas. You’ll want to hold it until the glue is set. I added a little more snow after my first attempt because the large globe had room for it.
This decoration gives the look of a real snow globe, but I plan to leave the snow settled at the bottom instead of shaking it. That helps protect the glued edge and keeps the scene arranged the way I like it.
Finishing the Retro Snow Globe
The edge of the clear dome looked unfinished, so I glued silver tinsel trim all the way around it. The tinsel covered the glued seam and brought in that vintage silver tree feeling.
I finished the top with velvet ribbon. The soft ribbon looked pretty against the shiny silver trim and gave the globe a polished Christmas finish without covering the Argyle background.
If you make one, choose the colors and trim that fit your Christmas decor. Red trim around the dome would be pretty, and a thrift store frame could also turn the eight by ten canvas into a more finished piece. Just make sure the frame has enough room for the depth of the clear globe.
Chalk Couture supplies
Browse Chalk Couture heat transfers, or shop my full store here.
I am an independent Chalk Couture designer, so I earn a commission on these links. See my disclosure for more.