October 30, 2026 by Debbie Westbrooks
Chalk Couture Candy Cane Christmas Sign
Live Videos · DIY · Home Interior
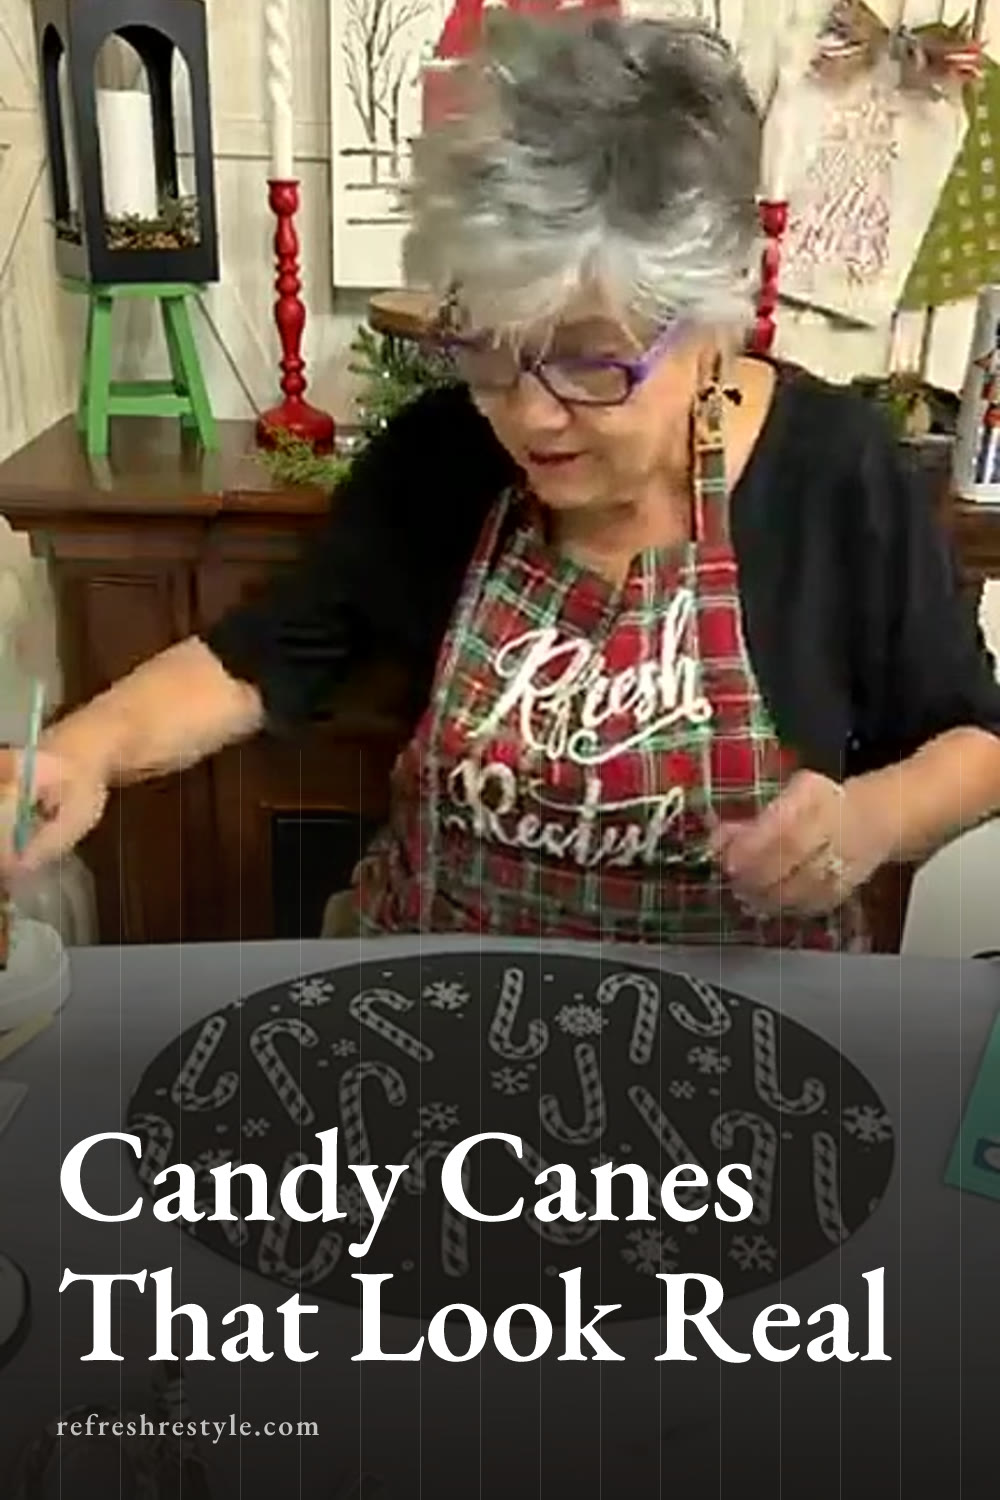
I made a festive Christmas sign filled with layered candy canes, and the shadows and highlights make them look almost real. I used a Chalk Couture candy cane transfer with white and red paste, then finished my oval sign with silver JOY letters, greenery, and a red bow.
Supplies I used
Here’s what I used to create my candy cane Christmas sign.
- A 16 by 11.5 oval board
- Black, white, and red chalk paste
- Chalk Couture candy cane and snowflake transfer designs
- A small squeegee
- A small paintbrush
- Surface wax
- Silver J, O, and Y letters
- Greenery
- A large craft stick
- Red ribbon
- Hot glue gun
I thought the silver letters came from the Target Dollar Spot. They were probably meant to be gift initials, but I saw J, O, and Y and knew I could turn them into something for Christmas.
Paint the oval board black
I started by covering the oval board with black chalk paste. This surface measures 16 by 11.5 inches, so it gives the design plenty of room and can be used vertically or horizontally.
The board covered easily, and I worked the black paste across the surface until I had a solid background. I planned to add silver letters later, so the black helped those reflective pieces stand out while also giving the red and white candy canes plenty of contrast.
Let the black background dry before adding the transfer. A fully dry surface makes the next steps much easier, especially when you’re working with an adhesive transfer.
Create the Chalk Couture candy cane design
The reusable Chalk Couture transfers are sticky, so they stay in place while I apply the paste. I lightly fuzzed the transfer before placing it on the board, which reduced some of the stickiness and helped it release from the painted surface.
I arranged the first section of candy canes in one direction. For the second section, I turned the design so the candy canes faced the opposite way. That small change kept the pattern from looking too uniform.
I also added white snowflakes in a couple of open spots. They filled the empty areas without making the design feel crowded.
Add the first white layer
I applied white paste through the transfer first. Once the screen area was covered, I lifted the transfer before the paste dried in it. This gave me the outlines and details for the candy canes along with the snowflakes.
You can reuse one transfer for both sides of the board by washing it between sections. I had another transfer ready, so I used a fresh one for the second area.
At this stage, the black and white design already looked pretty. If you love neutral Christmas decorations, you could stop with that color combination and continue with the greenery and bow.
Paint the candy canes white
Next, I used a small paintbrush to fill the candy cane shapes with white. I worked my way across the board and followed the shapes created by the transfer.
The paintbrush I grabbed was softer than I wanted, so a few areas needed a little touch up. The design is forgiving, and small slips can be covered with black or white paste once the area dries.
After filling all the candy canes, I dried the surface completely. I then rubbed a light layer of wax over the design. The wax helped protect the white base when I placed the sticky transfer over it again.
Line up the red layer
I returned the transfer to the candy canes and used the visible design to line everything up. Since you can see through the transfer, it’s easy to match the screen with the white candy cane shapes underneath.
I spread red paste over the candy cane sections while keeping it away from the snowflakes. I lifted the transfer slowly so I could check the design and fill any missed areas before removing it completely.
This red layer made the biggest difference. The remaining white sections became the stripes, highlights, and shadows, which gave each candy cane a three dimensional look. Moving the board as I worked made it easier to reach each area and helped me control the paste around the snowflakes.
Add greenery to the top
For the greenery, I reused a piece from another project. I had already glued the greenery to a large craft stick and stained the stick so it blended into the arrangement.
Attaching greenery to a craft stick makes the whole piece sturdier and easier to glue to a sign. I centered it along the top of the oval, added hot glue, and held it in place while the glue set.
You can prepare this piece before starting the sign. Glue your greenery to a craft stick, let it set, and then attach the finished bundle wherever it looks best.
Finish the sign with JOY and a bow
I glued the silver J, O, and Y letters below the greenery. The letters have a reflective finish, and the black background helped them show up in person. I eyeballed the placement and adjusted the spacing as I worked.
A red bow finished the top of the sign. My ribbon wasn’t wired, though wired ribbon would work well too. I tied the bow, trimmed the ends, and glued it in the center of the greenery.
The craft stick hidden behind the greenery gave me a firm place for the bow and helped the entire topper feel secure.
Easy ways to change the design
The oval shape can be displayed in either direction, and the candy cane design would also look cute on a tray. You could leave the pattern black and white for neutral decor, use green in place of red, or skip the silver letters and let the candy canes fill the whole surface.
You could also hang small ornaments from the greenery for more color and shine. I kept my sign focused on the silver JOY letters and red bow so the dimensional candy canes remained the main feature.
Chalk Couture supplies I used
You can shop my full Chalk Couture store here.
I am an independent Chalk Couture designer, so I earn a commission on these links. See my disclosure for more.