October 28, 2026 by Debbie Westbrooks
DIY Gingerbread Christmas Decor With Wood Cutouts
Live Videos · DIY · Crafts
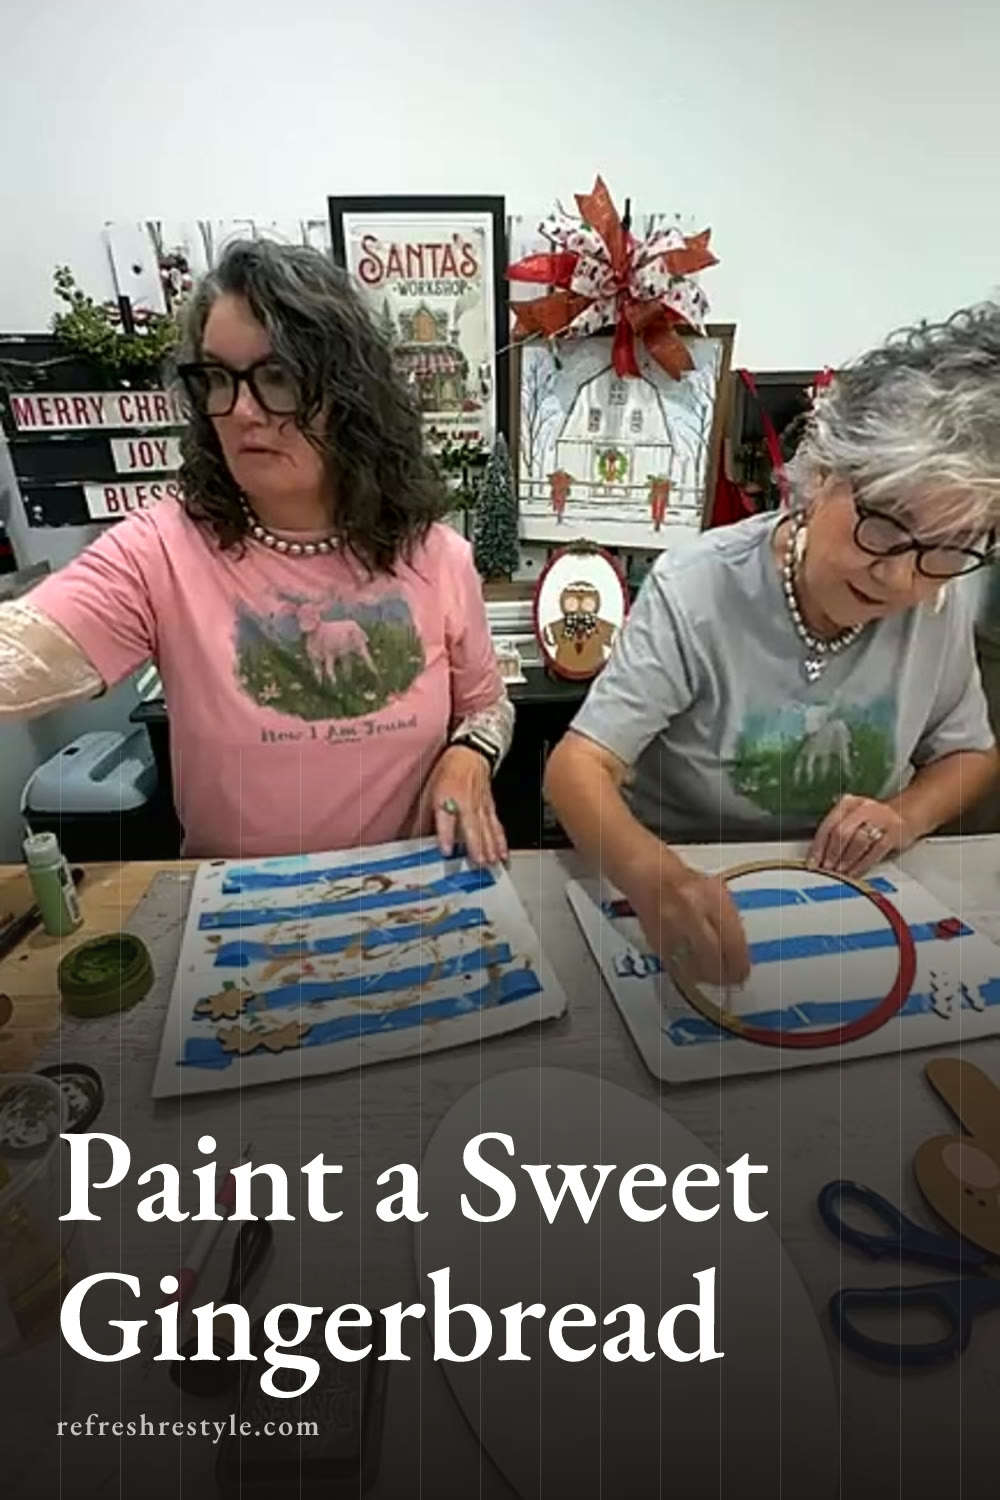
I made the sweetest gingerbread Christmas decoration using painted wood cutouts, a natural oval background, snowy greenery, and a little green velvet bow. The rosy cheeks and bright red hearts give this gingerbread plenty of personality, while the black paint splatter adds just enough contrast to the background.
Supplies I Used
My project came from the October craft along box, which included the wood pieces, oval background, stand, and an instruction sheet. The sheet also had a QR code that linked to the project video.
Here are the supplies I used for my gingerbread decoration.
- Oval wood background
- Gingerbread wood cutout
- Greenery, berry, and heart cutouts
- Camel chalk paste
- Pesto and Fresh Cut Grass for the greenery
- Peachy Keen for the cheeks
- Cherry for the hearts and berries
- White and black paste
- Paint daubers and paintbrushes
- Dotting tool
- Distress ink
- Toothbrush for splattering
- Water
- Glue and hot glue
- Green velvet ribbon
- Craft dryer
You can use chalk paint or acrylic craft paint on these wood pieces too. I used the supplies I had close by, and the colors worked beautifully for this warm Christmas palette.
Painting the Gingerbread Wood Cutout
Add the warm brown base
I started by painting the gingerbread cutout with Camel chalk paste. A paint dauber makes quick work of a shape like this because it covers the surface without leaving many brush marks.
I let the brown dry before moving on to the face and small details. Drying between colors keeps the edges cleaner, especially around the cheeks and eyes.
Paint the rosy cheeks and eyes
For the cheeks, I used Peachy Keen. I made them fairly large because those rosy circles are part of what makes this little gingerbread so cute.
Once the cheeks were dry, I drew on the eyes with a black paint pen. I had forgotten the eyes when I made the first version, so I made sure to add them before assembling this one. A paint pen can release a lot of paint when the tip is pressed down, so I like to test it on a scrap before touching the project.
I used a dotting tool and white paste to add small highlights and decorative dots. For evenly sized dots, dip the tool into the paste before making each one. For a mix of sizes, load the tool once and make several dots as the amount of paste gets smaller.
Painting the Christmas Details
Add the red hearts and berries
I painted the hearts and berries with Cherry. It is a pretty, cheerful red that stands out against the brown gingerbread and natural wood background.
A small dauber worked well on the larger pieces, while a paintbrush made it easier to reach the little areas. I kept a few fresh daubers nearby since dried paint can make the foam loose or uneven.
Paint the greenery
I used Pesto on the greenery and also mixed in a little Fresh Cut Grass for another shade of green. Mixing the two gave the leaves a little more interest while keeping everything in the same color family.
After the green dried, I dabbed white paste along parts of the greenery to look like snow. I love adding a touch of snow to Christmas projects, especially when the rest of the design has warm gingerbread colors.
Add Distressing and Paint Splatter
I rubbed a little distress ink around the edge of the gingerbread to give it darker, baked looking edges. This small detail adds depth and keeps the cutout from looking flat against the background.
The black splatter was the detail I really wanted on this version. I had meant to add it the first time and remembered after the project was finished.
To make the splatter, I thinned a small amount of black paste with water until it was runny enough to flick from a toothbrush. I practiced first, then held the toothbrush over the oval background and pulled my finger across the bristles.
Some dots will be tiny and a few may be larger. That uneven look is part of the charm. I also added a little splatter over the painted pieces so the whole project felt tied together.
Cover your work area and keep the toothbrush aimed down toward the project. The paint travels farther than you might expect. Let the splatter dry fully before gluing anything in place.
Assemble the Gingerbread Christmas Decor
Once all the pieces were dry, I arranged everything on the oval background. I like to move the pieces around before adding glue so I can check the spacing and make sure the hearts and greenery fit nicely around the gingerbread.
I spread glue across the back of the gingerbread cutout with an old paintbrush. A brush I no longer use for painting is perfect for spreading an even coat of glue. I pressed the gingerbread onto the background, then attached the hearts, greenery, and berries.
The last detail was a green velvet bow. The green ribbon ties in with the greenery and adds a soft texture beside all the painted wood. I trimmed the ribbon so it stayed clear of the heart and attached it with hot glue.
Displaying the Finished Project
The included stand makes this gingerbread decoration easy to display on a table, shelf, or Christmas mantel. I can also add Command adhesive strips to the back and hang it on a wall.
The wood background can stay natural like mine, or it can be painted or stained before adding the cutouts. Leaving it natural gave me a warm background that let the red, green, white, and gingerbread brown stand out.
Chalk Couture supplies I used
You can shop my full Chalk Couture store here.
I am an independent Chalk Couture designer, so I earn a commission on these links. See my disclosure for more.