July 30, 2026 by Debbie Westbrooks
Chalk Couture Chalk Paste Scarecrow Craft
Live Videos · Crafts · DIY
I made the happiest little wooden scarecrow for fall, complete with a rustic hat, stitched nose, bright sunflower, and a scrappy ribbon bow. I used Chalk Couture chalk paste to paint the layered wood pieces, then added sanding and distress ink so the finished scarecrow had the worn look I love.
This project came from our July craft along box, which also included decorative tissue paper, two sunflower cutouts, and a small crow. The original sample had a leaf tucked into the hat, but I decided to use the smaller sunflower this time. That simple change gave the scarecrow a whole new look.
Getting the wooden pieces ready
I started by moving all the small pieces to a scrap sheet of paper so they would be easier to paint. Layered wood projects usually have several tiny parts, and keeping them together from the beginning saves a lot of searching later.
The eye pieces had little white sections that could be popped out before painting. I separated those pieces and grouped everything by color. When several pieces need the same paint, I like to finish all of them at once. It keeps the project moving and cuts down on brush cleanup.
I left the backboard as it came and focused on the pieces that would show. The hat received a warm brown color, while the darker details were painted black. I also used black for the large smiling mouth because every fall scarecrow needs a cheerful expression.
Painting with Chalk Couture chalk paste
Chalk Couture chalk paste works well for more than transfers. I already had the colors on my table, so I used the paste just like paint on the wood cutouts. You could use acrylic paint or chalk paint for a similar project, but the paste gave me good coverage and dried quickly.
I painted the face with Dune, which is a deeper off white with a light beige look. It gave the scarecrow a soft neutral face that worked well with the brown hat and darker details.
Some of my brown paint looked a little splotchy after it dried. That worked for this project because a scarecrow can handle plenty of rustic character, but I brushed on a little more color where I wanted fuller coverage.
A heat gun helped speed up the drying between coats. Keep it moving over the surface and give the small wood pieces a little space so the air doesn’t send them sliding across the table.
Adding a bright sunflower
I picked up orange paint when I hadn’t planned to, so I went with it and made the sunflower orange and yellow. Those colors ended up being perfect for fall.
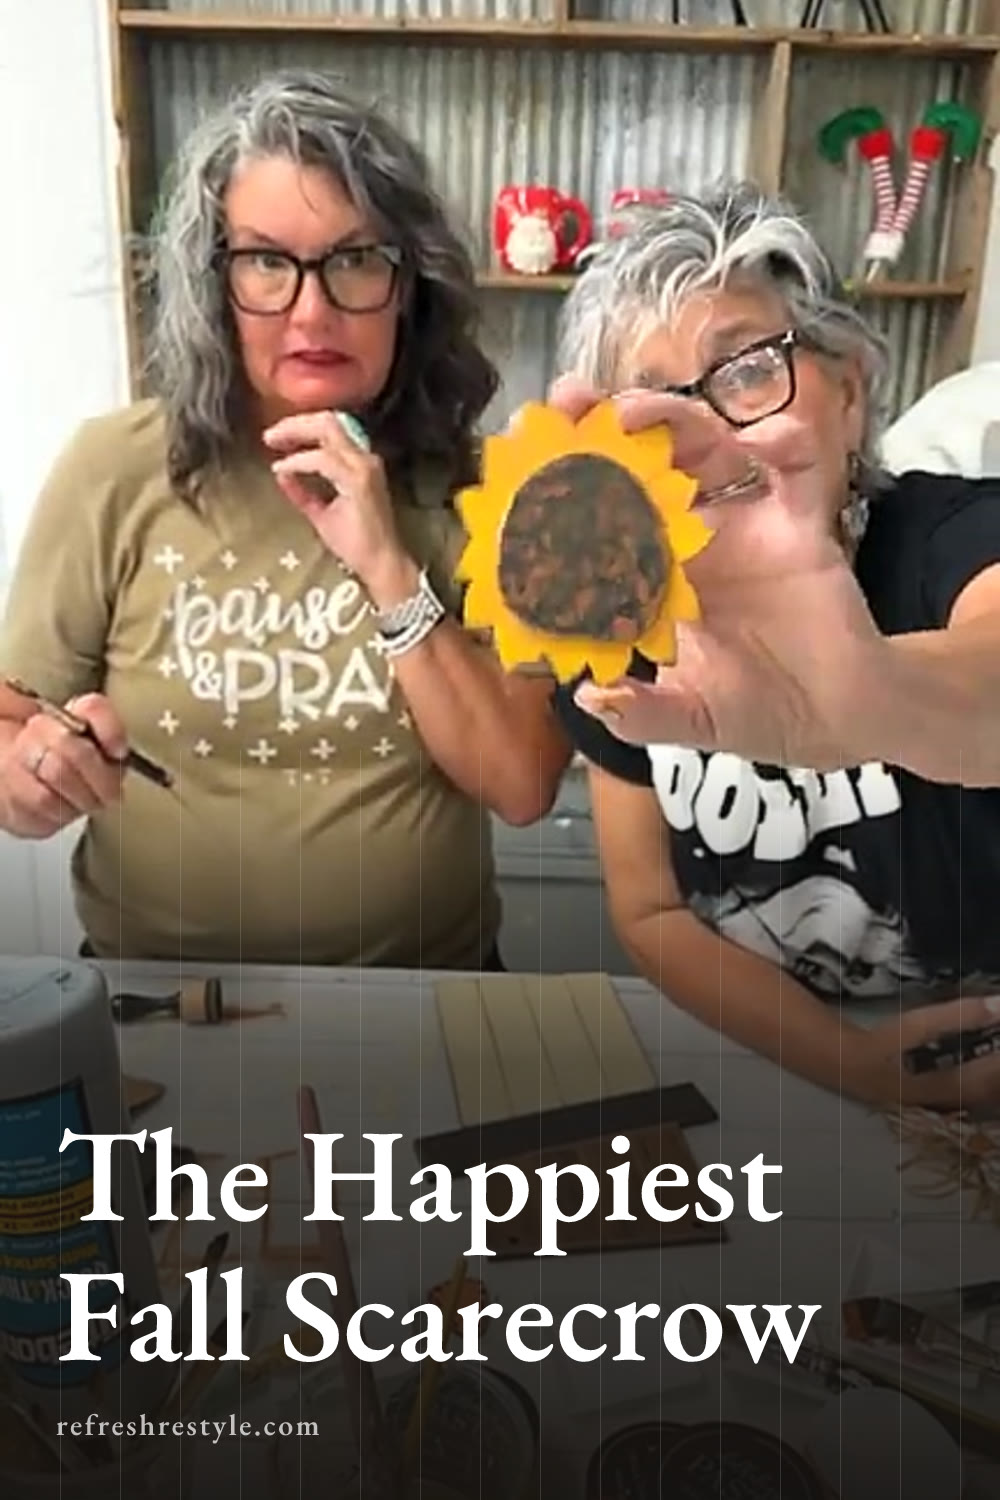
I used Bumblebee for the yellow and added orange around it for more variation. Then I filled the center with dark marks to suggest the sunflower seeds. The center can be loose and uneven because real sunflowers have plenty of texture.
The flower was a fun alternative to the leaf used on the original sample. Either one works, and the little crow from the box would also make a cute hat decoration.
Creating a worn finish
Once the painted pieces were dry, I sanded around the edges. I concentrated on the outside edges and a few raised areas where natural wear might happen. A small sanding pad made it easy to control how much paint came off.
Next, I used Ground Espresso distress ink with a small dabber. I picked up a little ink and worked it around the sanded edges, adding more only where the wood needed extra definition. The deep brown helped every layer stand out and tied the neutral face, brown hat, and bright flower together.
Distressing is one of my favorite parts because it pulls a project together so quickly. Start with a small amount of ink. You can always deepen an edge after you see how the first layer looks.
Drawing the scarecrow nose
The nose needed a little detail, so I used a black pen to draw short lines and small X shapes. Those marks made it look like the nose had been stitched onto the face.
You can keep the lines loose. A handmade scarecrow looks better with a little variation, and the uneven stitches add personality beside that big painted smile.
Making the scrap ribbon bow
For the bow, I gathered five small pieces of ribbon, including polka dots and a leaf pattern. This is a good project for using ribbon scraps because the finished bow stays fairly small.
I layered the ribbon pieces and added raffia for another texture. After tying everything together, I cut the loops so the ends spread out around the knot. The mix of ribbon and raffia created a playful little party bow that fit the happy face.
I positioned the sunflower partly behind the bow and secured both with hot glue. A high temperature glue gun gets very hot, so I handled it carefully while working around the small wooden pieces.
Assembling the layered scarecrow
With all the painting and distressing finished, I glued the main body and hat pieces onto the backboard. I checked the placement before pressing everything down so the face and hat would sit straight.
Then I added the eyes, nose, sunflower, and bow. Those final layers brought the whole expression together. The long lashes, stitched nose, and wide smile made this scarecrow feel especially cheerful.
The extra sunflower and crow cutouts can go on future projects too. I can picture the little crow sitting in the corner of a fall picture frame, while the larger sunflower would make a pretty accent on another piece of seasonal decor.
Chalk Couture supplies I used
You can shop my full Chalk Couture store here.
I am an independent Chalk Couture designer, so I earn a commission on these links. See my disclosure for more.