August 25, 2026 by Debbie Westbrooks
DIY Interchangeable Pumpkin Pedestal Decor
Live Videos · DIY · Home Interior
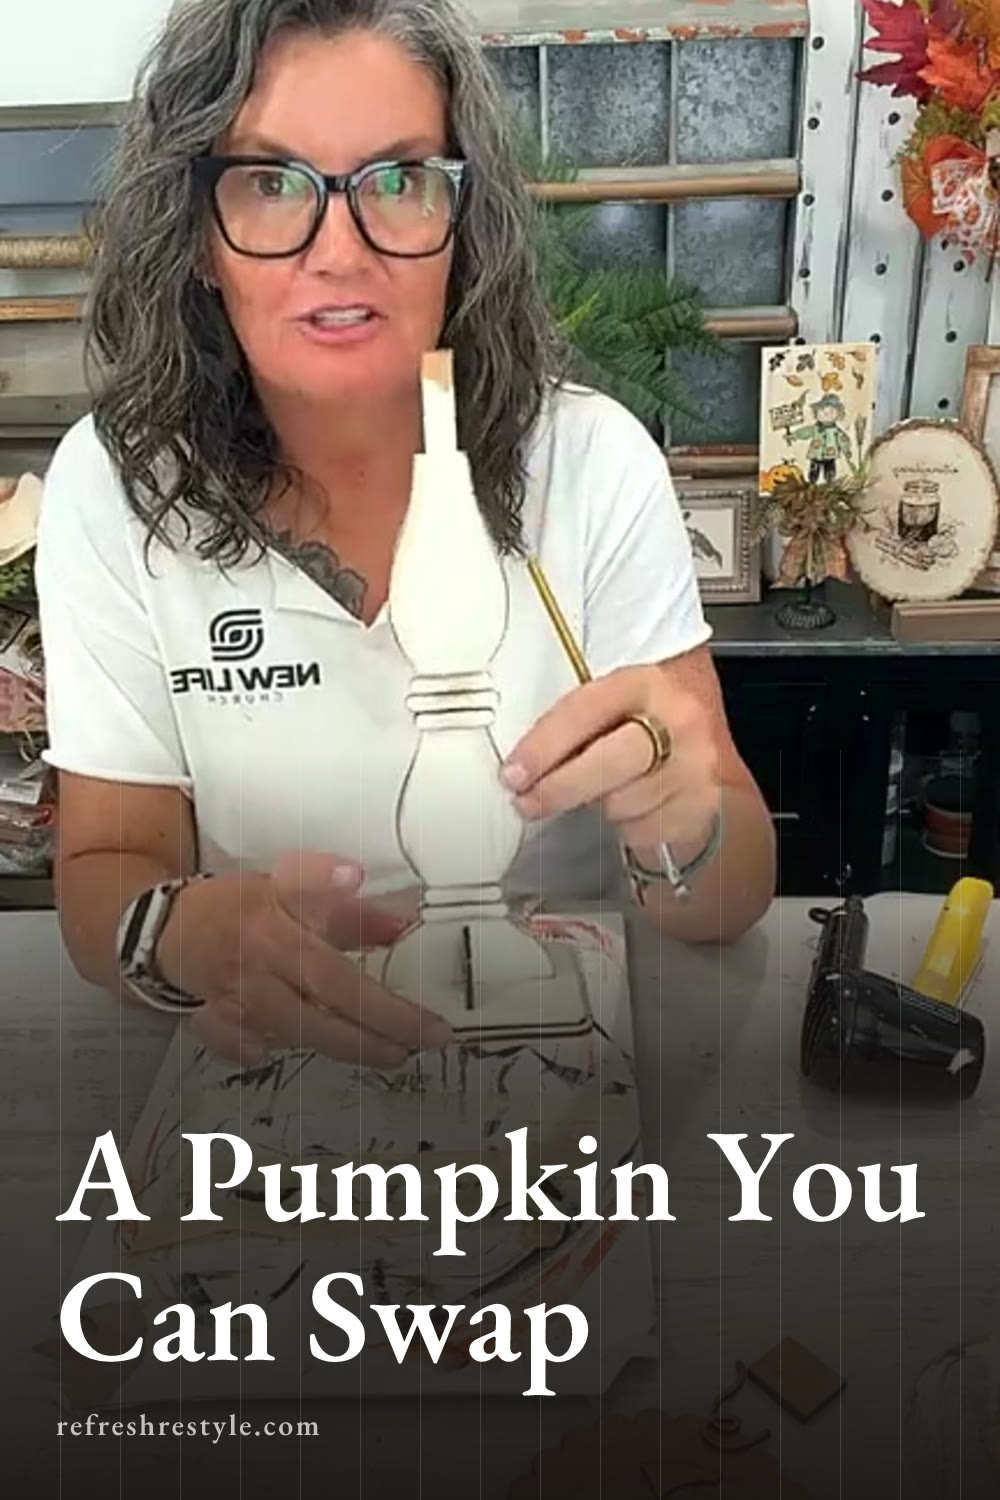
I made this DIY interchangeable pumpkin decor with a medium pedestal spindle and a scallop pumpkin slide, and it turned into such a sweet piece for fall. The creamy white frame, warm orange pumpkin, stained background, and distressed edges all work together, while the slide design lets me change the look for another season. I painted the whole thing with Chalk Couture chalk paste.
Why I Love This Interchangeable Pedestal
The pedestal spindle comes in small, medium, and large sizes, and I used the medium size for this project. Each seasonal design fits into a holder on the pedestal, so I can slide one design out and replace it with another.
That makes this a useful decor piece for anyone who likes decorating through the seasons but wants to reuse the main base. I can display the pumpkin for fall and switch to one of the other available slides later. Gingerbread designs were among the seasonal options mentioned, and I love having that kind of flexibility.
The scallop pumpkin slide includes several wood pieces. It has a pumpkin background, a scalloped frame, a pumpkin overlay, a stem, a vine, and a leaf. The small layered pieces add dimension without making the finished design feel too busy.
Painting the Pedestal and Scalloped Frame
I started with Vanilla chalk paste, which is a pretty creamy off white. I painted the pedestal base, the spindle, the scalloped frame, and the small decorative pieces that attach to the front of the spindle.
You can use any paint you already have for these wood cutouts. Chalk paste was easy for me to grab, and its thick texture gave the wood good coverage. Acrylic craft paint would work well too.
I applied the color with a small sponge dauber. The dabbing motion helped me work the paste around the curved edges and into the smaller areas without loading the wood with too much product.
Some parts of the pedestal base get covered when the layers are assembled, so I focused on the areas that would remain visible. I also painted the back of the spindle and its decorative pieces. If you plan to display yours on a kitchen island or anywhere people can see both sides, painting the back gives it a finished appearance.
Adding a Distressed Finish
Once the painted pieces were ready, I sanded the edges. This is one of my favorite ways to bring out the shape of layered wood decor because it keeps a pale painted piece from looking flat.
I followed the sanding with Ground Espresso distress ink. I worked the ink around the outside edges and added a little in the detailed areas. The rich brown color warmed up the Vanilla finish and helped define each scallop.
You can add as much or as little distressing as you like. I wanted the pedestal to have a worn fall look, so I made sure the brown showed around the edges while leaving plenty of the creamy white visible.
Assembling the Pedestal
I used Titebond glue to assemble the base and attach the decorative spindle pieces. Spreading a thin layer of glue with a paintbrush helped the wood grip quickly and kept the pieces from sliding around too much.
The spindle has etched lines that show where the small decorative pieces belong. I lined each piece up with those marks and glued it to the front. You can glue the spindle into the base if you want a permanent piece, or you can leave it removable.
The slide holder is made with a horseshoe shaped wood piece and a small cover. I centered the holder on the back, marked the placement, and glued both parts in position. The flat seasonal slide can then move up into that opening.
Staining the Pumpkin Background
For the flat background behind the pumpkin, I used Dixie Belle Voodoo Gel Stain in Tobacco Road. It is a warm brown that works beautifully with the creamy frame and orange pumpkin.
I applied the stain and wiped away the excess with a paper towel. The brown background creates contrast around the pumpkin and makes the scalloped Vanilla frame stand out.
Painting the back is optional based on where you plan to display the piece. A wall, shelf, or mantel will hide it, while an island or open table may leave it visible.
Painting the Pumpkin Details
I painted the pumpkin with Papaya chalk paste. My paste had become a little thick, so I stirred in a small amount of distilled water before using it.
While the orange was still wet, I blended in a little Tobacco Road stain to form the pumpkin ridges. I followed the curved shape of the pumpkin and softened the brown into the Papaya rather than leaving hard lines. That little bit of shading gave the flat wood shape more depth.
I painted the leaf with Wild Acre, a bright green, then mixed in a little Tobacco Road stain to tone it down for fall. The brown softened the bright color while still letting the green show. I also painted the stem in a deep brown shade.
Before gluing the pumpkin in place, I added a little brown behind it. That way, any tiny gap around the edge would blend into the background instead of drawing attention.
Finishing the Pumpkin Slide
The etched lines made it easy to position the leaf, stem, and pumpkin. I brushed glue onto the back of each small piece, pressed it into place, and added the layered stem over the stem shape already on the pumpkin.
After attaching the pumpkin to its stained background, I slid the finished panel into the holder on the pedestal. The scalloped frame surrounded the warm orange pumpkin, and the distressed edges tied the whole piece together.
I can leave the slide loose for easy seasonal changes or glue it in place for a permanent display. I kept mine interchangeable because being able to swap these little seasonal designs is my favorite part of the project.
Chalk Couture supplies
Browse Chalk Couture Chalkology Paste, or shop my full store here.
I am an independent Chalk Couture designer, so I earn a commission on these links. See my disclosure for more.