August 28, 2026 by Debbie Westbrooks
DIY Wood Pumpkin Door Hanger for Fall
Live Videos · DIY · Home Interior
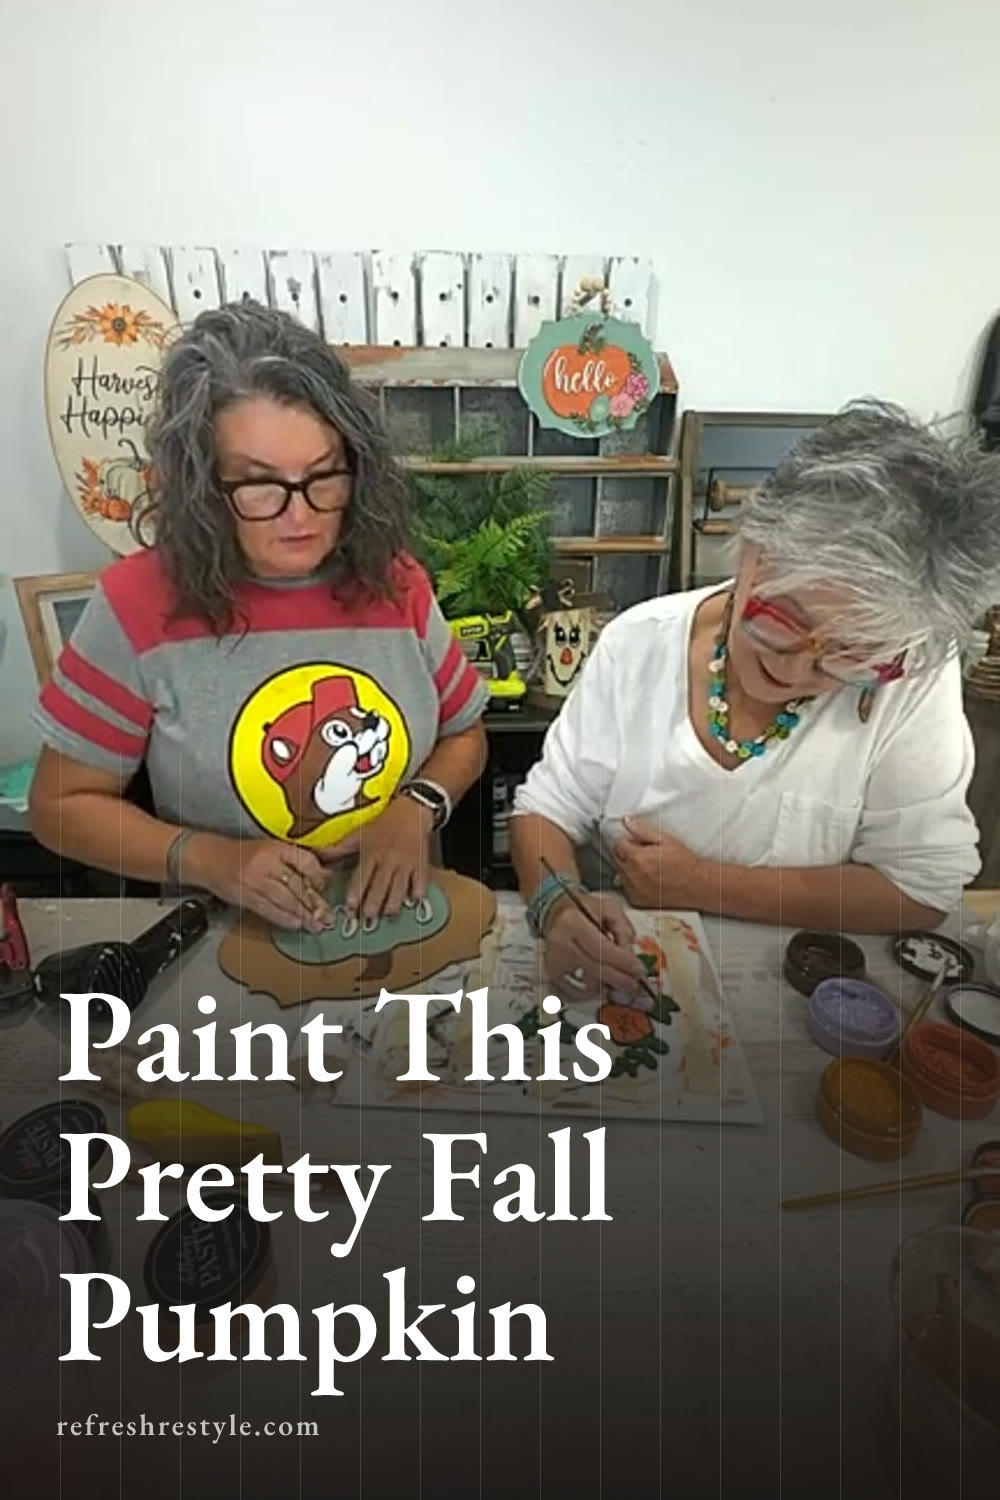
I made a layered wood pumpkin door hanger with warm fall colors, distressed edges, rusty wire, and a few playful pen details. The eucalyptus pumpkin against the camel background turned out so pretty, and changing the colors showed just how many different looks you can get from the same wood design.
A Wood Pumpkin Door Hanger for Fall
This project came from our August craft box, which included the wood hanger, layered cutouts, instructions, tissue paper, and wood beads. The instructions also included a QR code that led directly to the original project video, so everyone could craft along or work at their own pace.
The wood background had score lines to make placing the pieces easier. I love that little detail because I can see right away where everything belongs. If you prefer a blank background and want to create your own layout, you can simply flip the wood over and use the other side.
I also saved the colorful tissue paper from the packaging. I didn’t use it on this particular project, but it would be pretty applied to a pumpkin or background with Mod Podge. Craft packaging can become part of another project, so I always take a second look before tossing it.
Choosing My Fall Paint Colors
I wanted to show a different color option from the original sample, so I reached for eucalyptus, camel, Wild Acre, butterscotch, and wisteria. They still feel like fall, but they give the project a softer and more colorful look than the usual orange pumpkin.
Eucalyptus works beautifully all year, and I especially love it beside camel. The warm background brings out the green without making the finished hanger feel too bright. Wild Acre added a deeper green to the leaves, while butterscotch and wisteria brought in those warm golden and soft purple accents.
You can follow this same palette or use the colors that work with your own fall decor. The layered design does most of the work, so a simple color change can make the whole project feel different.
Painting the Wood Pieces
Start With the Background and Pumpkin
I painted the background camel and used eucalyptus on the pumpkin. A small Dollar Tree foam dauber worked well for getting the paint onto the wood without leaving heavy brush marks.
The score lines helped me keep the paint in the right areas, although a little paint outside the lines wouldn’t be a big problem since the layered pieces cover parts of the background. I used one good coat because I planned to sand everything later. Adding several perfect coats only to sand some of the paint away creates extra work, so one even coat was plenty for this finish.
I dried the painted pieces before moving on. My small craft dryer gets very hot, so I set the pieces down while drying them rather than holding them close to the heat.
Paint the Leaves and Accent Pieces
I used Wild Acre on the leaves and added butterscotch over some of the purple pieces. That little bit of golden color warmed up the wisteria and helped all the shades work together.
Small foam daubers made it easy to cover the cutouts, while regular paintbrushes worked well around the smaller shapes. I often wipe extra paint from a brush and keep going, especially when a trace of the previous color will add to the finished look.
Distressing the Painted Wood
Once the paint dried, I lightly sanded the pieces and the edges of the background. A fine sanding block gave me more control than a very gritty one, which can remove more paint and wood than I want.
I concentrated on the outer edges and any raised areas where natural wear would make sense. The sanding softened the fresh paint and brought out the shape of each wood piece. It also helped blend any spots where the paint coverage looked a little uneven.
This is one of my favorite parts because the project starts looking finished as soon as those crisp painted edges become a little worn.
Gluing the Layered Design
I arranged the pumpkin, leaves, and word on the background before reaching for the glue. The score lines made this step easy, but I still checked the full arrangement so I could see how the colors looked together.
After I was happy with the placement, I spread glue across the backs of the pieces with a stiff paintbrush. That helped me get the glue close to the edges without leaving large puddles. I pressed each piece into place and checked that the design looked straight before the glue began to set.
A scrap of cardboard protected my work surface while I painted and glued. I reuse cardboard for project after project, and it saves me from having to scrub dried paint and glue from the table every time.
Adding Posca Pen Details
The painted and distressed layers already looked good, but I wanted a little more detail. I used Posca pens in fall colors, including English green, ochre, and ruby red, to draw loose highlights and squiggles.
Making that first mark always takes a little courage, but the details don’t need to match perfectly. I added them until the design felt finished, keeping the lines casual so they worked with the distressed wood.
You can use fewer marks for a simpler look or add more across the pumpkin, leaves, and lettering. This is the part where the project really becomes your own.
Finishing the Hanger With Rusty Wire
For the final touch, I added a piece of rusty wire as the hanger. I curled the ends into little pigtail shapes, which kept the wire secure and added another handmade detail.
The rusty finish looks especially good with the camel background and distressed edges. Once the wire was in place, my wood pumpkin door hanger was ready for fall decorating, and the mix of eucalyptus, butterscotch, wisteria, and green gave it a fresh look while still feeling warm and seasonal.
Chalk Couture supplies
Browse Chalk Couture surfaces, or shop my full store here.
I am an independent Chalk Couture designer, so I earn a commission on these links. See my disclosure for more.