July 16, 2026 by Debbie Westbrooks
Chalk Couture Fall Sign on a Round Canvas
Live Videos · Crafts · Home Interior
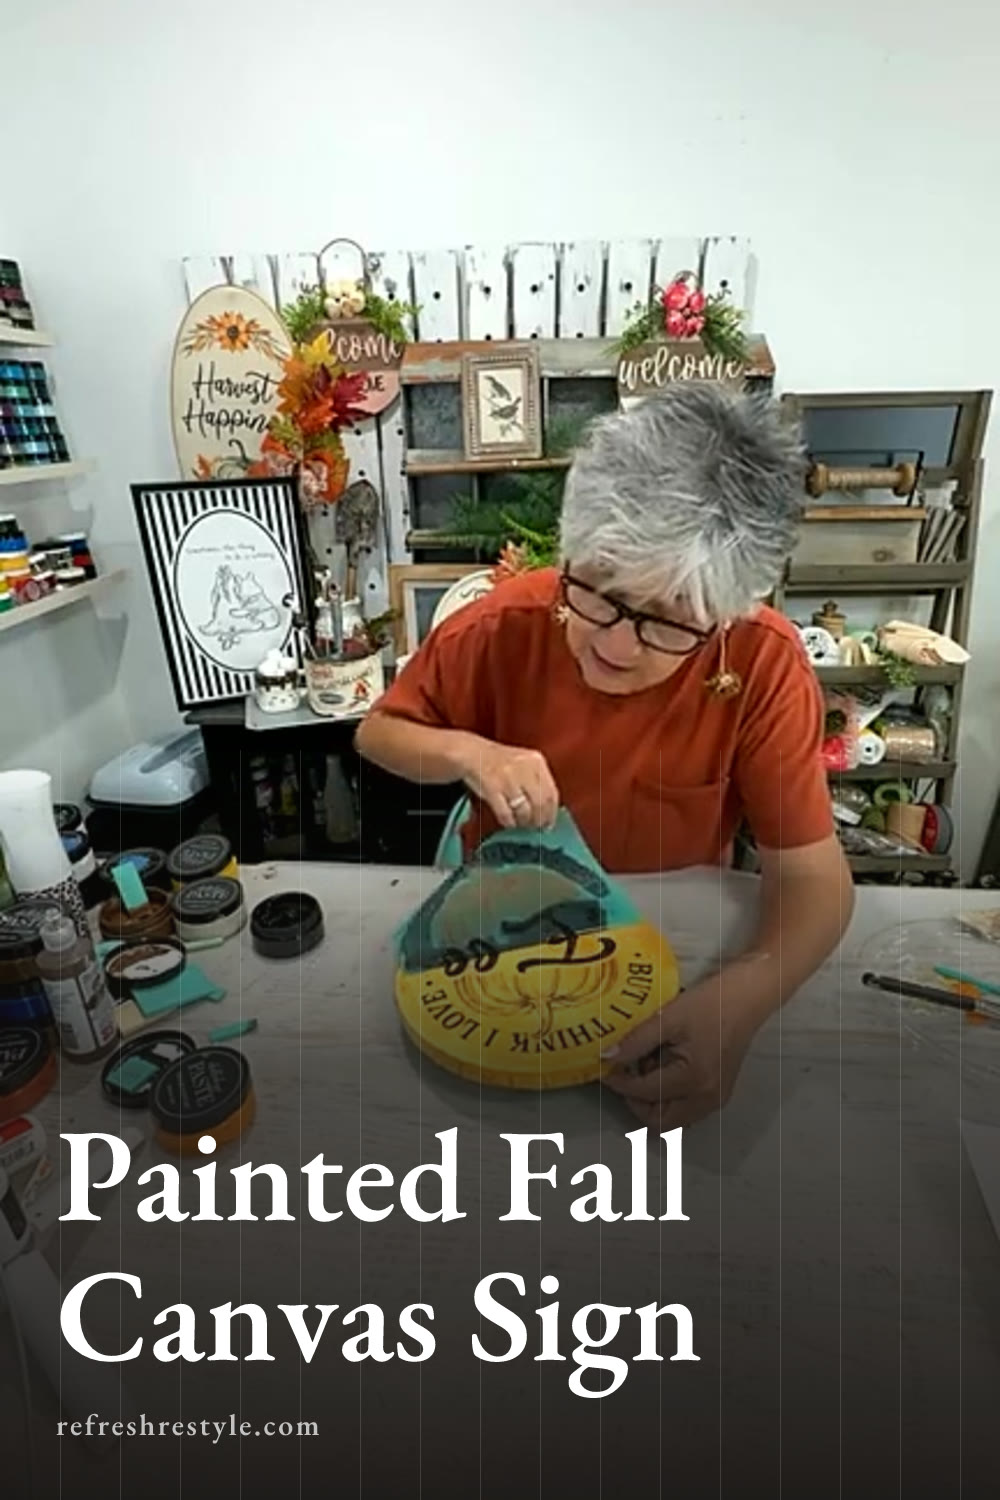
I turned a round canvas into a warm fall sign with a layered orange background, a seasonal saying and hand painted sunflowers. I used one of my Chalk Couture transfers for the lettering, then added the flowers around it so the finished piece had plenty of color and personality.
Why I Chose a Round Canvas
I love crafting with surfaces that feel a little different, and a round canvas is an easy way to change the whole look of a project. The shape worked especially well for this fall design because it already reminded me of a pumpkin.
My plan was to use orange, yellow and brown tones, but I wanted the background to feel loose and playful instead of perfectly blended. Fall colors are wonderful for that because you can mix them, swirl them and keep working until the canvas feels right to you.
Supplies I Used
- A round canvas
- Vanilla and orange paste for the background
- A plastic plate to use as a palette
- A paintbrush and water
- The But I Think I Love Fall Most of All transfer
- Espresso and black paste for the design
- Bumblebee, orange and red paste for the flowers
- A towel to support the canvas
- Baby wipes for cleaning my fingers
You can choose your own fall color combination. I loved the warmth of these colors together, especially once I added the deeper brown, black and red details.
Painting the Fall Background
I started by putting vanilla and orange paste on a plastic plate. Paste dries quickly, but you can add a little water when you want to use it more like paint. I wet my brush and worked the colors across the canvas with loose strokes.
This part is all about having fun. I let the colors mix directly on the canvas and moved my brush in soft swirls, adding more vanilla where I wanted a lighter area and more orange where I wanted extra warmth. The finished background reminded me of a fall sunset and a pumpkin at the same time.
I also painted around the edges. A round canvas has such a pretty shape, and carrying the color all the way around makes it look finished from every angle.
Before moving on, I dried the canvas thoroughly. I also checked it with my hand because paste that feels cool to the touch may still hold a little moisture. A dry surface helps the transfer sit smoothly and keeps the background from lifting.
Adding the Chalk Couture Transfer
Supporting the Canvas
Canvas has some give in the center, so I tucked a folded towel underneath it before applying the transfer. The towel filled the open space behind the canvas and gave me a firmer surface for pressing and pulling the paste across the design.
This simple step makes such a difference. It keeps the canvas level while you work and helps you get good contact through the entire transfer.
Placing the Fall Saying
I centered the But I Think I Love Fall Most of All transfer on the canvas and smoothed it down carefully. I made sure the design sat straight and pressed out any wrinkles before adding paste.
I chose espresso and black for the lettering and pumpkin. The two colors gave the design more interest than one solid color would have, while still standing out against the orange background. I used espresso on the pumpkin and the Most of All portion, then worked black into the rest of the saying.
Once the paste covered the design, I lifted the transfer and revealed the lettering. The darker colors looked so pretty against that warm, swirled background.
Painting the Sunflowers
Building the Petals
The canvas already looked good with the saying, but I wanted to add hand painted sunflowers around the edges. I started each flower with loose petals and worked with bumblebee, orange and a little red.
I painted the petals directly around the lettering, letting some flowers extend beyond the edge of the canvas. Some petals were longer and more pointed, while others were shorter. That variation made the flowers feel relaxed and gave each one its own shape.
The yellow blended into the orange background at first, so I added orange and red shading to define the petals. Then I returned with more yellow to brighten the tips. You can keep dipping into each color until you like the balance.
I painted flowers near the top, sides and bottom, making each one fit the open space around the words. I also let the petals curve around parts of the lettering, which helped the flowers and transfer design feel like one complete project.
Finishing the Centers
For the flower centers, I added black dots with my brush. You can also use the end of a paintbrush to make the dots. A few scattered marks will give you a lighter center, while more dots will create a darker and fuller sunflower.
I kept the centers loose so they matched the playful petals and swirled background. Once the black details were in place, the flowers stood out and brought the whole fall color palette together.
Finishing the Fall Canvas
I dried the painted flowers and cleaned the extra paste from my fingers with a baby wipe. I left off the bow because the lettering, flowers and round shape already gave the canvas plenty of detail.
The mix of a Chalk Couture design and freehand painting made this project especially fun for me. The transfer gave me crisp lettering, while the painted background and sunflowers let me experiment with color and add my own style. Painting the edges also means the round shape can remain visible wherever I decide to display it.
Chalk Couture supplies I used
You can shop my full Chalk Couture store here.
I am an independent Chalk Couture designer, so I earn a commission on these links. See my disclosure for more.