October 28, 2026 by Debbie Westbrooks
Chalk Couture Gingerbread Christmas Village
Live Videos · Crafts · Home Interior
I turned a wood village into a gingerbread Christmas display using Chalk Couture transfers, warm Camel paste, green Meadow paste, and plenty of textured snow. The white base shows through like piped icing, which gave every building that sweet gingerbread cookie look I had in mind.
My Gingerbread Village Plan
I love gingerbread decor, so choosing the first color scheme for this village was easy. I wanted every building to look like a decorated cookie, with a warm brown surface, white icing details, snowy ledges, and a few green trees tucked around the village.
The bundle included several buildings, a church, trees, stands, support pieces, and coordinating transfers. It makes a large display when everything is standing, so it would work beautifully across an entry table, on a long board, or arranged at different heights on trays and risers.
I also ordered extra wood pieces because I already have more color ideas. A red and green village would be so pretty, and an all white village with black details would have a completely different look.
Supplies I Used
For this project I used the wood Christmas village pieces and their coordinating transfers, white paste, Camel paste, Meadow paste, Sea Spray, water, a stiff brush, cardboard, painter’s tape, and a piece of plain paper.
I saved a sturdy piece of cardboard from a box and secured the wood pieces to it with painter’s tape. This gave me a simple work surface and kept the smaller pieces from sliding around while I painted.
Preparing the Wood Pieces
Before painting, I matched every wood piece to its transfer. This step matters because the rooflines, chimneys, and edges need to face the correct direction. I checked the trees too, since their shapes also line up in a particular way.
I painted the front of every building and tree white. The white creates the icing details after the brown and green colors go through the open areas of the transfers. My village will sit against a wall, so I left the backs unfinished. You can paint the backs when your village will be visible from every side.
Raw wood can feel a little rough after painting because the moisture raises the grain. I used an old trick to smooth it without distressing the finish. Once the white paste was dry, I rubbed a piece of plain paper over the surface. A paper bag, copy paper, receipt, or packing paper works well for this.
The paper gently smooths the raised texture and leaves the white finish in place. It also helps the transfer sit flat against the wood.
Adding the Chalk Couture Christmas Village Details
I lined up each clear transfer over its matching building, paying close attention to the roof and chimney. Being able to see through the transfer made positioning all those little windows, doors, and trim details much easier.
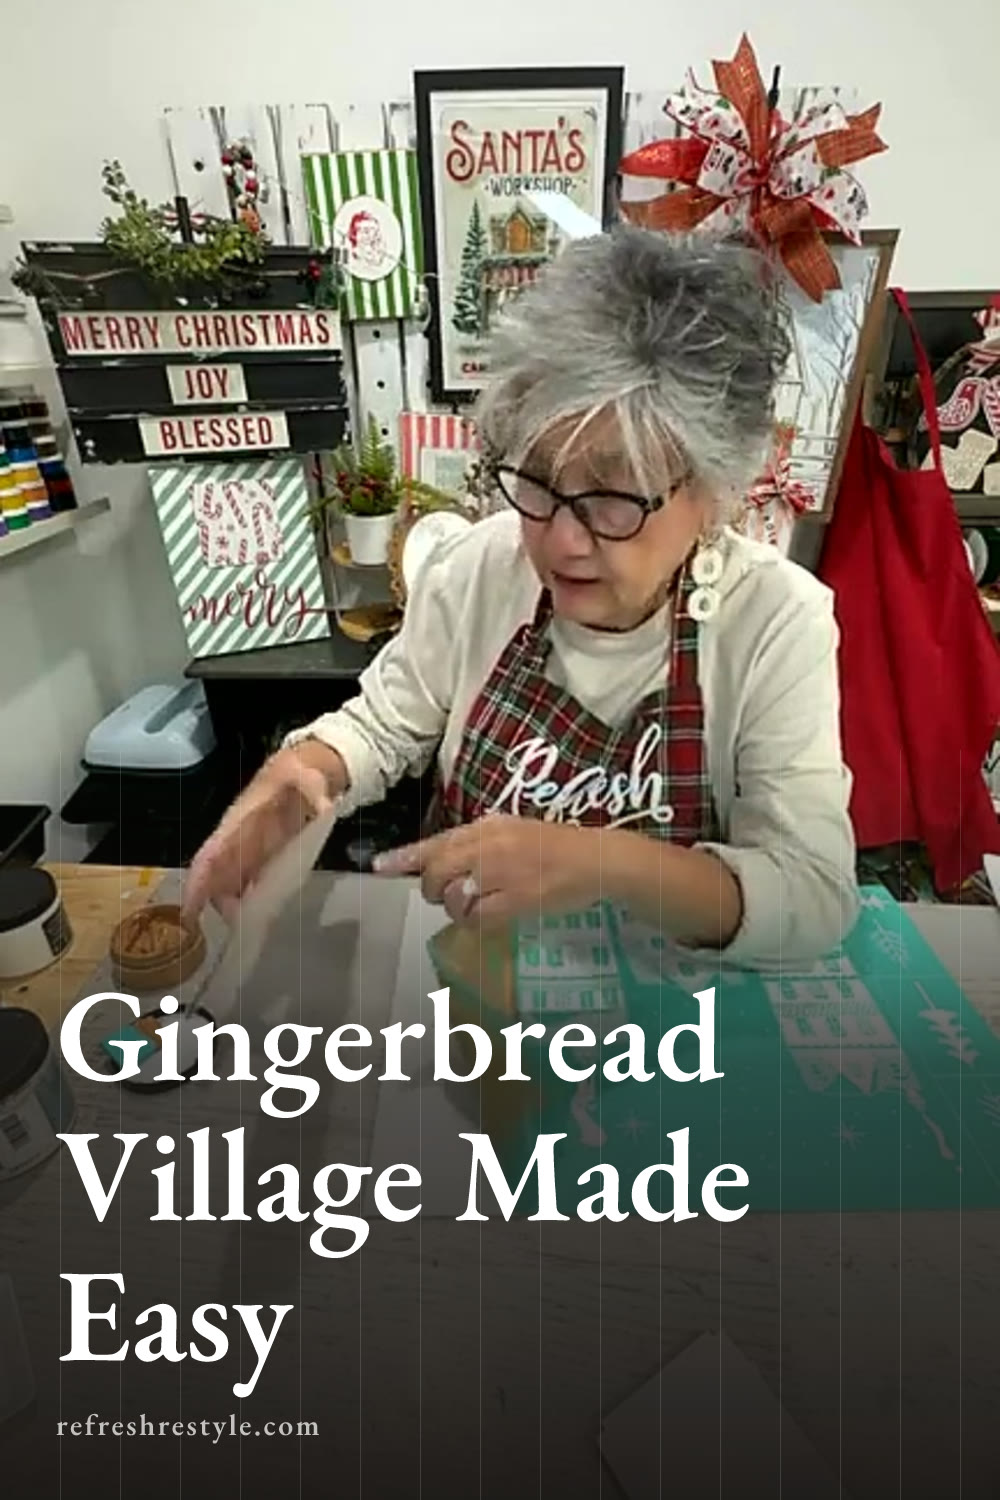
Once the transfer was in place, I pressed it against the surface and spread Camel over the open design. Camel has a warm brown color that looks just right for gingerbread. When I lifted the transfer, the white base showed through as windows, trim, roof details, and icing.
I kept the buildings completely gingerbread inspired, although you could add a red door or another small accent color. Working with one main color also made the process move along quickly, even with several buildings and the church to finish.
I skipped waxing the wood because the painted surfaces felt smooth after I rubbed them with paper. Wax is still an option if you prefer to use it on your painted wood projects.
Adding Green to the Trees
I started the trees with the same white base, then used Meadow over their transfers. The designs leave plenty of white showing, so the trees still have a snowy winter look with green peeking through.
The different tree heights add interest when they are arranged between the buildings. I left the final placement for later because I want to decide how the complete village will sit on its display surface first.
Making Thick Textured Snow
The raised snow is one of my favorite details. I mixed water, Sea Spray, and white paste until I had a thick texture that I could dab onto the village with a stiff brush.
Sea Spray dries hard and stays where I place it. I added the mixture to rooflines, window ledges, awnings, and the bottoms of the buildings. Snow piles up unevenly in real life, so I let some areas stay thicker than others and carried a little over the top edges.
You can add the snow wherever it looks natural to you. Some of the designs have open areas that suggest snow placement, but I also added extra texture around windows and along the ground.
Clean your brush and mixing container soon after using the mixture because it becomes much harder to remove once it dries.
Assembling the Village
After the paste and snow dried, I placed each building into its matching stand. Some of the slots fit snugly, especially when paint or paste reaches the bottom edge. A little sanding or gentle pressure can help the piece slide into place.
It also helps to match each building with the correct base before pushing it down. If a piece slides around too easily, it may belong in a different stand. The support pieces attach behind the buildings to make the finished village more secure.
I left the bases unfinished for now because I may cover them with Mod Podge and sprinkle snow. I also want to arrange the village on different levels, then add greenery, small gingerbread decorations, and possibly tiny string lights around the finished display.
Chalk Couture supplies I used
You can shop my full Chalk Couture store here.
I am an independent Chalk Couture designer, so I earn a commission on these links. See my disclosure for more.