July 6, 2026 by Debbie Westbrooks
Chalk Couture Heat Transfer Wreath Sash DIY
Live Videos · Crafts · DIY
I love finding simple ways to change the look of a wreath, and this floral sash came together beautifully. I used the Chalk Couture Looking Rosy heat transfer to add roses to both ends of a plain wreath sash, giving it a custom finish without spending hours on tiny details.
My floral wreath sash idea
A wreath sash is an easy way to decorate a simple wreath because you can tie it on, adjust the length and change it whenever you want a different look. Before I started pressing anything, I loosely tied my sash so I could get a feel for where the designs would land once it was on the wreath.
The Looking Rosy heat transfer included several floral pieces, so I had choices. I decided to use the long rose design on one end of the sash and a couple of smaller flowers on the other. That arrangement gave me plenty of detail while keeping each side a little different.
I also planned to let the side with the longer floral design hang slightly lower when I tied the finished sash onto my wreath. The difference in length should help that larger section show up well.
Supplies I used
For this project, I used a small group of supplies.
- Wreath sash
- Chalk Couture Looking Rosy heat transfer
- Scissors
- Heat safe tape
- Heat press
- Teflon sheet or parchment paper
I ironed the sash before getting started because it had a few wrinkles. A smooth surface made it much easier to place the flowers where I wanted them and see how the finished arrangement would look.
Using the Chalk Couture Looking Rosy heat transfer
Cutting apart the floral designs
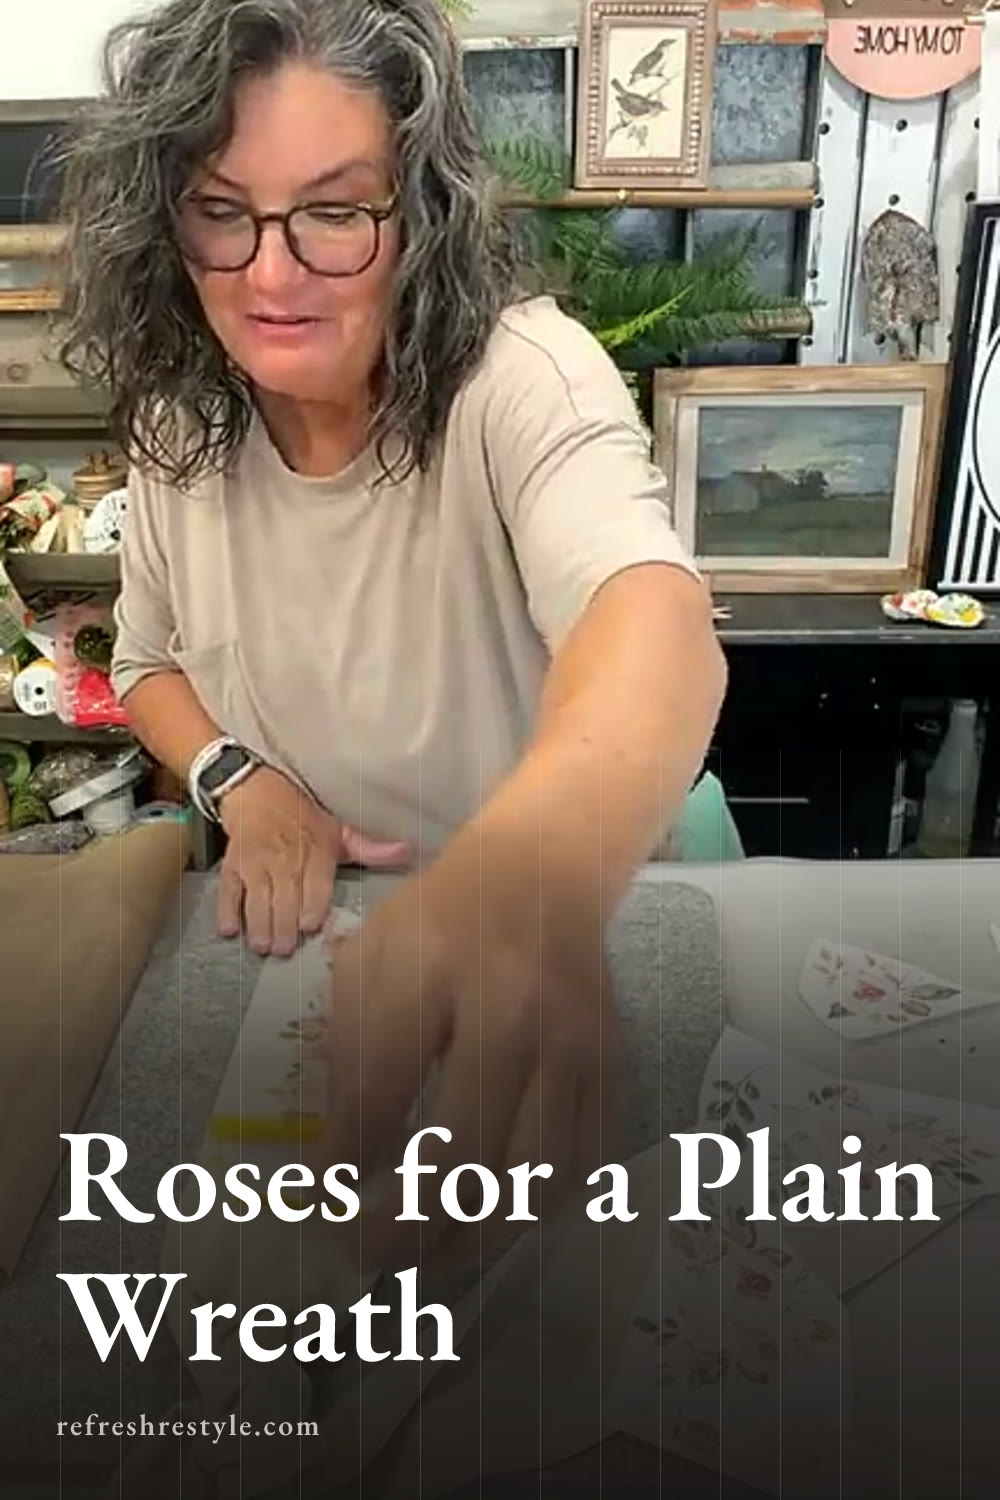
I started by cutting out the individual flower sections that I wanted to use. Since the full sheet had more designs than I needed for one sash, I left the extras intact for another project.
The long row of roses fit nicely near the end of one side. I positioned it so there would still be room to tie the sash around the wreath while keeping the flowers visible below the knot.
Cutting the designs apart also gave me the freedom to create my own arrangement. On the second end, I could bring two smaller floral pieces close together so they looked like one blended design instead of separate flowers.
Holding the first design in place
Once I liked the placement of the long floral piece, I put it face down on the sash. I added several small pieces of heat safe tape around it to keep it from shifting.
That tape was helpful because a design can slide when the protective sheet and heat press are placed over it. Securing the edges let me cover everything without moving the roses away from their planned spot.
I placed a protective sheet between the transfer and my heat press. Parchment paper can also be used for this step.
Pressing the long rose design
I set my heat press to 360 degrees and pressed the design for 60 seconds. I kept the press still and made sure the entire floral section was underneath it.
When the time was up, I lifted a small area to peek at the design. The roses looked beautiful and had such a crisp finish. This is one of the reasons I enjoy using heat transfers. The result looks polished, but the process stays simple.
I let that side cool a little while I planned the arrangement for the other end.
Adding flowers to the second end
For the other side of the sash, I chose smaller rose designs instead of repeating the long section. I placed one closer to the bottom and then arranged another nearby, trimming around it so I could bring the flowers close together.
I wanted those pieces to look connected, so I checked their placement through the backing before taping them down. Once I liked the arrangement, I secured both pieces with heat safe tape.
I covered the designs with my Teflon sheet and pressed them at 360 degrees for 60 seconds. Just like the first side, I left the heat press still while the flowers transferred.
The second arrangement came out just as pretty. Using smaller pieces on this end kept the sash from looking overly matched, but the roses still tied both sides together.
Finishing the wreath sash
After pressing both ends, I switched off my heat press and gave the sash time to cool. From there, the sash was ready to tie around a simple wreath.
You can adjust the knot and the hanging ends once the sash is on the wreath. I like the idea of making the long rose section hang a bit lower, then letting the smaller floral arrangement sit slightly higher on the other side. That uneven placement works well with the different flower shapes and helps each design stand out.
This project is also easy to personalize because you control which parts of the heat transfer you use. You could feature one large floral section, group several smaller flowers together or place the designs closer to the bottom of each sash end.
The finished roses gave my plain sash a lovely custom look, and the heat press completed each section in only 60 seconds. It’s a handy project when I want to update a wreath with something soft, floral and easy to change later.
Chalk Couture supplies I used
You can shop my full Chalk Couture store here.
I am an independent Chalk Couture designer, so I earn a commission on these links. See my disclosure for more.