October 27, 2026 by Debbie Westbrooks
Chalk Couture Permanent Ink Christmas Pillow
Live Videos · Crafts · Home Interior
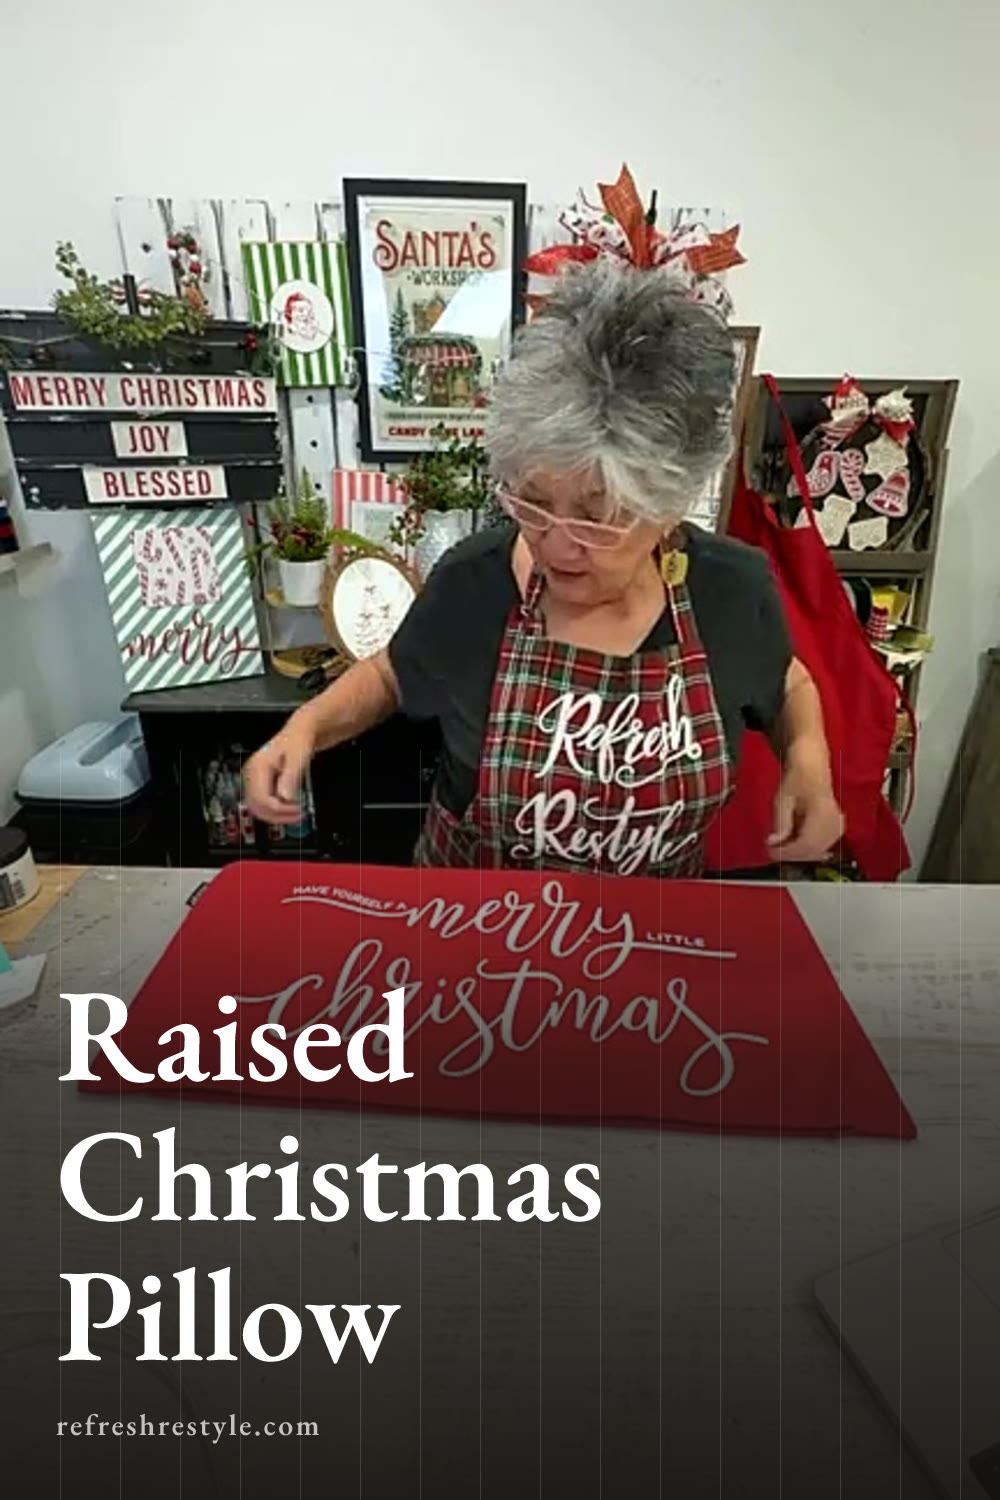
I made the prettiest Christmas pillow using a cherry red lumbar cover, white Chalk Couture permanent ink and a puff additive. The white lettering stands out beautifully against that rich red, and once I added heat, the design puffed up and looked almost like it had been stitched onto the fabric.
This project had been on my mind, and once that happens, I usually have to make it. I love a lumbar pillow for the couch, especially when I’m settling in for a nap, so this one was definitely for me.
Supplies I used
I started with a cherry red lumbar pillow cover. The fabric felt like cotton, although I didn’t confirm the exact material. I also used an ink mat, white permanent ink, puff additive, a reusable Christmas transfer, a squeegee and a heat gun.
For the inside, I used a feather pillow form that was a little larger than the cover. I like doing that because it makes the finished pillow look full and fluffy.
The transfer says Have Yourself a Merry Little Christmas, but I used the Merry Christmas portion with the candy canes. The large lettering was a great fit for the long rectangular shape of the pillow.
Preparing the lumbar pillow cover
I slid an ink mat inside the empty pillow cover before adding the transfer. The mat gave me a smooth work surface and helped keep the ink from reaching the back layer of fabric.
I adjusted the mat until it sat evenly inside the cover, then smoothed the fabric over it. Taking a minute to flatten the work area makes it much easier to get a clean design.
Next, I positioned the transfer on the front. I eyeballed the placement by looking at the space on both sides, but you can measure if you prefer. Once I liked the position, I pressed the transfer down well so it had good contact with the fabric.
Mixing Chalk Couture permanent ink with puff additive
I wanted the lettering to have a raised finish, so I mixed white permanent ink with puff additive. I used equal parts of each and stirred them together very well.
The mixture needs to look completely blended before you spread it over the transfer. The ink has a little more working time than paste, so I could take my time and make sure every part of the design had enough coverage.
Permanent ink goes a long way, and the puff additive stretches it a bit more. I mixed a small amount at first because I could always make another batch using the same equal ratio.
You can also use permanent ink by itself if you want a smooth, flat finish. The puff additive is what creates that raised texture after heat is applied.
Applying the Merry Christmas design
I spread the mixed ink across the open areas of the transfer and went back over the design to make sure every letter was covered. I paid special attention to the tops and edges of the letters because I wanted an even finish across the whole pillow.
Once the design was covered, I carefully removed the transfer. The bright white Merry Christmas lettering looked so good against the cherry red fabric.
I did get one small spot of ink near the design while removing the transfer. I decided to leave it alone because trying to remove it could have made the spot larger. Handmade projects sometimes have a little mark, and this one was barely noticeable once the pillow was filled.
Creating the raised stitched texture
The puff additive directions call for 24 hours of drying time before adding heat. During this project, I dried the design with my heat tool and continued through the full process in one evening. For the most predictable result, you can allow the full drying time listed on your additive.
Once the ink felt dry, I used my heat gun to activate the puff additive. I moved the heat across the lettering and watched the flat white design begin to rise.
A heat gun gets very hot, so keep it moving and watch the fabric and lettering closely. The texture changed as I worked across the design, and the letters started to look like thick stitching or embroidery.
The heat gun also heat set the permanent ink, so I didn’t need to use an iron or heat press afterward. I prefer the heat gun for puff additive because I can see the raised effect develop while I’m working.
Finishing the Christmas pillow
After the lettering had puffed and the cover had cooled, I removed the ink mat and added my feather pillow form. The cover has a hidden zipper, which gives the finished pillow a clean look.
A slightly oversized pillow form can take a little patience to tuck inside. I pushed the feather insert down as I worked and then closed the zipper. That fuller insert gave the lumbar pillow the plump shape I wanted without hiding the large Merry Christmas design.
The finished white lettering felt raised and soft, and it looked surprisingly similar to embroidery. Traditional red and white Christmas colors always make me happy, and this pillow fits right in with the holiday decor on my couch.
Chalk Couture supplies
Browse Chalk Couture Chalkology Ink, or shop my full store here.
I am an independent Chalk Couture designer, so I earn a commission on these links. See my disclosure for more.