September 24, 2026 by Debbie Westbrooks
Chalk Couture Heat Transfer Christmas Pillow
Live Videos · Home Interior · Crafts
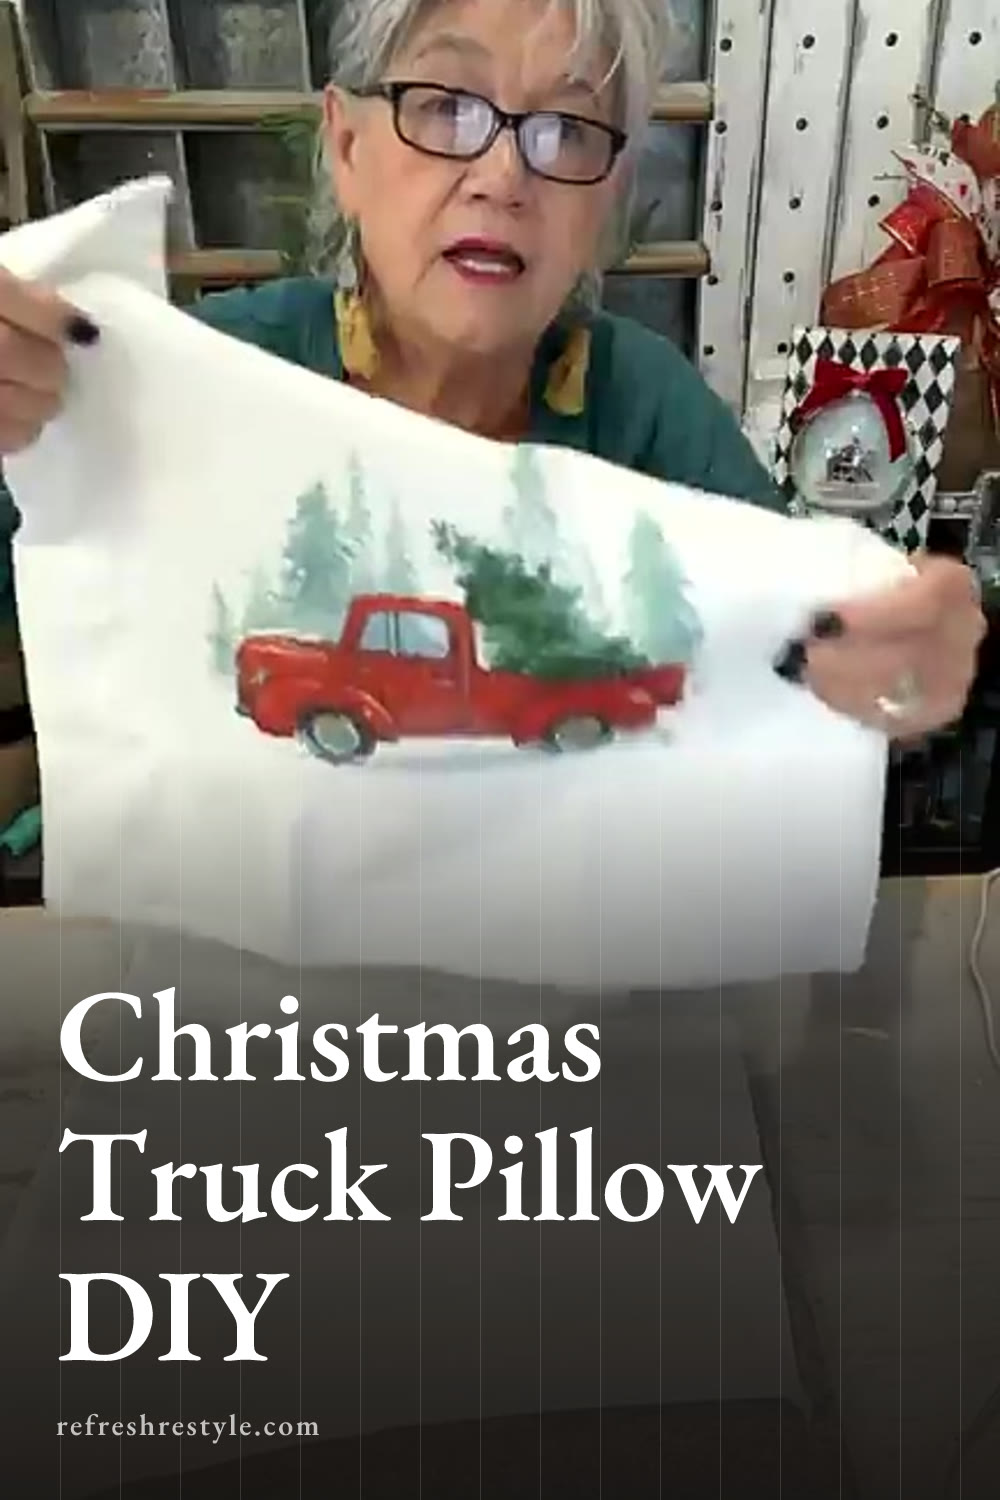
I made the cutest Christmas truck pillow with a Chalk Couture heat transfer, a white zippered cover and a pillow insert I already had. The bright color showed up beautifully after only 60 seconds in the heat press, so this is one of those projects you can finish in an afternoon and enjoy all season.
Why I Love Chalk Couture Heat Transfers
I love a project that looks detailed without taking hours to finish. These heat transfers come with the color and design ready to press, and all you need is a compatible fabric surface, an iron or heat press and about a minute.
The truck design has that cheerful Christmas tree farm feeling that I always love. Once it was heated onto the fabric, the colors became much brighter than they looked on the transfer sheet. The red truck and greenery really popped against the white pillow cover.
This project also gave me an easy way to change my decor without buying another pillow form. I removed an older cover and reused the feather pillow inside. Seasonal decorating gets much easier when I can fold the covers and store them instead of finding room for a stack of finished pillows.
Supplies I Used
For this Christmas pillow, I used these supplies.
- A white zippered heat transfer pillow cover
- A holiday truck heat transfer
- A heat press
- A heat mat
- A protective sheet for inside the cover
- Heat safe tape
- A pillow form
The pillow covers came in a two pack, but I only used one for this project. I considered saving the second one for another holiday design or using it for one of the pretty cardinal transfers.
The cover was bright white, which made the colorful truck stand out. You could coffee stain or tea stain the fabric before adding the design if you prefer a warmer, aged look. I kept mine white because I wanted those Christmas colors to be the star.
Preparing the Pillow Cover
I started by laying the pillow cover flat on my heat mat. I like the zipper to sit along the bottom of my finished pillow, so I checked the direction before placing the design.
I also slipped a protective sheet inside the cover. That creates a barrier between the front and back layers and helps protect the fabric while the design is being pressed. I have had heat and residue come through a project before, so I always take a minute to add that extra layer.
Before pressing, smooth the cover as much as possible. A flat surface helps the entire design receive even heat and pressure.
Placing the Truck Design
I positioned the truck a little above the exact center of the pillow cover. Once a pillow insert is added, the bottom of the cover curves and pushes forward, so a design placed right in the middle can look lower than expected.
After I was happy with the placement, I taped the transfer down. Heat safe tape keeps everything from shifting when the press comes down, and that matters when the design has several small details.
Take a moment to check the zipper position, the top of the design and the spacing on each side. It is much easier to adjust the transfer before applying heat.
Pressing the Christmas Truck
I set my heat press to 360 degrees and pressed the transfer for 60 seconds. I also applied firm pressure so the full design could bond with the fabric.
When the time was up, I lifted one corner for a quick peek. Checking a small area first lets me see how the transfer is releasing before I pull away the whole sheet. The color looked bright and the design had transferred cleanly, so I removed the rest.
The change was immediate. The finished colors were vivid, and all the little parts of the truck and tree design showed up beautifully on the white fabric.
If you are using an iron instead of a heat press, work carefully across the whole design and make sure each area receives heat and pressure. A large iron surface makes that job faster because you can cover more of the transfer at one time.
Adding the Pillow Insert
Once the cover was ready, I added a feather pillow that had been inside one of my spring covers. You can use a pillow form, or you can slip the new cover over a decorative pillow you already own if the old cover cannot be removed.
I like my pillows to look full, so I usually use an insert that fills the corners and takes a little effort to fit inside. I work the insert into each corner, zip the cover and fluff it until the shape looks even.
Then I give the top a little pillow chop. That small dip in the center gives a full feather pillow the shape I like on a chair or sofa.
An Easy Handmade Christmas Gift
This Christmas truck pillow would make such a pretty handmade gift. Since the pressing step only takes 60 seconds, you could make one the same afternoon you need it for a housewarming party, holiday visit or hostess gift.
A zippered cover is also easy to wrap and carry if you want to give it without an insert. The recipient can add a pillow form already on hand, and the cover folds flat for storage when Christmas is over.
Chalk Couture supplies I used
You can shop my full Chalk Couture store here.
I am an independent Chalk Couture designer, so I earn a commission on these links. See my disclosure for more.