September 8, 2026 by Debbie Westbrooks
Chalk Couture Heat Transfers on New Craft Surfaces
Live Videos · Crafts · DIY
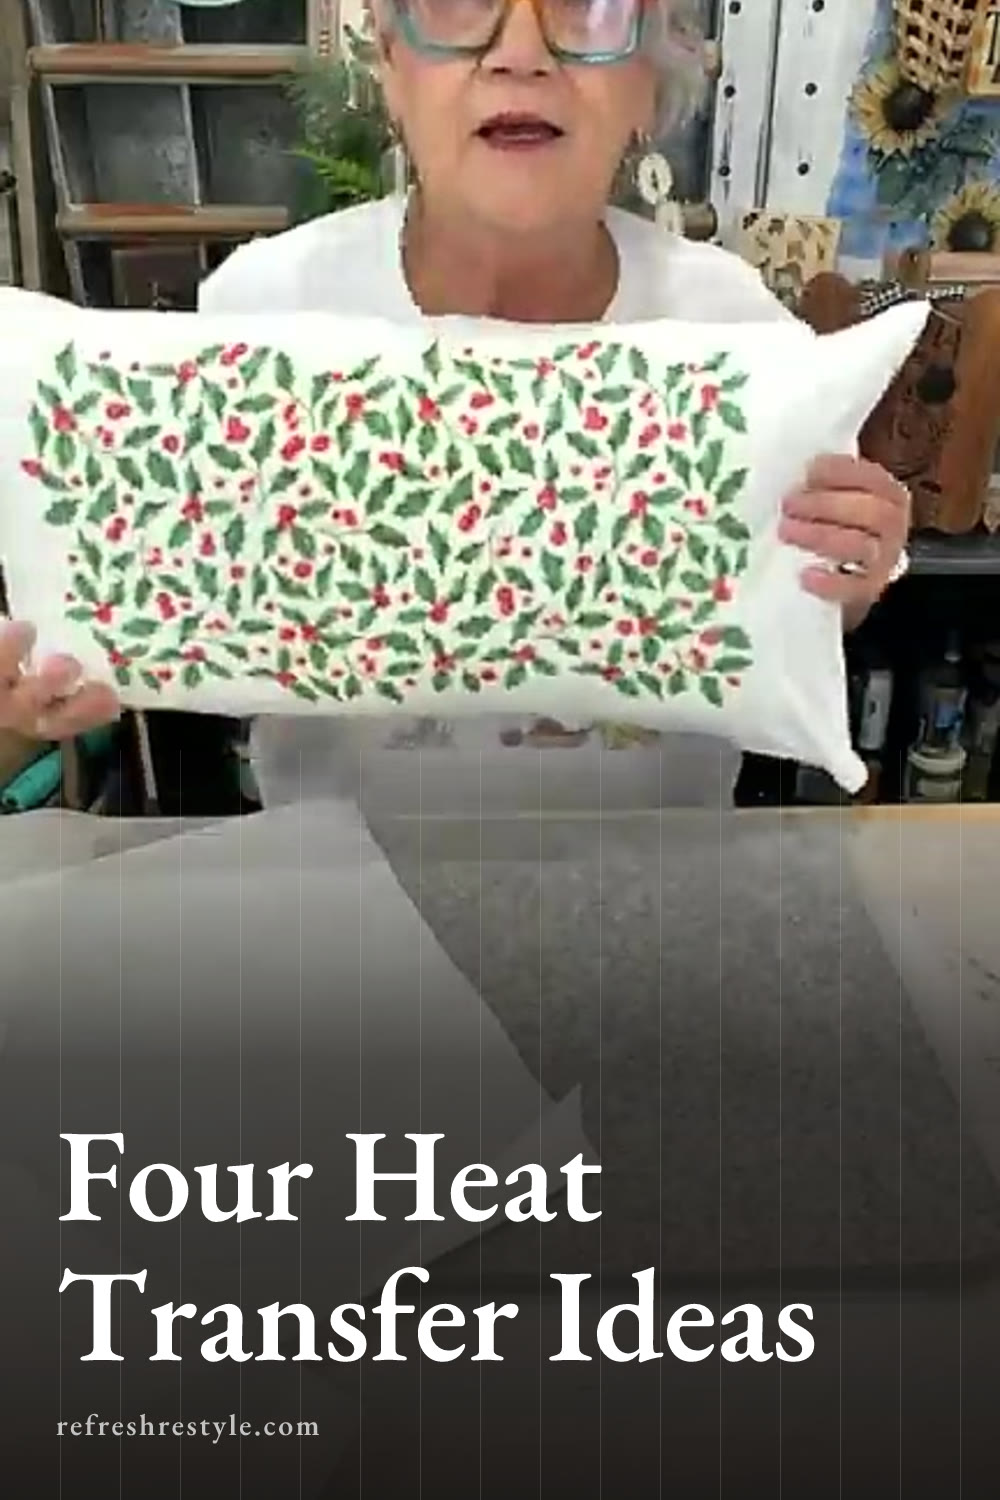
I tried several new Chalk Couture heat transfer surfaces, and I had so much fun seeing each colorful design come to life. I made a Halloween round, a Christmas lumbar pillow, two ornaments, and a large floral market tote, all with the same quick heat press method.
Working With Chalk Couture Heat Transfers
The heat transfers come with instructions on the package, which makes the process easy to follow. For each project I made, I set my heat press to 360 degrees and pressed for 60 seconds.
I also used parchment paper under and over my projects. A fresh sheet helps protect the pressing surface because some of the color can work its way through the paper. I learned that lesson after reusing a sheet and transferring color somewhere I didn’t want it.
Heat tape is another helpful supply. It holds the design in place while you position the heat press, and that matters when you’re working with a detailed image. I tried using only two pieces on the pillow, but four corners gave me more confidence when I moved on to the tote.
The surfaces get hot at 360 degrees, so I kept my heat press gloves close and gave every finished piece time to cool before handling it too much.
Halloween Round With Pumpkins
I started with the new 10 inch round surface and removed the protective film from the front. The design I chose had bright pumpkins with a harlequin print, and the colors looked pretty on the sheet before I even pressed it.
I centered the design on the round and adjusted it until both pumpkins fit. One pumpkin came close to the edge, so I shifted the transfer slightly and checked that everything looked straight before taping it down.
After covering it with fresh parchment paper, I pressed it at 360 degrees for 60 seconds. The finished colors were even more vibrant on the round. This piece could hang by itself, but it would also look beautiful attached to a wreath with a bow.
Christmas Holly Lumbar Pillow
The white lumbar pillow cover measures 12 by 24 inches and has a hidden zipper. I placed parchment paper inside the cover so the design wouldn’t transfer through to the back, then I ran the heat press over the fabric to smooth the wrinkles.
The holly transfer can face either direction, so I used the top edge of the pillow cover as my guide and centered the design. My heat press is about 18 inches wide, which meant I needed to press the pillow in two sections. I completed one end for 60 seconds, shifted the press, and finished the other end.
Once the cover cooled, I added a feather pillow insert that was slightly larger than the cover. Feather inserts pack down easily while you’re putting them through the zipper, then you can fluff and shape the pillow after it’s closed.
The bright holly looked so pretty against the white fabric. For a more aged holiday look, you could stain the cover with tea or coffee before adding the transfer, although lighter fabric will help the design show clearly.
Sweet Santa Christmas Ornaments
The ornament package includes six double sided ornaments and six pieces of red ribbon for hanging. Each ornament has protective film that needs to come off before pressing, and the printed reminder on the film is helpful.
I used the Sweet Santa heat transfer and cut out a little penguin and reindeer. Trimming away the extra transfer paper made it easier to center each character without another part of the design overlapping the ornament.
I taped each image in place, covered both ornaments with parchment paper, and pressed them together for 60 seconds. Since the ornaments are double sided, you can decorate the back too. I completed one side during this project and saved the remaining designs for later.
These would be cute hanging on a Christmas tree, and they’re also a sweet finishing touch for a wrapped gift. The included red ribbon makes them ready to hang once they’ve cooled.
Blue Floral Market Tote
The new market tote is large and roomy with long handles and gusseted sides. I chose a bold blue floral heat transfer that I had been wanting to use, and the large design fit nicely across the front of the bag.
I placed parchment paper inside the tote, smoothed the wrinkles with my press, and lined up the transfer just under the top seam. This time I used heat tape on all four corners so the design would stay in place while I moved the press.
Since the transfer was wider than my heat press, I pressed one side for 60 seconds and then shifted over to press the other side. The blue came out rich and vibrant, and the size of the design worked well with the generous tote.
This tote will hold plenty for a trip to the grocery store or market. I also like using tote bags in place of disposable gift bags, so this one could become part of a Christmas present while giving the recipient something useful too.
Chalk Couture supplies I used
You can shop my full Chalk Couture store here.
I am an independent Chalk Couture designer, so I earn a commission on these links. See my disclosure for more.