July 20, 2026 by Debbie Westbrooks
Chalk Couture Heat Transfer Tote Bags for Two Seasons
Live Videos · Crafts · DIY
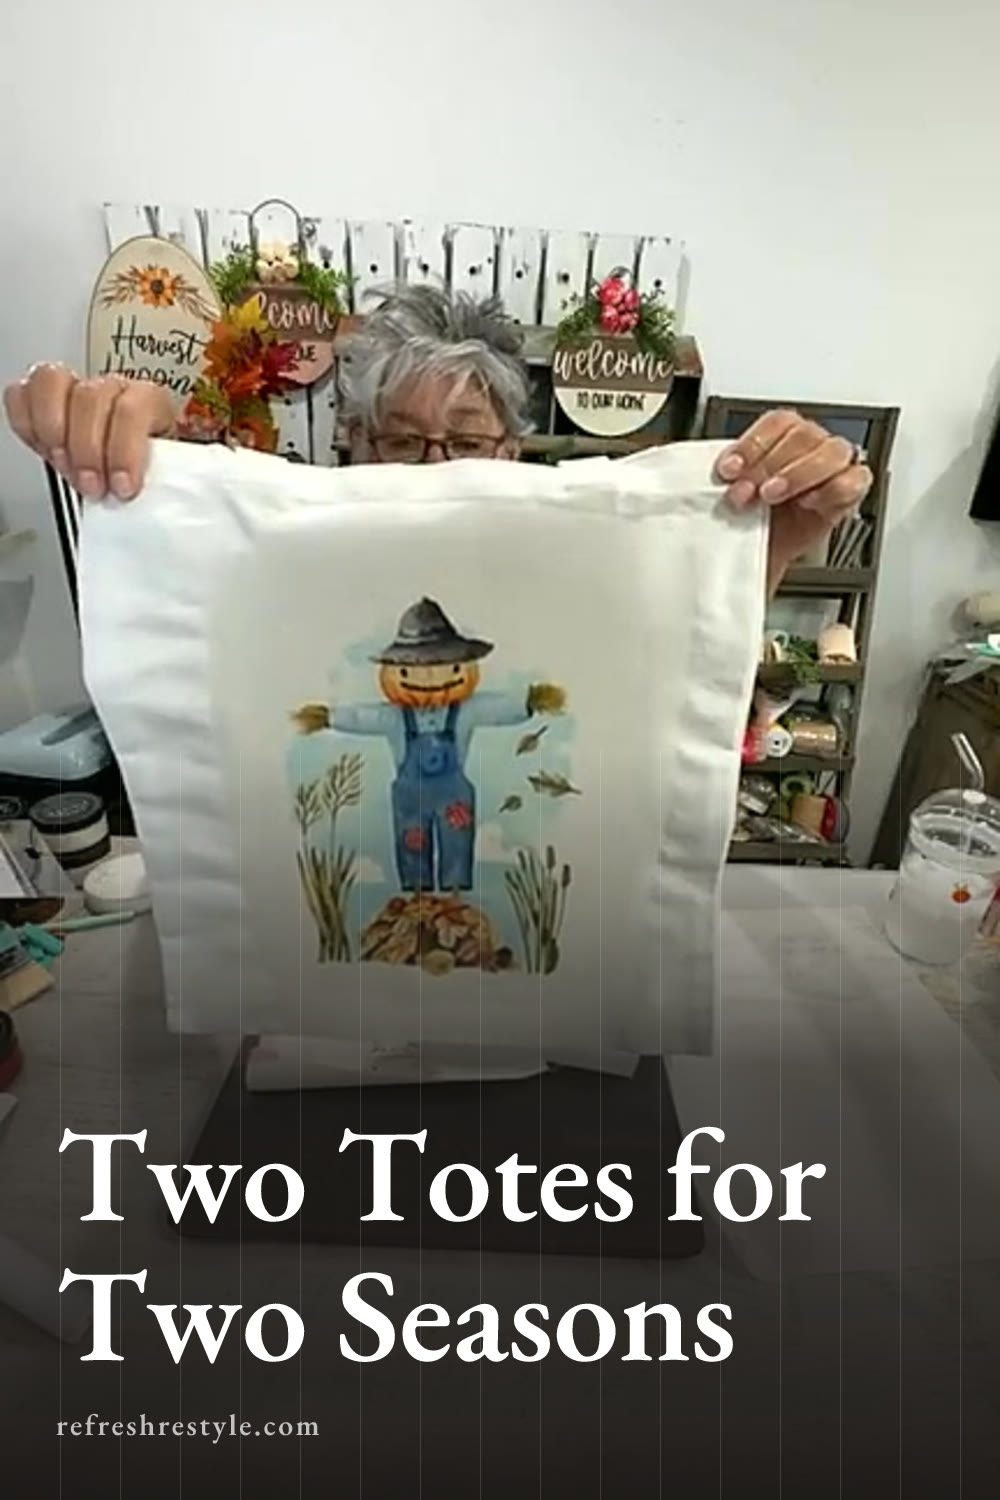
I made two seasonal tote bags with Chalk Couture heat transfers, one for fall and one for Christmas. These thick totes are a great surface for heat transfer designs, and the bright fall colors and retro Santa turned out so stinking cute.
Chalk Couture Heat Transfer Tote Supplies
I used two of the thick tote bags, a fall heat transfer, and a Feeling Jolly Santa heat transfer. I also had my heat press, heat mat, parchment paper, and tape ready before I started.
The tote bags have a nice weight to them, which made them feel sturdy enough for everyday use. You could carry the fall tote to a pumpkin farm or fall festival, and the Christmas tote would be adorable for shopping or carrying gifts.
The heat transfer packages include two copies of the design, so you could decorate a tote and then make a matching T shirt. Both designs would be cute on shirts, and I love the idea of having a seasonal tote to go with one.
Getting the Tote Ready
I started with the fall tote and placed the heat transfer on the front. To center it, I used the handles as my guide because that helped me see how the design would look while I was carrying the bag.
Once I liked the placement, I taped the transfer down so it couldn’t move while I worked. Keeping the design in place is important because even a small shift can change the final placement.
I also put parchment paper inside the tote. The fabric was thick, but I wanted an extra layer between the front and back of the bag while I applied the heat.
I placed the tote on my heat mat and made sure everything was smooth before bringing in the press. Having all the parchment paper cut and ready made this part go faster.
Applying the Fall Heat Transfer
I set my heat press to 360 degrees and pressed the fall design for 60 seconds. My press had turned off before I started, so it needed a little extra time to reach the full temperature.
After pressing, I lifted one area of the transfer for a quick look. A little color remained on the top part of the sheet, so I put it back down and pressed that area again. A brief check like this helped me catch the spot before removing the whole transfer.
I also tried to use even pressure across the design. My handheld press works well, but it helps to pay attention to the edges and top of a larger image so every section gets enough heat.
Once the design had transferred, I peeled away the sheet and let the tote rest while it was still warm. The colors were beautiful. They looked as if they had melted right into the fabric instead of sitting thickly on top.
The finished fall tote has such a fun seasonal look. It would be perfect for a trip to a pumpkin farm, a fall festival, or any of those outings where you always seem to come home carrying a little more than you planned.
Making the Feeling Jolly Santa Tote
For the second bag, I repeated the same process with the Feeling Jolly Santa heat transfer. This Santa has a wonderful retro look, expressive eyes, and plenty of color.
I centered the design using the handles again, taped it in place, and put parchment paper inside the tote. Then I pressed it at 360 degrees for 60 seconds.
I left the press in place a little longer while applying even pressure. When I removed the transfer sheet, Santa looked wonderful and the words Feeling Jolly completed the design.
The finished image reminded me of a classic holiday Santa. It has the kind of nostalgic style that works beautifully on a Christmas tote, but it would also be fun on a T shirt.
More Ways to Use These Seasonal Designs
Since each package includes two of the same design, you can make more than one project without choosing between a bag and a shirt. I think a matching tote and T shirt would be adorable for a fall outing or a Christmas gathering.
You could also decorate both sides of the tote. I used the heat transfer on one side, but the other side could hold another regular transfer with permanent ink. That would give you room to add another image while keeping the main seasonal design on the front.
These bags would also make useful gift bags. I love putting a present inside a bag that becomes part of the gift, whether I’m giving it for Christmas or a birthday. The Feeling Jolly tote would be especially cute filled with holiday gifts, and the recipient could carry it throughout the season.
My Finished Fall and Christmas Totes
Both projects used the same heat press settings and followed the same basic steps, but the finished totes have completely different personalities. The fall design is colorful and ready for pumpkin season, while the retro Santa brings in all the fun of Christmas.
These were easy projects to finish in one crafting session, and the thick tote fabric showed off the heat transfers beautifully. With two designs in each package, I can still make matching shirts or another pair of seasonal bags.
Chalk Couture supplies
Browse Chalk Couture heat transfers, or shop my full store here.
I am an independent Chalk Couture designer, so I earn a commission on these links. See my disclosure for more.