August 18, 2026 by Debbie Westbrooks
Chalk Couture Poinsettia Transfer Christmas Tray
Live Videos · DIY · Home Interior
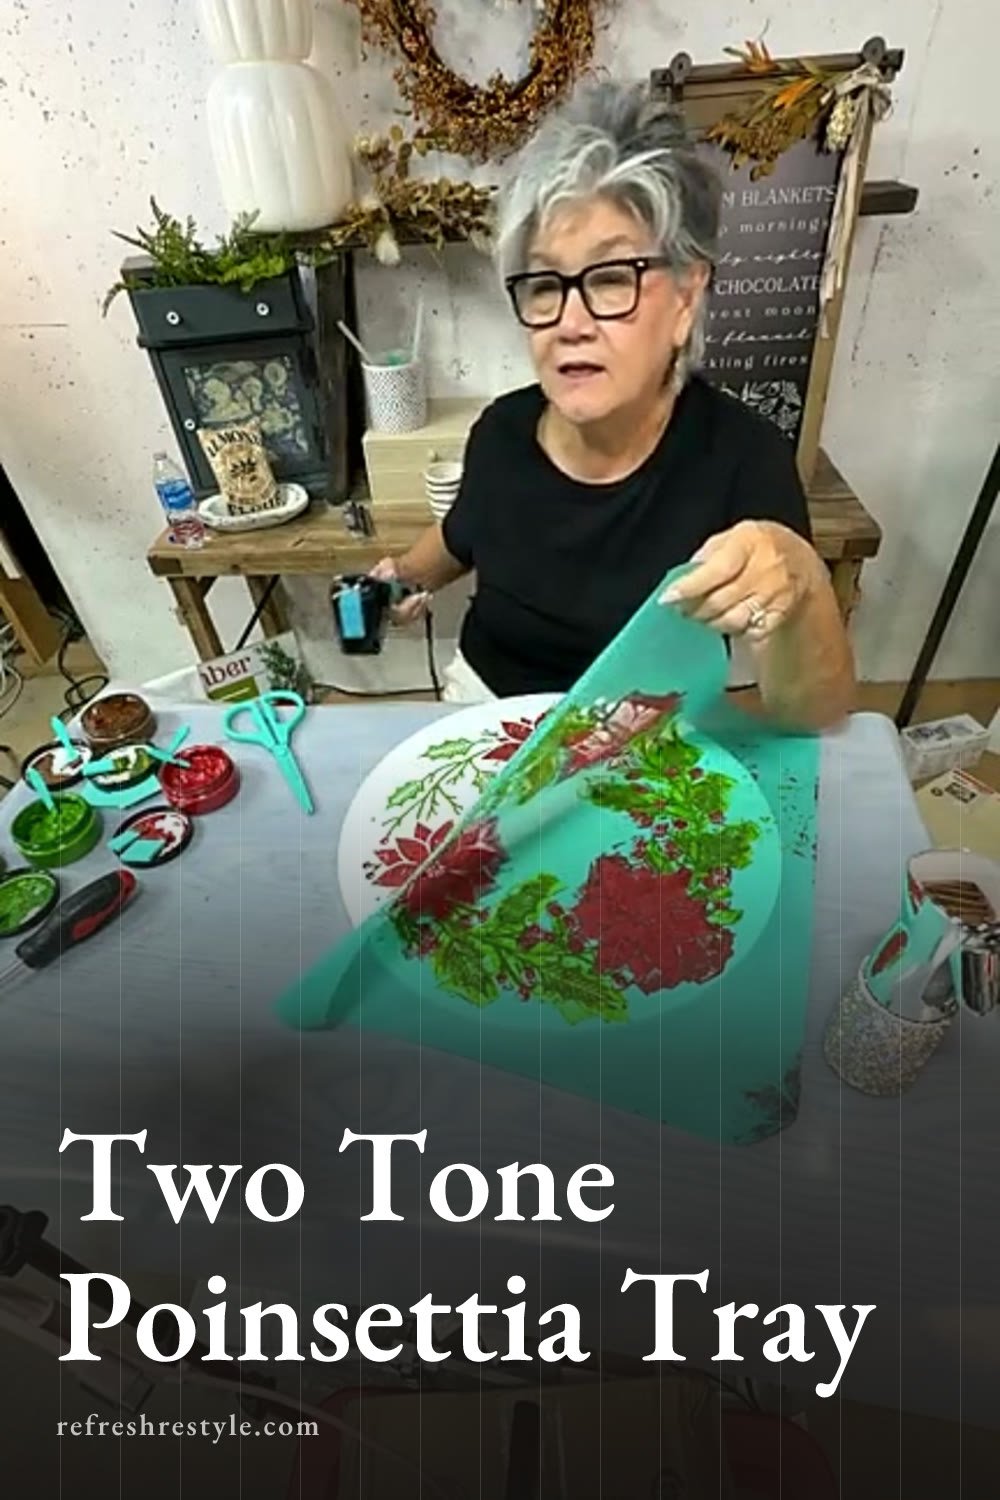
I turned a white farmhouse tray into festive Christmas decor using a Chalk Couture poinsettia transfer and a layered paste technique. The flowers have rich red and brown details, the greenery has two shades of green, and the finished design has a lovely hand painted look without requiring me to paint every leaf and berry.
Supplies I Used
My tray came already painted white, along with two black handles and all the hardware needed to attach them. You can paint the tray first if you want a different background color, but I liked the clean white surface with traditional Christmas red and green.
For the design, I used the large poinsettia transfer with three flowers, greenery and berries. I also used a fuzzing towel, small squeegees, a spatula, a dryer and a Phillips head screwdriver.
My paste colors were Cherry, Espresso, Pesto and Meadow. Cherry gave me the classic red flowers and berries, while a little Espresso added darker detail. Pesto and Meadow created the two green tones.
Preparing the Chalk Couture Poinsettia Transfer
Chalk Couture transfers are sticky and reusable, so I reduced the adhesive before placing this one on the painted tray. I turned the large transfer upside down, held onto it carefully and pressed it against my fuzzing towel a few times.
A low lint towel also works for this step. When you’re working with fabric, you can place the transfer directly on the material because the extra adhesive helps hold it in place.
Large transfers sometimes fold back and stick to themselves. If that happens, take the transfer to the sink and wet it. The water reduces the stickiness and makes the sections easier to separate without pulling hard on the screen.
Once the transfer was ready, I centered it on the tray by looking at the placement of the three poinsettias and the space around the edges. Then I pressed it down well, paying close attention to the areas I planned to work on first.
Creating Two Tone Poinsettias
I wanted the flowers to have more depth than one solid red, so I started by dabbing Cherry paste over a section of the first poinsettia. Then I added small amounts of Espresso in different areas.
Using a squeegee, I pulled the two colors across the screened design. The Espresso mixed slightly with the Cherry and created darker edges and patches. Flowers have natural variations, so each poinsettia can have a different balance of red and brown.
You could also pair the red with white or pink for a lighter poinsettia. I stayed with the deeper red and brown combination because I love traditional Christmas colors.
Adding Layered Greenery and Berries
I used the same idea for the leaves and branches. I placed Meadow paste over part of the greenery, then dabbed Pesto into different areas before pulling the colors through the screen.
The two greens created lighter and darker sections, almost like painting with a squeegee. Precise placement isn’t needed here. A little blending makes the greenery look more natural, and an occasional bit of green near a berry simply becomes part of the handmade finish.
I saved most of the berries for Cherry paste. Cutting a mini squeegee into a smaller piece gave me better control around those tiny sections. A small detail tool would work too, but the trimmed squeegee was easy for me to handle.
Working in Sections
Paste dries quickly, especially when a large design uses several colors. I completed one section, removed the excess paste and lifted that part of the transfer while the paste was still wet.
I kept the rest of the transfer attached to the tray, which helped me return it to the same position. After lifting a finished section, I laid the transfer down lightly and dried the exposed design before continuing.
Keep the dryer pointed toward the tray and away from the transfer because heat can melt the screen. I also moved the tray as I worked so I could reach each area without leaning over the wet design.
A few lighter spots appeared where paste started drying in the screen. I used a tiny paintbrush and a little leftover paste to darken those areas. That quick touchup brought the poinsettias and greenery into better balance while keeping the built in distressed details.
Attaching the Tray Handles
After the design dried, I attached the black handles. I started each screw from the bottom of the tray, lined up the handle and tightened everything with my Phillips head screwdriver.
The black hardware works well with my decor, but Rub and Buff could give the handles a gold or silver finish. You could also paint them if another color fits your Christmas decorations better.
Sealing and Storing the Finished Project
A spray sealer is a good option if the tray will be around moisture or if you’re making it to sell. I like Krylon Clear in either matte or gloss. A brushed liquid finish can reactivate the paste, so I use a spray and apply it according to the directions on the can.
The tray can also be refreshed later. A light sanding and a new coat of paint will prepare the surface for another design.
After cleaning the reusable transfer, I return it to its backing sheet and package. For large designs, I run a shower curtain hook through the package and hang it in a closet, which keeps the transfer flat and ready for my next project.
Chalk Couture supplies I used
You can shop my full Chalk Couture store here.
I am an independent Chalk Couture designer, so I earn a commission on these links. See my disclosure for more.