October 19, 2026 by Debbie Westbrooks
Chalk Couture Snowy Deer Christmas Jar
Live Videos · DIY · Home Interior
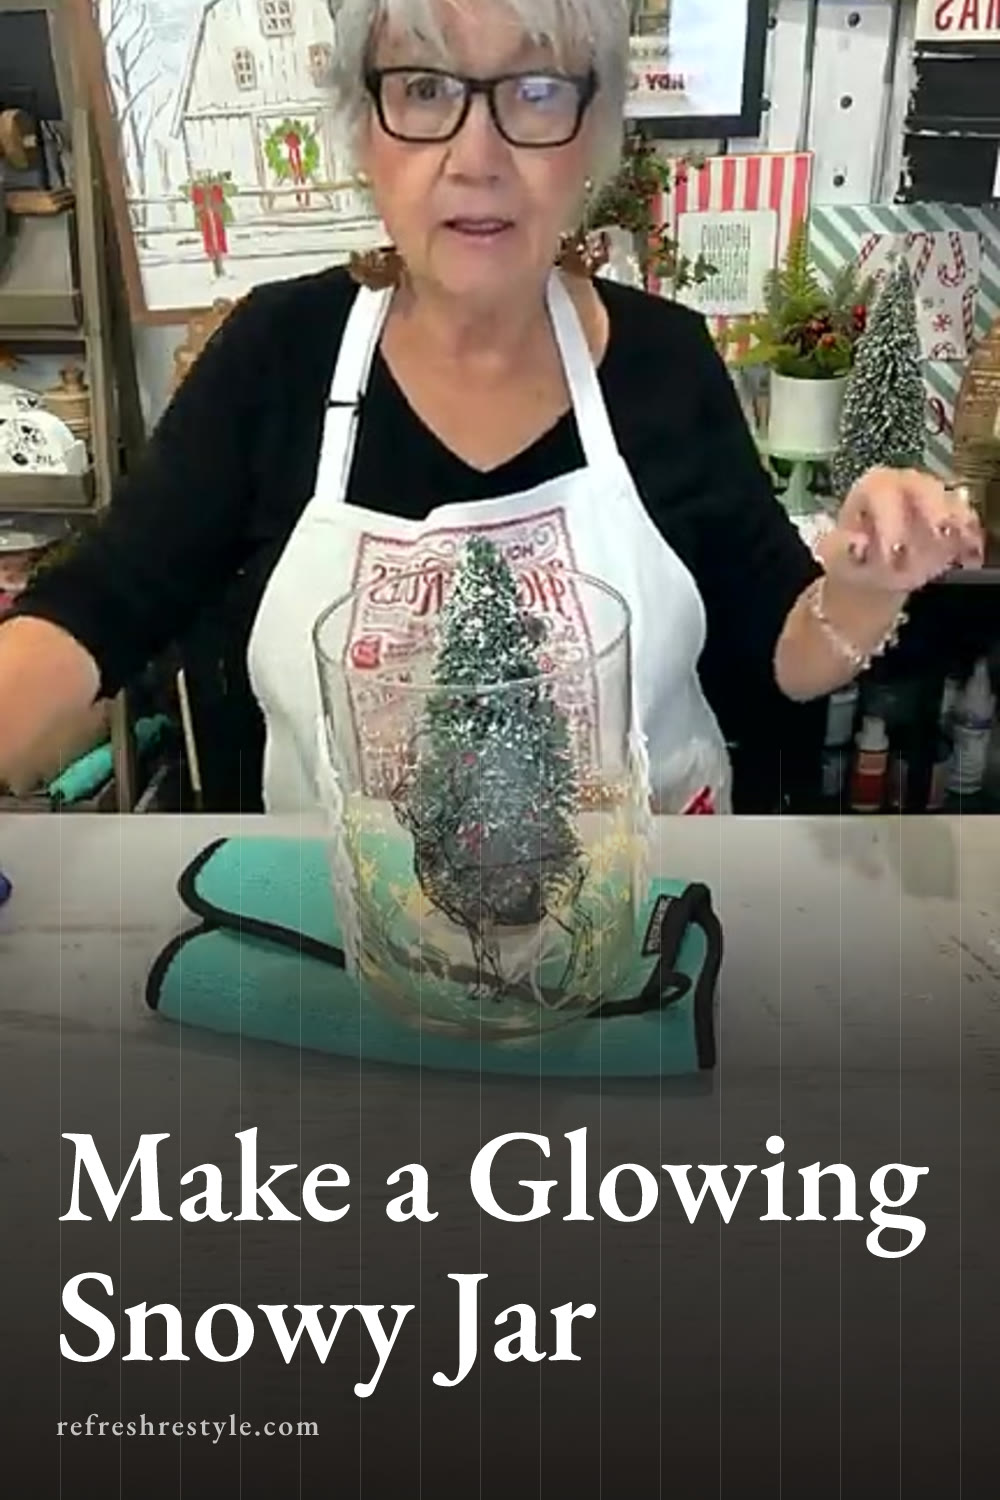
I turned a wide Dollar Tree glass jar into a snowy woodland centerpiece using Chalk Couture black paste, a deer transfer, tiny trees, fake snow, and a strand of lights. Once the lights came on, the whole jar looked like a snowy night tucked inside glass.
What I used for my winter jar
I started with one of the larger glass vases from Dollar Tree. I kept calling it a jar because that’s exactly how I planned to use it, and the wide shape gave me plenty of room for the scene.
I also used a deer transfer design, black paste, a mini squeegee, a fuzzing towel, small snowy trees from Dollar Tree, fake snow, a larger decorative tree, string lights, and a low temperature glue gun.
The deer came from a design that also included cardinals, holly, and pine cones. I only needed the deer for this project because I wanted a woodland look that could stay out beyond Christmas.
Adding the Chalk Couture deer design
Glass is a slick surface, and Chalk Couture transfers are sticky, so I added a little fuzz to the transfer before placing it on the jar. This helps keep the transfer from gripping the glass too tightly when it’s time to pull it away.
I rested the jar on my fuzzing towel so it wouldn’t roll while I worked. Then I positioned the first deer above the bottom of the jar, leaving enough space for the fake snow that would go inside later.
Using my mini squeegee, I spread black paste across the deer. The paste is nice and thick, so a small amount covers the design well. I worked it through the transfer and checked the little details, including the hooves, before lifting the transfer away.
I dried the first deer before turning the jar and adding the second one. Drying between the designs kept my hand from smearing the finished paste as I moved the curved glass around.
The black deer looked pretty right away, but I knew the white snow would give them much more contrast once the jar was filled.
Gluing snowy trees to the glass
Next, I added three small snowy trees to the outside of the jar. These Dollar Tree trees are fun to use because they bring in texture and make the scene look like it extends beyond the glass.
I set my glue gun to low temperature and added three small dollops of glue to each tree. Then I pressed them onto the jar and eyeballed the spacing. You can measure if you prefer everything lined up exactly, but I liked the natural placement for this woodland design.
The raised trees gave the jar dimension while the black deer stayed visible behind and around them.
Filling the glowing winter scene
For the inside, I used a larger decorative tree and a strand of small lights. I lowered the lights into the jar first and kept the controller where I could reach down and turn them on or off. The controller also listed a timer setting, which is handy if you want the lights to come on at the same time each evening.
I placed the tree near the center and poured fake snow around the base. My first container of snow needed a little help, so I added more until the bottom looked full and the wires were nestled into the scene.
Fake snow can scatter a bit like glitter, so I poured it slowly and adjusted the tree as I went. Once everything was in place, I turned on the lights and dimmed the room. The glow against the black deer and white snow made the jar look like a tiny winter night.
Using the jar as a Christmas centerpiece
This jar is large enough to sit in the middle of a table by itself, but you can also place it on a decorative tray and add a little greenery around the base. A tray helps anchor the jar and gives you room to bring in more color or texture from the rest of your Christmas decor.
I especially like that the deer design can work from fall through winter. After Christmas, I can lift out the decorated tree and replace it with pine cones or rusty bells. The snow, deer, and lights can stay, but the finished look feels less like Christmas.
Caring for Chalk Couture paste on glass
The paste dries hard on the jar, so it holds up well for seasonal decorating. I can dust the glass with a microfiber cloth while it’s on display without disturbing the design.
When I’m ready to change the jar, I can wet the paste and use a plastic scraper to remove it. It takes some scrubbing, which is helpful while the centerpiece is in use, but the design remains removable so I can refresh the same glass jar for spring or another project.
Chalk Couture supplies
Browse Chalk Couture Chalkology Paste, or shop my full store here.
I am an independent Chalk Couture designer, so I earn a commission on these links. See my disclosure for more.