October 19, 2026 by Debbie Westbrooks
Chalk Couture Transfer Wood Burning Christmas Tray
Live Videos · DIY · Crafts
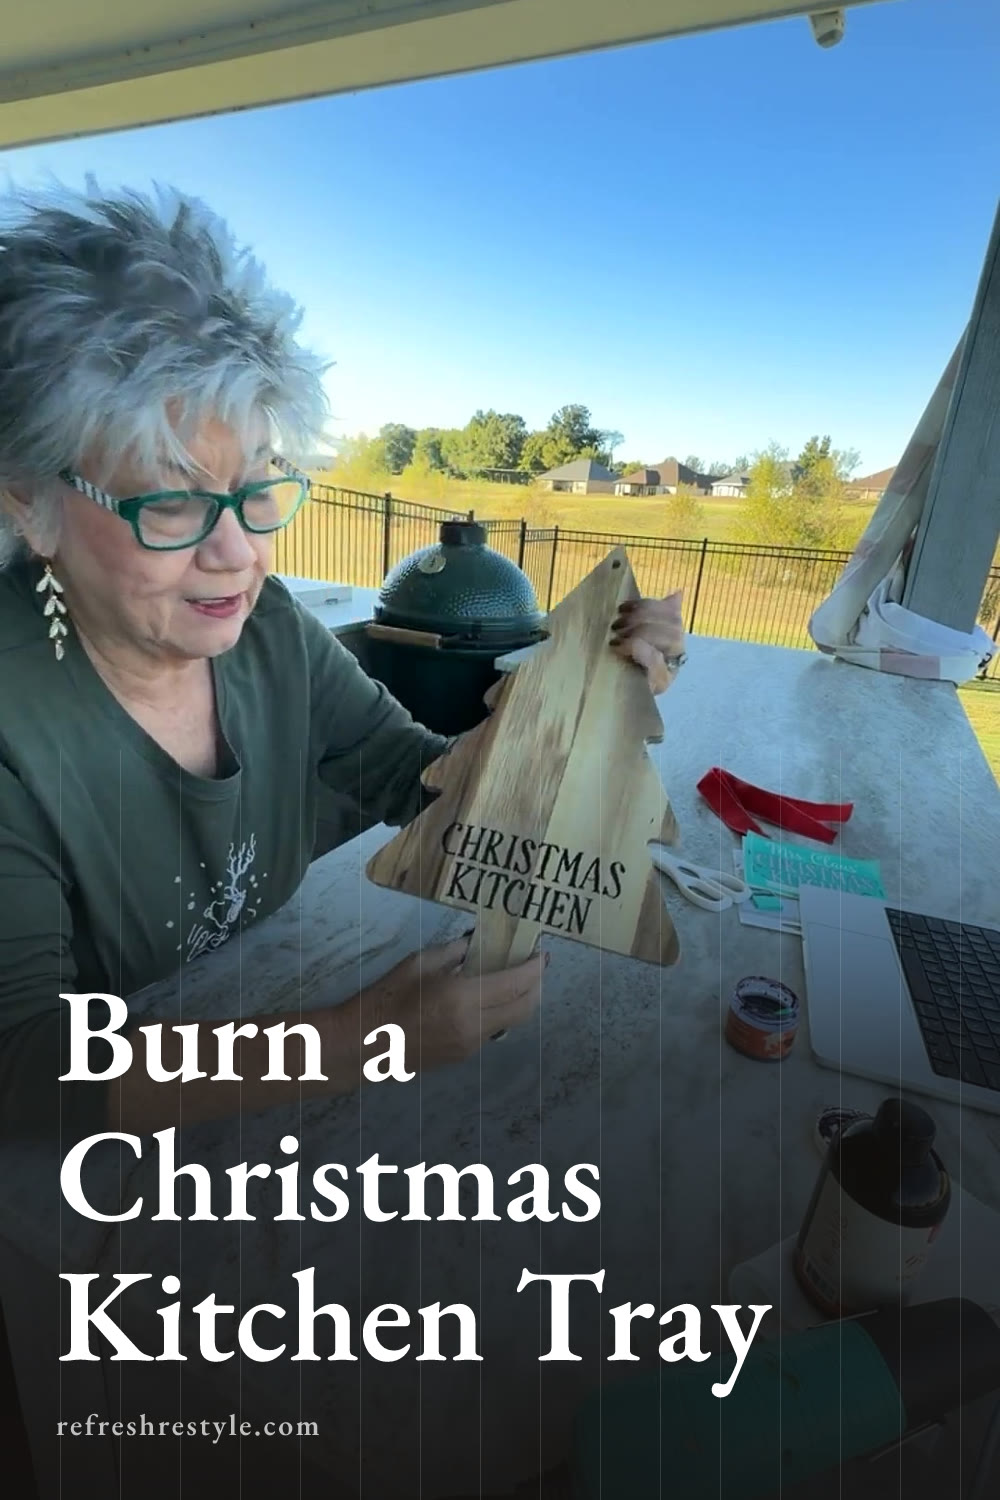
I found the cutest wood tray at Hobby Lobby and knew it would make a wonderful Christmas gift. Using one of my Chalk Couture transfers with scorch paint gave me a permanent burned design, and a coat of finishing oil brought out the warm color of the wood.
An Easy Christmas Kitchen Gift
This wood tray was already pretty when I brought it home, and since it was 50 percent off, I paid about eight dollars for it. I love finding an affordable base that can be personalized in just a few minutes.
I left the tray exactly as it came from the store. The wood was ready to use, so I skipped sanding and other surface preparation and went right to the design.
The transfer says Mrs. Claus’s Christmas Kitchen and includes a small gingerbread person. I decided to use only the words Christmas Kitchen near the bottom of the tray. You can use the entire design if you have a larger surface or want more detail.
You could also add a monogram with a font transfer. A single initial would make this an especially thoughtful gift for a family, newlywed couple, or holiday hostess.
Supplies I Used
Here are the supplies I used for my tray.
- Wood tray or cutting board
- Mrs. Claus’s Christmas Kitchen transfer
- Scorch paint
- Squeegee
- Heat gun
- Paper towels
- Finishing oil
- Ribbon for gifting
Always check the label on your wood surface and every finishing product you plan to use, especially if the finished piece may come in contact with food. The tray I used was labeled food safe, and I also checked the products I applied to it.
Using a Chalk Couture Transfer With Scorch Paint
Scorch paint is thick, so I stirred it well before using it. Shaking the container helps a little, but stirring makes the consistency much easier to work with.
I placed the Chalk Couture transfer close to the bottom of the tray and lined it up by eye. Measuring is always an option, but I usually stand back, look at the placement, and adjust it until it feels straight.
Since I only wanted the Christmas Kitchen wording, I applied the scorch paint to that part of the design. I used a squeegee just as I would with Chalkology Paste or Chalkology Ink, pressing the product evenly through the screened area.
After covering the words, I scooped the extra scorch paint back into the container. A little goes a long way, and saving the excess means I can use it for another project.
I blotted around the design with a paper towel in case any extra product remained, then carefully lifted the transfer away from the wood. The design was faint at this point, which is exactly what I expected. The heat brings it to life.
The reusable transfer washed clean easily when I finished. With proper care, I can use the same design again for more trays, cutting boards, or signs.
Burning the Design Into the Wood
I took this project outside because the heat activation creates smoke. A well ventilated work area is important, and working outdoors made the process comfortable while keeping the smoke away from my indoor smoke alarm.
I set my heat gun on high and held it close enough to activate the scorch paint. As I moved the heat over the letters, the design began to darken and burn into the wood.
Keep the heat gun moving and watch the color as it develops. The tool gets very hot, so protect your work surface, keep your hands away from the heated end, and follow the instructions that came with your heat gun.
This step went fast. Once all of the letters had reached a rich brown color, I turned off the heat gun and set it in a safe place to cool. I wiped the tray with a clean paper towel to remove any residue left on the surface.
Finishing the Christmas Tray
The finishing oil gave the wood a richer color and made the burned lettering stand out even more. The oil I used was all natural, contained no palm or mineral oil, and had a lovely orange scent.
I poured a small amount onto the tray and massaged it into the wood with a paper towel. I covered the full surface rather than applying it only around the design, which gave the tray an even finish.
After working the oil into the wood, I wiped away the excess. The label called for at least four hours of drying time, so I set the tray aside and let the finish dry according to those directions.
Product directions can vary, so check the label on the finishing oil you choose and follow its drying and care instructions.
Turn It Into a Hostess Gift
This tray is pretty enough to give just as it is, but it would also make a fun food gift. You could add crackers, cheese, or other packaged treats, then wrap everything in clear cellophane and finish it with a ribbon.
For a simple presentation, tie a bow around the handle or attach a gift tag. The personalized burned design makes an affordable store bought tray feel special, and the recipient can continue using it after the treats are gone.
You can make several gifts from the same Chalk Couture transfer and change the look of each one. Use the full Mrs. Claus’s Christmas Kitchen design on one tray, use only the wording on another, or add an initial for a personal touch.
Chalk Couture supplies
Browse Chalk Couture transfers, or shop my full store here.
I am an independent Chalk Couture designer, so I earn a commission on these links. See my disclosure for more.