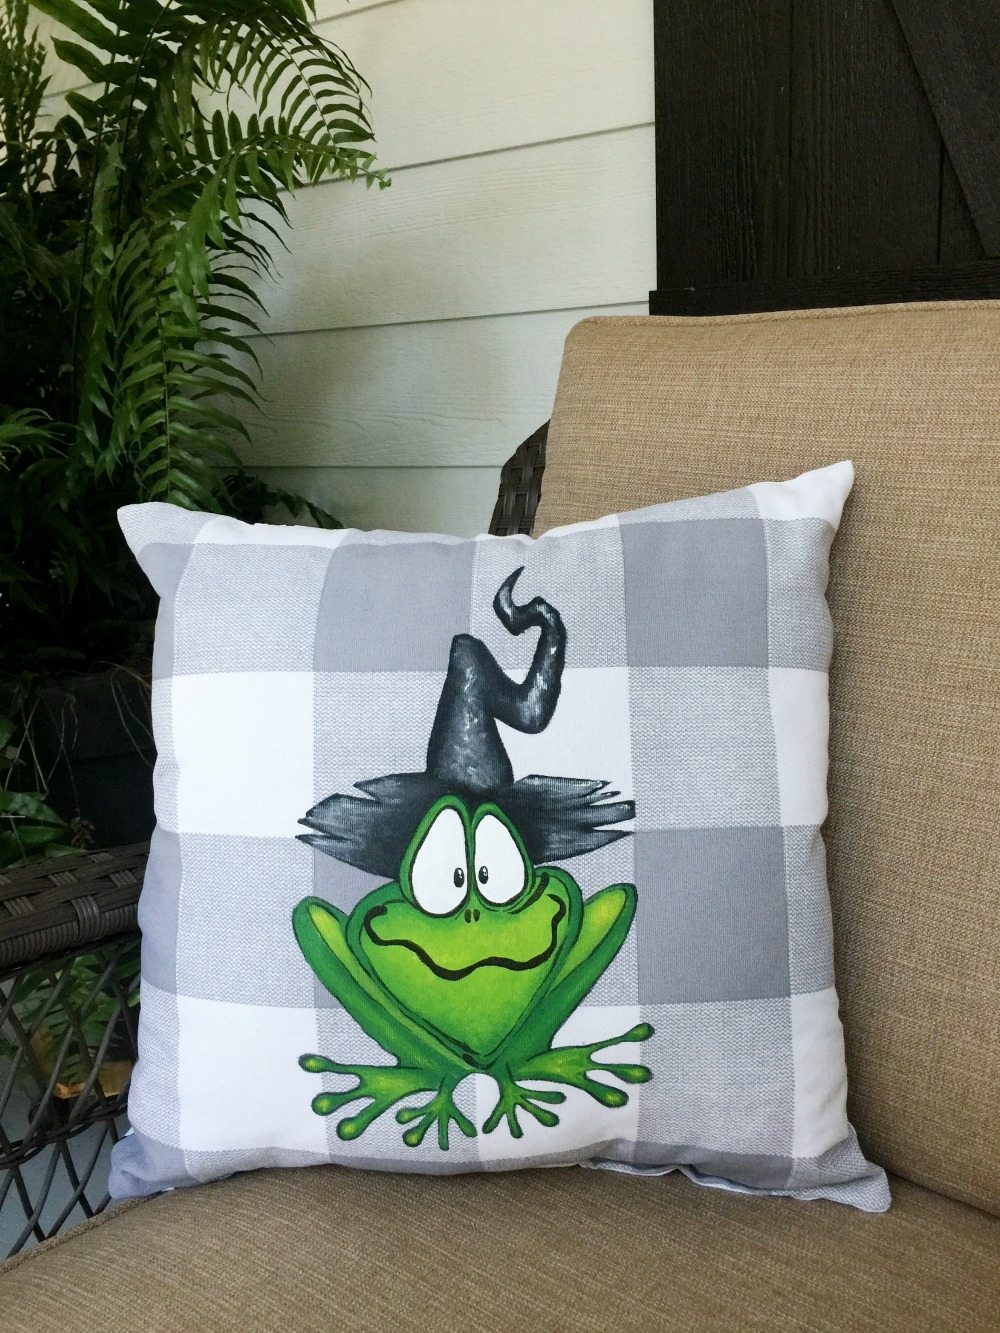
Welcome friends, I have a talented guest to share today. You’re going to love this DIY Hand Painted Halloween Pillow!
Hello! My name is Nikki and I’m addicted to home decor projects. I have a sneaky suspicion that I’m in like-minded company here at Refresh Restyle. Amiright?
There are 2 things that I know for sure. Number One-surrounding yourself with people, or things, that bring you joy make life better. And Number Two-there’s no such thing as “too many pillows”!
As the owner of the Make Lemonade Shop-pillows are my jam. I love changing up the look of a room by swapping out the pillows. From season to season, holiday to holiday. Toss a pillow here and there. Viola! The room is totally refreshed.
I’m popping by to show you how to make your own hand-painted pillows using simple techniques. Anyone can complete this project. You don’t need to be a “painter”. Just follow the step by step instructions to create your own Halloween masterpiece.
Supplies for Halloween Pillow – Affiliate Links Included
-Thread-to match fabric
-Fabric paint-Momenta Stencil Fabric Paint in Green and Lime
-Plaid FolkArt Metallic Sequin Black Paint-Optional
–Paint Brushes-4, 6 and 8 Round Brushes
-Masking or Painter’s Tape
–Lightbox (or piece of glass and utility light)
–Tracing paper (if you don’t have a lightbox)

Step by Step Halloween Pillow
Using a lightbox is the easiest way that I’ve found to transfer your design onto fabric. If you are using a dark fabric, or can’t MacGuyver a lightbox, use tracing paper to transfer your design. Let the first layer of the design completely dry before transferring the second layer etc.
Get the directions to Make Your Own Lightbox here.
Step One
Print your graphic and set up your lightbox.
I have a glass topped dining table which I use for my “lightbox”. It’s always covered in paint and fabric. <Hazard of the trade!>
Center your graphic on the glass, tape it down, and place the light underneath it.
Place the fabric on top of the graphic and turn the light on. Center the fabric over your graphic. Once it’s centered tape that down too.
It’s really important to center your graphic. Don’t neglect this step. It really stinks to notice, after you finish a project, that the design is crooked. <Not that I’ve ever done that! At least not more than once twice.>
Step Two
Grab your green fabric paint and paint the darkest areas of the frog. Blend a bit of water into the paint to make it spreadable. The pre-mixed fabric paint is a bit thick for maneuvering, don’t over saturate the paint or it will bleed into your fabric.
Next add some of the lime paint to your paint pallet. We’re going to mix a bit of the green into the lime to create a medium green color.
Use the medium green on the lighter colored parts of the legs, body and eyes of the frog. (As pictured below.)
Then add a bit more lime into the medium green, on your paint pallet, to create an even lighter shade. Now you have 3 greens, varying in shade; dark medium and light.
Paint a bit of the lighter green on top of the medium green, in a few areas, to create more highlights.
As I paint these areas I am blending the medium paint into the dark green and also blending the lightest green into the medium green. This will create depth in the design.
It’s hard to explain this step through photos so I recorded a video to walk you through it. <In the video I continuously call the Lime Paint “yellow”. I apologize! I truly used the Lime Paint, not yellow!>
Next add some white fabric paint to your pallet, water it down a bit, then paint in the frog’s eyes. Let the area dry, slightly, before adding another coat of white paint.
If you are using a patterned fabric it will take several layers to have opaque coverage in this area.
Make sure to add the medium green and light green highlights to the feet and legs of the frog before moving on with the next step.
Step Three
Time to paint the witches hat. Paint the first coat on the hat with the black fabric paint, watered down a bit.
This is step is optional-I used the Black Sequin paint on the next few layers. I like the sparkle that it gives the hat. But to be honest it didn’t make a huge difference once I added the highlights to the hat.
The Black Sequin paint is not formulated for fabric so it needs to be mixed with the Black fabric paint. I used 1/3 Black fabric paint with 2/3 Black Sequin paint. This is not recommended by the manufacturer, but it works. Promise. <I wouldn’t paint a large area this way, but since we are layering it onto the black fabric paint, then adding highlights on top of it, it adheres well.>
As you can see the first coat is a bit rough. You won’t get complete coverage. But you want to layer your design in several light coats of paint and build upon it. Don’t glob on a really thick first coat, you won’t be happy with the results. <Not that I know from experience or anything! LOL>
See that pretty sparkle on the second picture?
Step Four
Let that dry a bit. Take the black fabric paint and the smallest round brush and let’s start to give this frog some personality. Thin the paint down a bit more, you want it to flow off the end of your brush.
Outline the frog, as pictured below, add black pupils and his mouth. Let dry.
While the body of the frog is drying mix a small amount of black paint with the white-creating a medium grey paint. Add the medium grey to the hat, as shown above.
Then add a bit more black paint, on the hat, near the frog’s head. Blend the two colors, where they meet, adding depth.
Before the medium grey dries, add a few pure white highlights to the edges of the hat and to the center of the medium grey areas. Blend a bit, smoothing the transition of light to dark.
Finish off the painting by adding more highlights as needed. Add a few white dots to the eyes.
Let the paint dry for 24 hours. Lay a pressing cloth over the design and press on high heat. Leave the iron in place for approximately 3 seconds, before moving to the next area. This will set the paint. Flip the fabric and pressing cloth over, press again on the backside of the design.
Voila! You’re done. Isn’t it adorable??
Now let’s put it all together.
Lay your front fabric piece on top of your back piece, right sides together. Leave a 12 inch gap in the middle of the bottom, for turning and stuffing. Pin and smooth.
Stitch (or hand sew) 1/2″ seam all the way around the pillow, leaving the 12″ gap in the bottom center. I stitch again over this seam for durability. Then zigzag stitch around the outside of the seam to prevent raveling.
Clip the corners, taking care not to cut into your seam. This will reduce the bulk in order to get sharp corners in the finished pillowcase.
Turn the pillowcase right side out. Use a chop-stick, or other pointed object, to push the corners out fully.
Stuff the pillow form into the case via the 12″ gap left in the bottom.
Pin the seam closed. Once I pin the seam I push the insert back another inch and pin again. This creates a smooth area for the sewing machine presser foot. Making the job of closing the seam a seamless task. <LOL See what I did there?>
Stitch a 1/2″ seam along the opening at the bottom.
Whoo Hoo! Now we’re truly done. Look at that beauty! Isn’t it cool?
I hope that you use this tutorial to whip up this cute Froggie Witch for Halloween. He sure is adorable sitting on my front porch, I think you need to make more than one! LOL
If you’d like to paint a few more designs click over to my Blog-View From In Here and see Hand-Painted Pillow Tutorials. Check out the Make Lemonade Shop or follow on Facebook to get updates.
Thanks to Debbie for sharing her space with me today.
Hoppy Halloween. <See what I did there? LOL>
***Hey guys, Debbie here, I just wanted to share the pillow on my front porch, it is gorgeous!!***

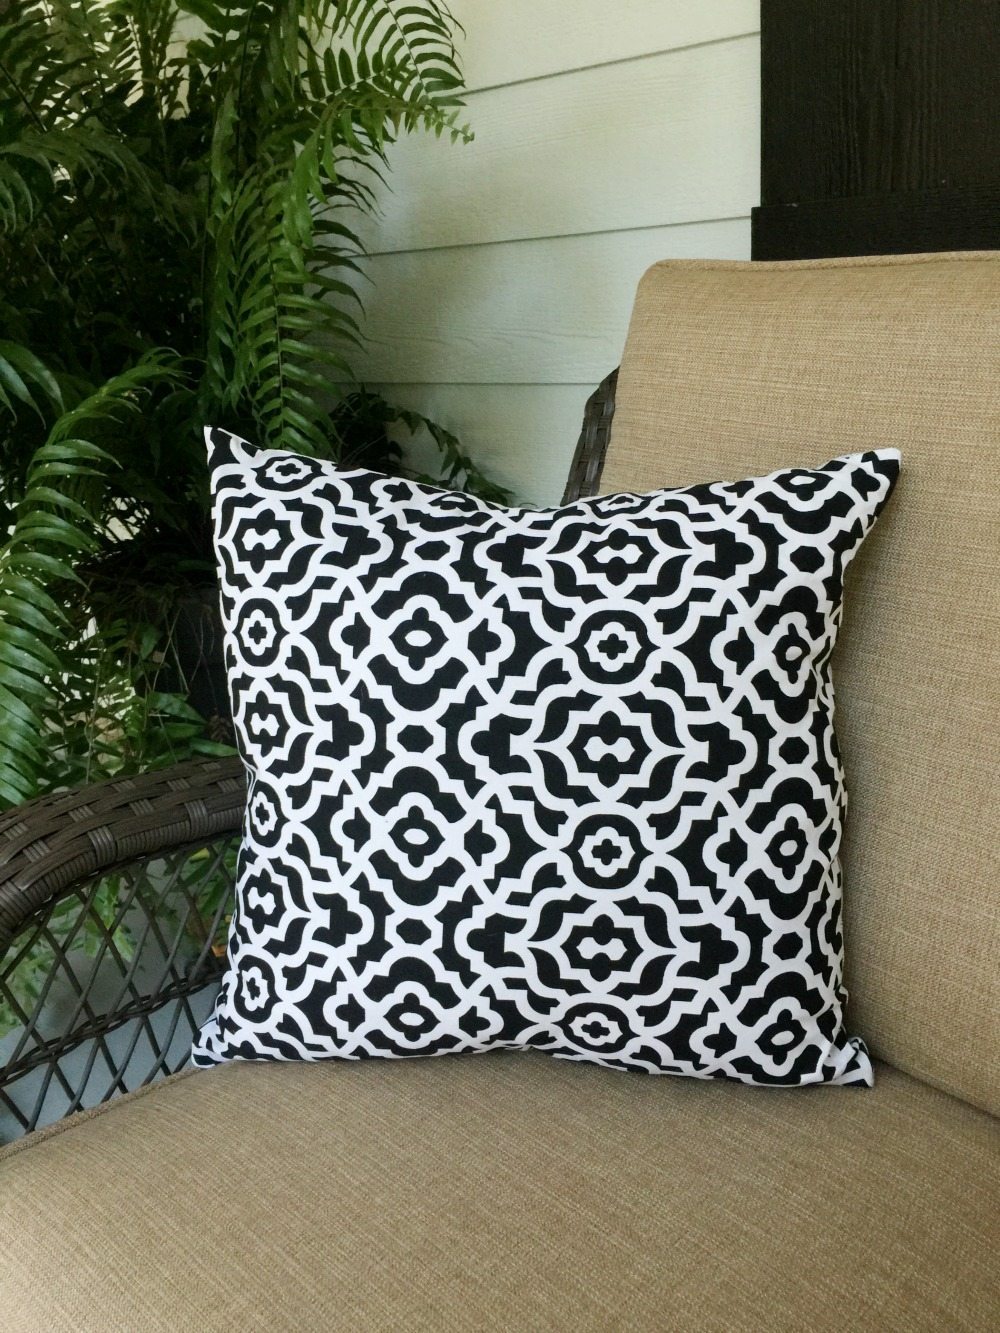
The reverse has beautiful fabric:


Oh my love the pillow and thank you for your inspiration God bless
Great looking pillows and so much fun for Halloween! I’ve never seen such a cute little frog before. The tutorial is also very detailed and easy to understand.
Thank you Mary, I love the frog! So much personality!!
These are awesome. I absolutely love your spider pillow. How does it hold up being outdoors? Would love to add a few pillows to our porch swing.
Hi Jamie, I will work on getting an answer for you!
Jamie, The paint holds up well outside, but it will fade over time. You can spray the pillow with a UV protectant that can also make it water-resistant. But make sure you give the paint at least a week to cure before spraying. Hope this helps!
Debbie, thanks so much for having me! It’s so fun to show others how they can create their own hand-painted decor items.
The pillow looks great on your front porch. Hoppy Halloween!!