June 10, 2026 by Debbie Westbrooks
Double Sided Dog Flag With Patriotic Pups
Live Videos · DIY · Crafts
I turned a small flag and base into the cutest double sided dog flag, and every part of it can face either direction. One side has patriotic pups and a paw print, while the other side has snack inspired sayings that work for pets and people alike.
Starting with the flag and base
This little set includes a fabric flag, a flagpole, and a base. The pole slips into the top of the base, which makes the finished piece easy to display on a table, shelf, or kitchen counter.
I wanted to get more than one look from it, so I decorated both sides of the flag and both sides of the base. That gave me two complete designs in one small project. I stayed with red, white, and blue because those colors worked beautifully with the Patriotic Pups design, but you can use any colors that fit your home.
Before I started, I paid attention to the hole for the flagpole. That hole needs to remain at the top while you add the designs to the base. It sounds simple, but checking the direction before applying paste saves a lot of trouble later.
Adding the Patriotic Pups heat transfer
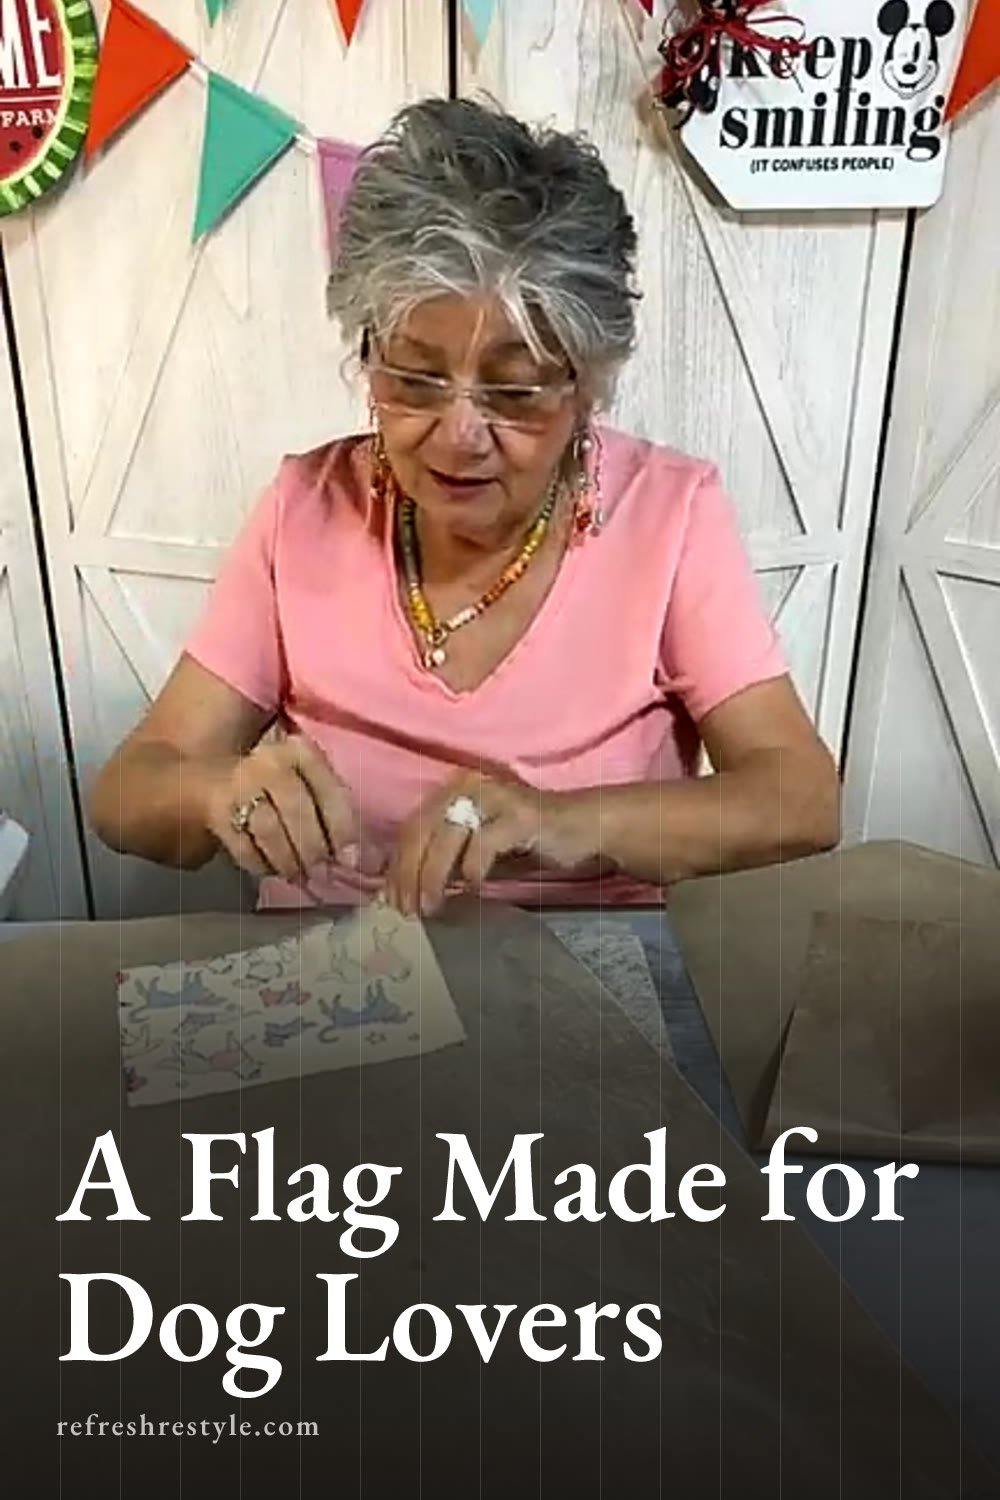
The Patriotic Pups design includes several adorable dogs in patriotic colors. I only needed part of the design for this flag, so I trimmed away the section I wanted to use and saved the rest.
I placed an ink mat beneath the fabric to protect my heat press. Then I turned the printed side of the heat transfer face down against the flag. Since I wanted the dogs to stay in place, I secured the transfer with painters tape.
I pressed the design at 360 degrees for 60 seconds. The flag fabric was an unknown material, but this piece will remain decorative and stay out of the wash. That made it a good project for testing the heat design on the fabric.
Heat transfers get very hot, so use care when lifting the paper after pressing. Once I removed it, the pups had a slightly faded, vintage appearance because the fabric was more natural than bright white. I loved the result. The softer background made the red and blue colors look warm and collected instead of brand new.
Adding the snack saying
For the reverse side of the flag, I used the phrase Please Bring Snacks. It felt perfect with the puppy theme because every dog I know appreciates a snack, and most people do too.
I centered the design by eye and used red ink for the lettering. Candy Apple Red worked with the colors on the pup side and kept the whole project connected. You can choose a different ink color if another shade works better with your decor.
After applying the ink, I lifted the transfer and dried the design. I skipped the heat press for this side because the flag is a decorative piece that will stay out of the wash.
The strong lights around my work area made a faint shadow of the lettering visible through the back of the flag, but it was much less noticeable in a normal room. Each side still had its own clear design once the flag was assembled.
Decorating the first side of the base
With the flag complete, I moved to the wooden base. I added the word Home with a paw print on the first side, which tied in perfectly with the dog theme.
The transfer was very sticky, so I fuzzed it before placing it on the surface. I lined up the design while keeping the flagpole hole at the top, then smoothed everything down so the paste would stay inside the open areas of the screen.
I used Cadet Paste for this side. The deep blue looked great with the red lettering and patriotic pups. I spread the paste across the open design, removed the extra, and peeled the transfer away. That reveal is always one of my favorite parts because the design appears so crisp against the base.
Once the paste was dry, I turned the base over for the second design.
Making the reverse side
I used the phrase Treat Yourself on the other side of the base. The full design included details along the top and bottom, but the base was too narrow to hold every part of it. I centered the section that fit and used the words as the main feature.
Cadet Paste worked well on this side too. After I spread the paste and lifted the transfer, the finished design looked a little like a ticket that said Treat Yourself. It also had a naturally distressed appearance, which went nicely with the vintage look of the pups.
You can use the full design when your surface is wide enough, or choose the part that fits when working with something smaller. A transfer can still look complete even when you use only one section of it.
Assembling the double sided dog flag
Once every surface was dry, I slipped the flag onto the pole and placed the pole into the base. I can display the Patriotic Pups side with the Home paw print base, then turn everything around to show Please Bring Snacks with Treat Yourself.
This flag set can work for plenty of other themes too. A garden design would be cute for spring and summer, while seasonal transfers could change it for fall or Christmas. Coffee sayings, holiday designs, and other small transfers would also fit the simple shape.
Using both sides makes the most of the flag and the base, and the reusable transfers can work for more projects after this one. The finished piece is small enough to tuck into a display, but the colorful pups and playful words give it plenty of personality.
Chalk Couture supplies I used
You can shop my full Chalk Couture store here.
I am an independent Chalk Couture designer, so I earn a commission on these links. See my disclosure for more.