August 15, 2026 by Debbie Westbrooks
How to Make a Gingerbread Dish Towel
Live Videos · Crafts · DIY
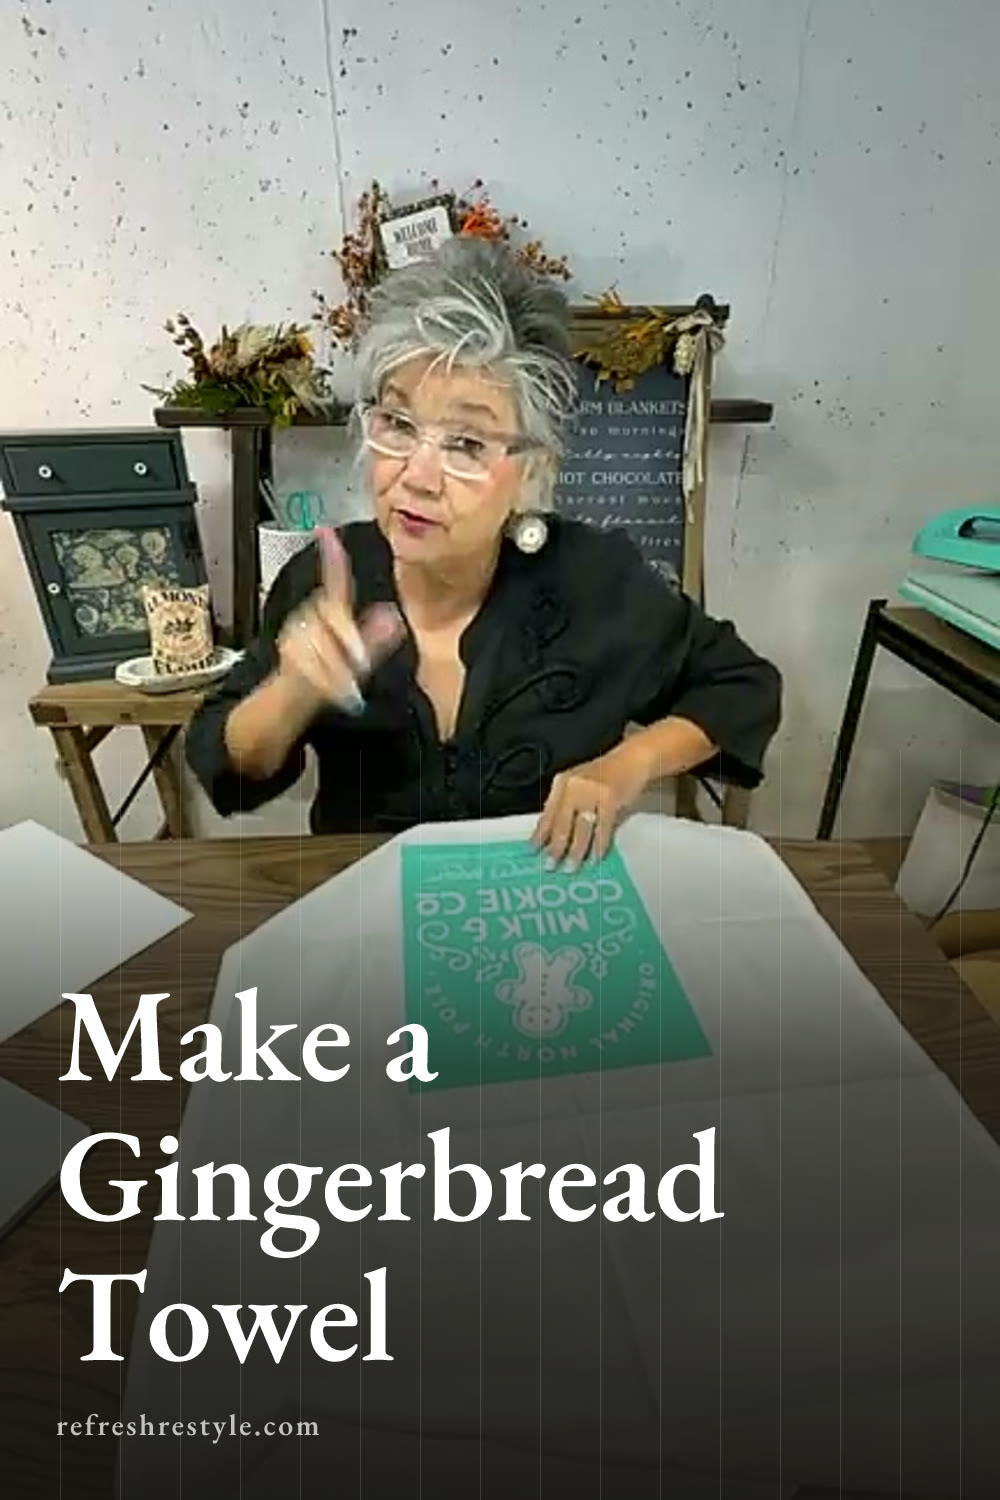
I made the cutest gingerbread dish towel for Christmas using Chalk Couture permanent ink and a silk screen transfer. The little cookie has warm brown shading and crisp edges. Red berries and green holly add festive color. This towel will look sweet in any kitchen.
Why I Love This Gingerbread Dish Towel
A handmade dish towel works in many places. You can hang it over your oven handle. You can also place it on a wide cabinet handle.
It makes a fun Christmas gift too. Add it to a basket with baked treats. You could wrap it around a cookie jar. Cookie cutters would also make a cute gift set.
The gingerbread design can work on other fabric items. Try it on an apron or a T shirt. The reusable design gives you many project choices.
Supplies I Used
I started with a large dish towel. Mine had a hanging tab on the back. I kept that tab at the top.
I also used a sticky ink mat. The mat holds fabric in place while you work. I clean my mat with water when needed.
For the design, I used permanent fabric ink. My colors included Pesto, Candy Apple, black, Dune, and Espresso. I also used small squeegees for better control.
I dried the ink before heat setting it. Then I used my heat press. An iron and parchment paper will work too.
Place the Towel on the Ink Mat
Think about how you plan to display your towel. I fold mine into thirds. Then I hang it over an oven handle.
I placed the towel on my ink mat first. The sticky surface held it while I worked. My towel already had a center fold. That fold helped me line up the design.
Check the bottom edge before placing your design. Some towel hems may look a little uneven. Center the design based on how the towel will hang.
Press the towel onto the mat. Smooth the fabric around the design area. This helps keep the ink lines neat.
Add the Christmas Colors
I started with Pesto permanent ink. I used it on the holly leaves. A small squeegee helped me stay inside each area.
Use a light touch with your squeegee. Think about spreading butter across bread. Press just enough to move ink through the silk screen.
Next, I added Candy Apple to the berries. I also used red on several small dots. Those little spots added more Christmas cheer.
Permanent ink stays wet longer than craft paste. You have time to work through each color. Keep your fingers clean as you move around. Wet ink can travel onto the towel fast.
I added black ink to parts of the design. Black gave the design a bold finish. The small squeegee worked well in these tight areas.
Blend the Gingerbread Cookie Colors
Dune became the main color for my cookie. I spread it through the center of the gingerbread shape.
Then I added Espresso for the darker edges. I wanted my cookie to look a little crisp. That look fits my own baking adventures very well.
I placed a little Espresso on my finger. Then I worked it around the outer edges. I also added a few darker spots near the center.
Next, I swirled the two colors together. This made the cookie look shaded instead of flat. You can mix both colors before applying them too. I liked blending mine right on the design.
You can use a squeegee for this step. Your finger also gives you good control. Keep a towel nearby for cleaning your hands.
Lift the Design Slowly
The big reveal is always my favorite part. I lifted the transfer from one side. I moved slowly and checked each area.
A few spots needed more ink. I placed the design back down before removing it. Then I added ink to those light areas.
This method helps when working with textured fabric. Lift a little and check your work. Add more ink while the design stays lined up.
Once I liked every area, I removed the design. The gingerbread cookie looked warm and sweet. The darker edges gave it extra detail.
Dry and Heat Set the Ink
I dried the wet ink before using my heat press. Make sure every part feels dry. The thicker cookie area may need extra drying time.
I set my heat press to 305 degrees. Then I pressed the towel for 30 seconds. This heat set the permanent ink into the fabric.
An iron works for this step too. Place parchment paper over the design. Apply heat across the full inked area.
Heat setting makes the towel ready for regular use. You can wash and dry it through the Christmas season.
Fold and Display the Finished Towel
I folded my towel so the full design showed. The gingerbread cookie sat near the front and center. It looked so stinking cute on its own.
You can hang it in your kitchen for Christmas. You can also place it inside a holiday gift basket. Add cookies, baking tools, or a cookie jar for a sweet gift.
Chalk Couture supplies I used
You can shop my full Chalk Couture store here.
I am an independent Chalk Couture designer, so I earn a commission on these links. See my disclosure for more.