October 20, 2026 by Debbie Westbrooks
Chalk Couture Permanent Ink Gingerbread Shirts
Live Videos · Crafts · DIY
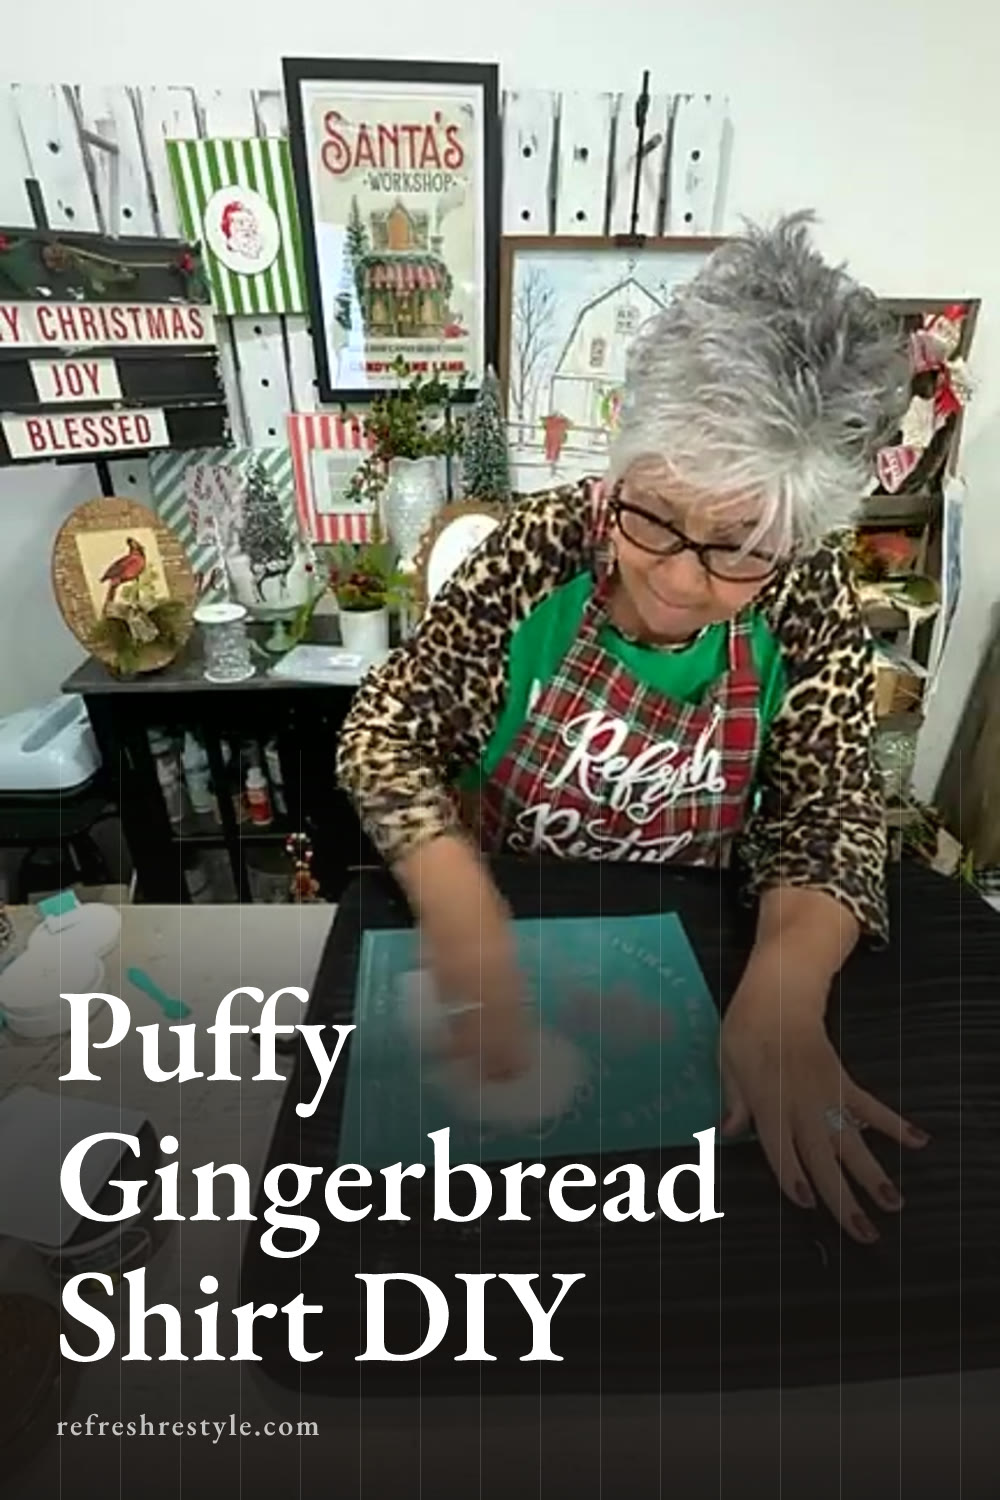
I made two Christmas shirts with the Baking Spirits Bright design, Chalk Couture permanent ink and puff additive. One was a burgundy shirt for me, and the other was a little sweatshirt with a gingerbread figure and Milk and Cookies. The puff additive gives the finished design a raised texture that feels a lot like stitching.
My gingerbread shirt idea
I had already tried the puff additive on another project, and once I saw how much texture it created, I knew the gingerbread design would be cute with it. A raised cookie on a soft sweatshirt just felt like a fun combination.
For my shirt, I used a burgundy top from Walmart that was already in my closet. I like looking through what I own before buying something new for a project. The rich shirt color also gave the white lettering and warm brown gingerbread plenty of contrast.
I made a second version on a small sweatshirt for Bear. Instead of using the entire design, I chose the gingerbread figure and the Milk and Cookies wording. That is one of my favorite things about a transfer with several elements. You can use the complete design or select the pieces that fit your surface.
Supplies I used
For these shirts, I used the following supplies.
- Baking Spirits Bright transfer
- White permanent ink
- Espresso permanent ink
- Puff additive
- Squeegee
- Burgundy shirt
- Small sweatshirt
- Heat tool
- Distilled water and paper towels for cleaning
The Baking Spirits Bright design also works on a basic nine by twelve board, but I wanted to show another way to use it. Chalk Couture silk screen transfers can create crisp designs on fabric, and the transparent transfer made it easy for me to see the shirt underneath while lining everything up.
Mixing Chalk Couture permanent ink
I wanted a warm gingerbread cookie color, so I mixed Espresso ink with white permanent ink. I started with a small amount of Espresso because brown can take over a mixture quickly, then added white until it looked more like a baked cookie.
You can mix ink colors to make your own shade. Just keep ink with ink and paste with paste since they are made for different types of projects. The permanent ink is thicker than regular craft paint, but it still spreads smoothly through the silk screen.
Once I liked my gingerbread color, I added the puff additive. I used roughly equal parts ink and additive, which means one scoop of ink gets about one scoop of puff additive. The additive looks white in the container, but it is translucent and did not change my finished brown color.
I mixed it very well so the puff additive was worked through all of the ink. I also prepared a white mixture with puff additive for the Milk and Cookies wording on the smaller sweatshirt.
Applying the Baking Spirits Bright design
I started with my burgundy shirt and used white permanent ink for the main design, leaving the gingerbread section open. The transfer has a built in distressed look, so those worn areas are part of the design rather than spots that need more ink.
I spread the white ink over the open silk screen areas with my squeegee, then lifted the transfer slowly. After that portion had a chance to sit, I lined the transfer up again and added the gingerbread figure with my brown puff ink mixture.
For the smaller sweatshirt, I used the brown puff mixture on the gingerbread and the white puff mixture on Milk and Cookies. I left off the rest of the design so it would fit the sweatshirt without looking crowded.
Take your time when working with two colors. Cleaning the transfer between sections helps keep white ink away from the brown areas and prevents stray ink from landing where you don’t want it. I cleaned mine with distilled water and paper towels, especially after I accidentally stepped on it. These transfers are sticky when dry, but they clean up easily.
Drying and activating the puff additive
The puff additive needs time to dry before you activate it with heat. I let my shirts dry on their own for 24 hours because the sample I allowed to dry overnight puffed better than the one I tried to heat on the same day.
After the drying time, I planned to use my heat tool to make the design rise. This is the fun part because the flat ink begins to puff and develop a soft, raised surface. The sample I showed had enough texture to resemble embroidery or stitching when I ran my hand over it.
For a regular permanent ink project without puff additive, I heat set the ink at 305 degrees for 30 seconds. Heat transfers use a different temperature and timing, so keep those instructions separate from permanent ink projects.
Once permanent ink is properly heat set, the design is washable. I always give the project its full drying time and follow the directions for the ink and additive before washing it.
Tips for working with puff ink
Mix only as much ink and puff additive as you need because once they are combined, you will want to use the mixture on your project. If you end up with extra, having another small fabric project ready can help you use it while it is fresh.
You can also skip the puff additive and use permanent ink by itself. The Baking Spirits Bright design will still look cute and crisp. The additive simply gives selected parts a thicker texture, so you can puff the whole design or use it on one feature, like the gingerbread cookie.
I especially liked the combination of white lettering, a warm brown cookie and the burgundy shirt. On the smaller sweatshirt, limiting the design to the gingerbread figure and Milk and Cookies kept the layout simple while giving the raised details plenty of room to show.
Chalk Couture supplies I used
You can shop my full Chalk Couture store here.
I am an independent Chalk Couture designer, so I earn a commission on these links. See my disclosure for more.