November 12, 2026 by Debbie Westbrooks
Easy 2x4 Snowman Craft From Scrap Wood
Live Videos · DIY · Crafts
I turned a leftover piece of two by four into an adorable little snowman with a wonky grin, rosy cheeks, and a floppy fabric stocking cap. This 2x4 snowman craft came together with scraps and supplies I already had, and I love all the personality packed into one simple block of wood.
Supplies I Used for My 2x4 Snowman Craft
This project is easy to change based on what you have in your craft room. My snowman started with a scrap piece of two by four, and you can make yours any height you like.
I used these supplies for mine
- A scrap piece of two by four
- White paint
- Snowman wood cutout face pieces
- Black paste or paint
- Papaya orange paste or orange paint
- Stain
- Ground Espresso distress ink
- Sandpaper
- Fabric for the hat
- Batting
- Black and white twine
- Hot glue
- Titebond Quick and Thick glue
- Blush and a soft brush
- Small pieces of greenery and red berries
The snowman face package comes with four sets of pieces, including different noses and mouths. The eyes look like little pieces of coal, and the different mouth shapes make it easy to give each snowman a different expression.
Preparing the Scrap Wood Block
I painted the front and sides of my two by four white before I started. I left the top unfinished because the hat covers it, and I left the bottom unfinished because it sits on the table.
After the paint dried, I sanded the block to give it the worn finish I love. You can leave your paint solid if that fits your style, but sanding around the edges brings out the shape of the wood and gives the snowman a little age.
You could also place the finished snowman on a small cutting board or another wood base. I kept mine simple so he could stand on his own.
Painting and Distressing the Snowman Face
I chose coal eyes, a crooked little mouth, and a long carrot nose from the wood cutout set. I painted the eyes and mouth black, then used Papaya orange on the nose. It is such a good carrot color.
Once the orange dried, I sanded the nose lightly and added a little stain. I wanted those uneven marks that you see on a real carrot, so I brushed on a small amount and blended it rather than covering the whole piece.
I followed that with Ground Espresso distress ink around the edges. The darker color added another layer of age and worked well with the distressed white block.
Making the Fabric Stocking Cap
For the hat, I found a piece of fabric in my supplies and cut off enough to wrap around the top of the wood. The fabric already had a frayed edge, which gave the hat a soft and casual look.
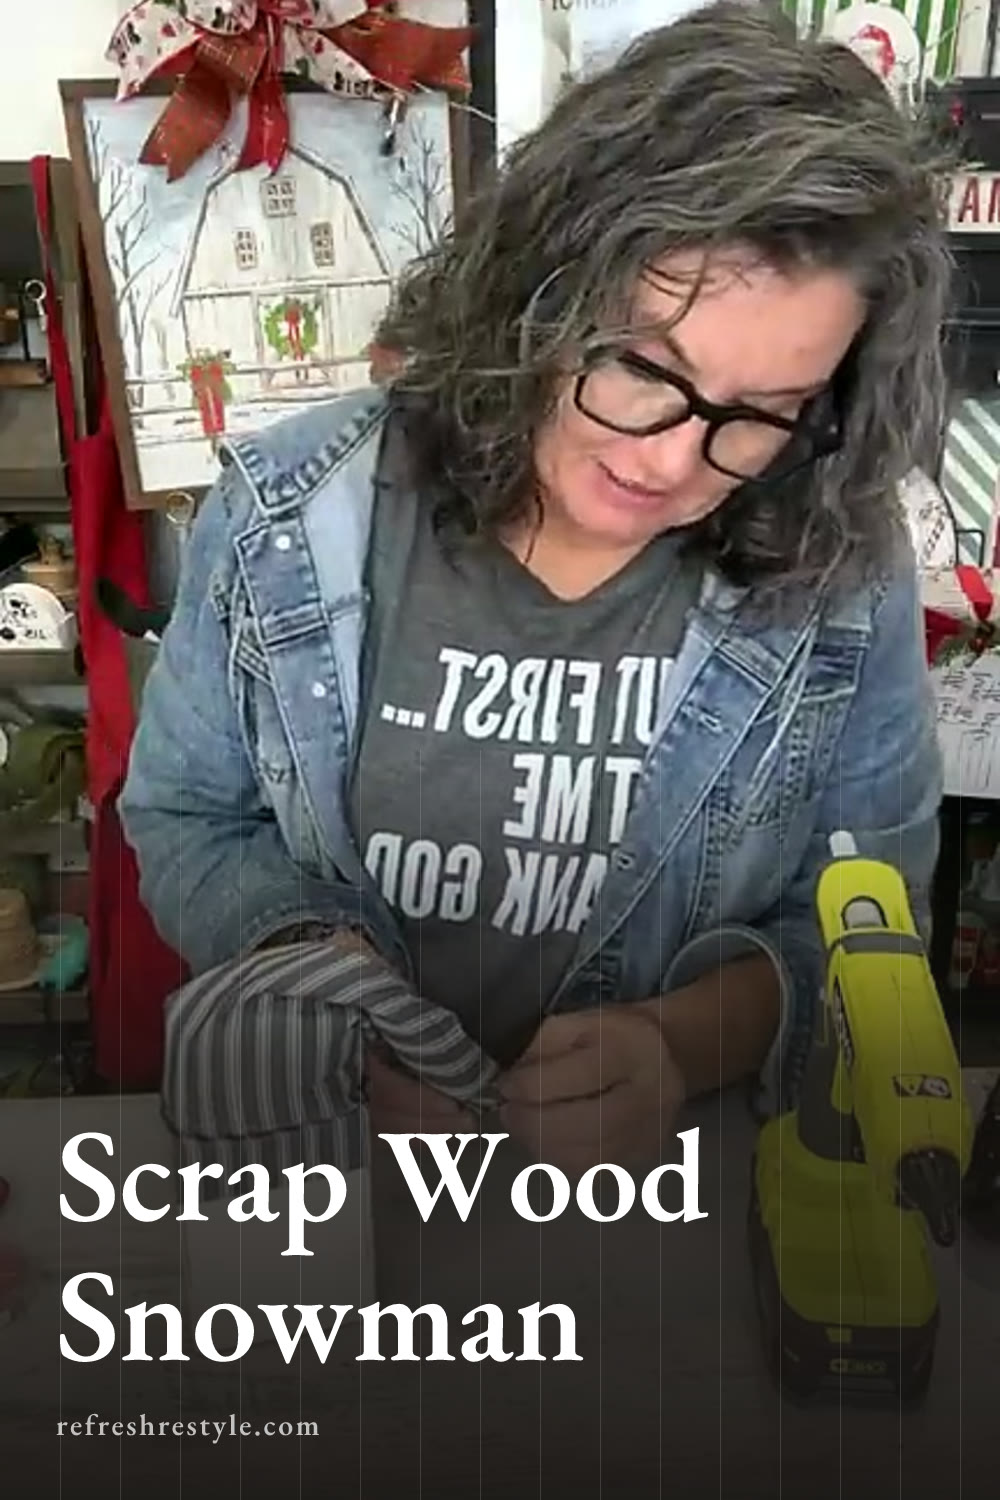
I glued one edge of the fabric around the top of the block, added a small handful of batting, and then used hot glue to close the fabric seam. The batting gives the hat a little shape without making it too full.
A fuzzy sock would work well here too. I have made similar hats from socks that were no longer being used, and they make cute, easy stocking caps.
I gathered the fabric near the top and tied it with black and white twine. Then I folded the hat to one side and added a small dot of hot glue to hold the crease in place. I used another piece of twine to make a bow because this little snowman needed one.
Adding Rosy Cheeks and the Wood Pieces
Before gluing the face in place, I arranged the eyes, nose, and mouth on the block. This gave me time to move everything around until the expression looked right.
I also added rosy cheeks with real blush and a soft brush. An older blush from your makeup drawer works perfectly for this. I brushed on two generous circles, and the powder gave the cheeks a soft, natural look against the distressed paint.
Once I liked the placement, I glued the face pieces with Titebond Quick and Thick glue. It grabs the wood fairly quickly, but I still had a little time to adjust each piece. That extra working time helped with the small eyes and crooked grin. The glue also dries clear, which is helpful when a little squeezes out around the edges.
Finishing the Snowman Hat
The hat looked cute with the twine bow, but I had a few leftover pieces of greenery and red berries in my supplies. I save little bits from old floral projects because they are perfect for small details like this.
I trimmed a short piece of greenery and tucked it beside the bow, then added a few of the red berries. A small amount of hot glue held everything in place. That touch of color finished the hat and tied in beautifully with the orange carrot nose and rosy cheeks.
Decorating With a Scrap Wood Snowman
My finished snowman is just the right size for a mantel, shelf, or winter vignette. Since the face packages include several noses and mouths, you could make a group of snowmen with different heights and expressions.
Each one could also have a different hat made from fabric scraps or fuzzy socks. I love projects that use what I already have, and this one turned a plain piece of leftover lumber into a cheerful winter decoration with plenty of handmade character.