Farmhouse Storage Cubes
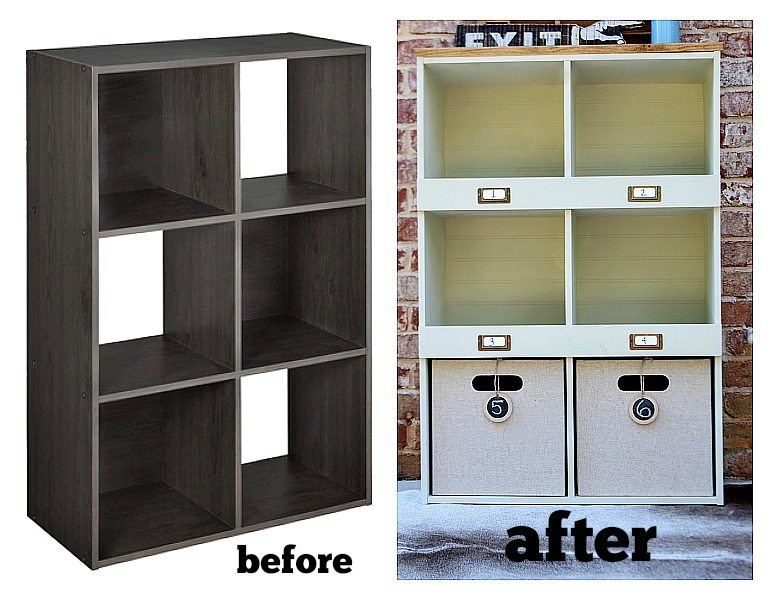
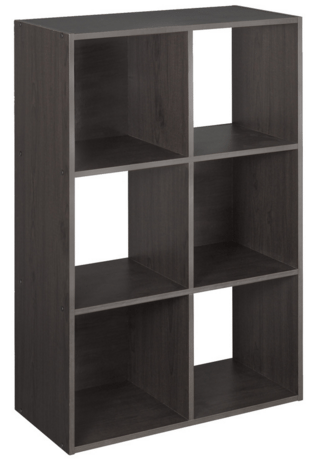
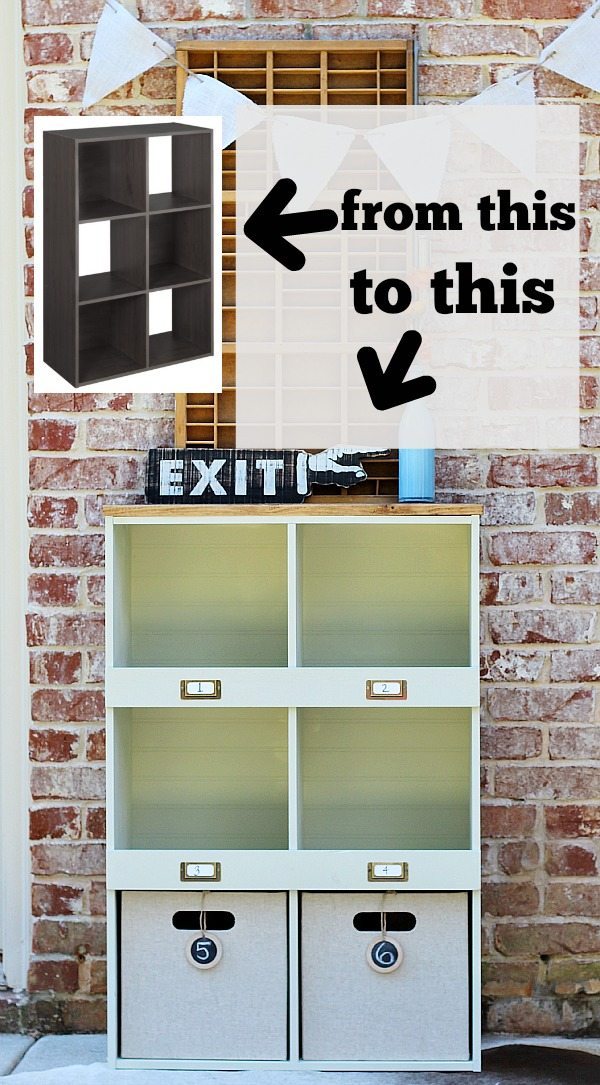
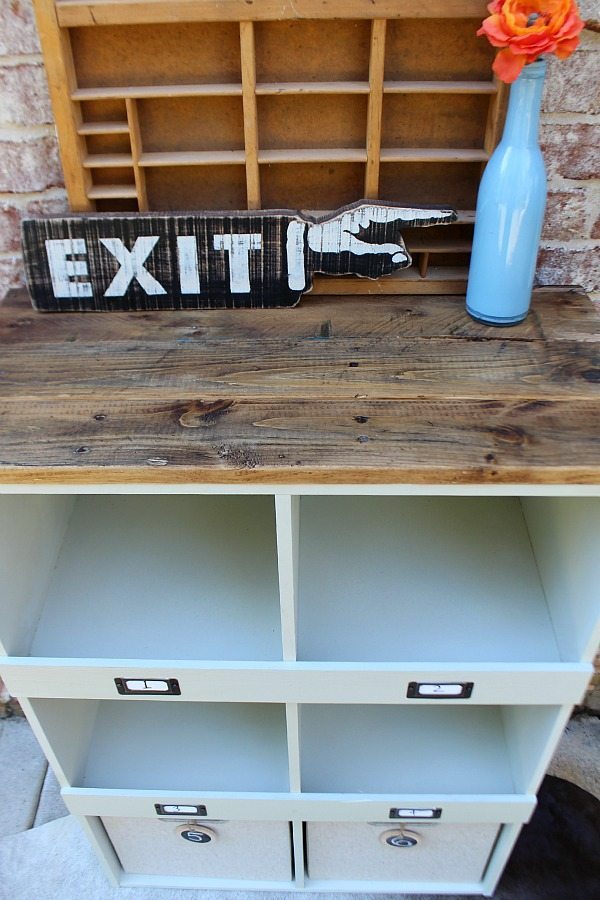
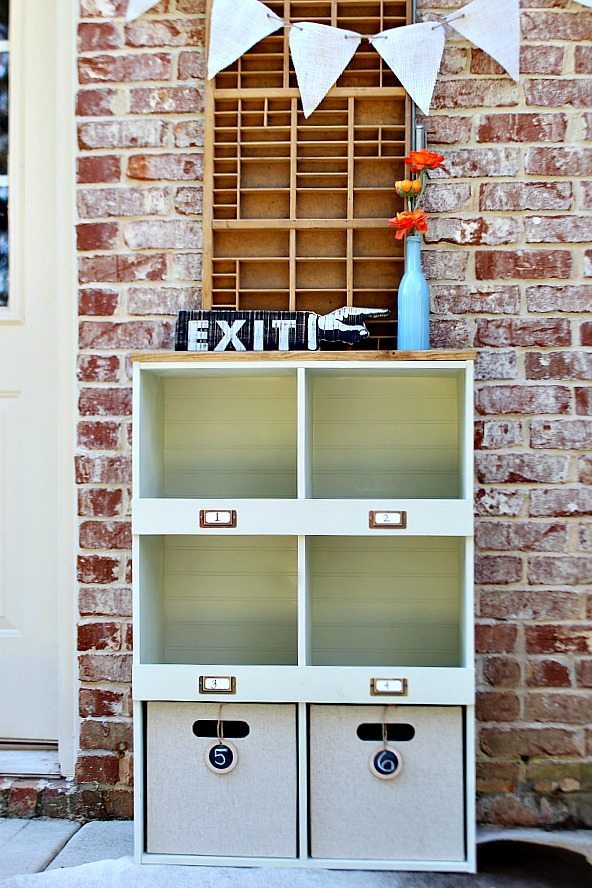
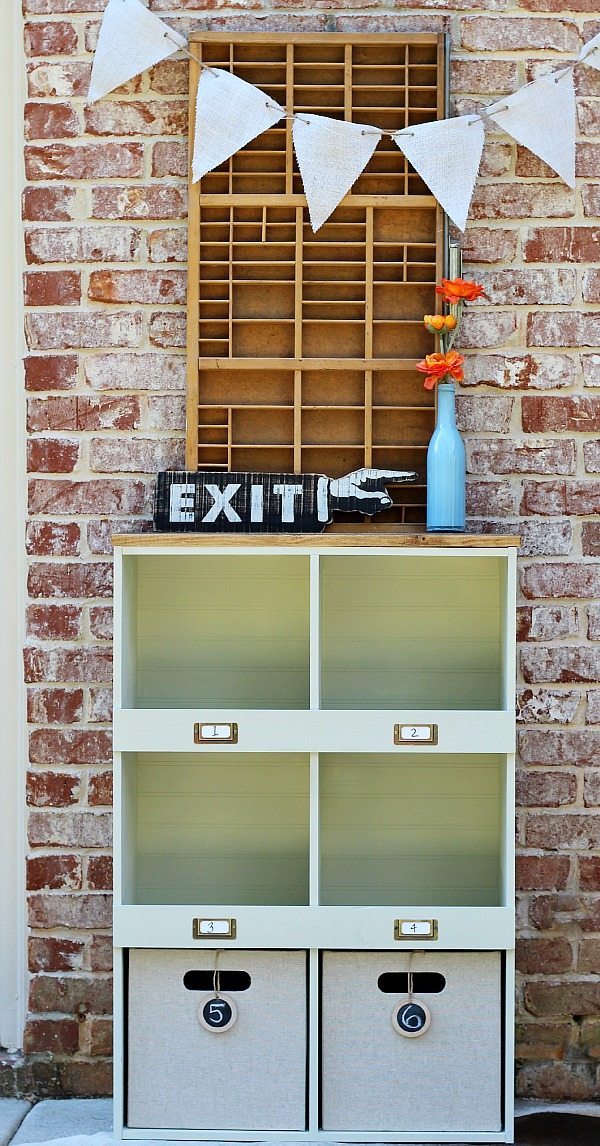
Have you seen these laminate storage cubes? It doesn’t look very rustic farmhouse does it? Keep reading and let me show you how I reimagined this everyday piece of furniture 🙂
I was challenged by HomeRight to transform one these beauties!
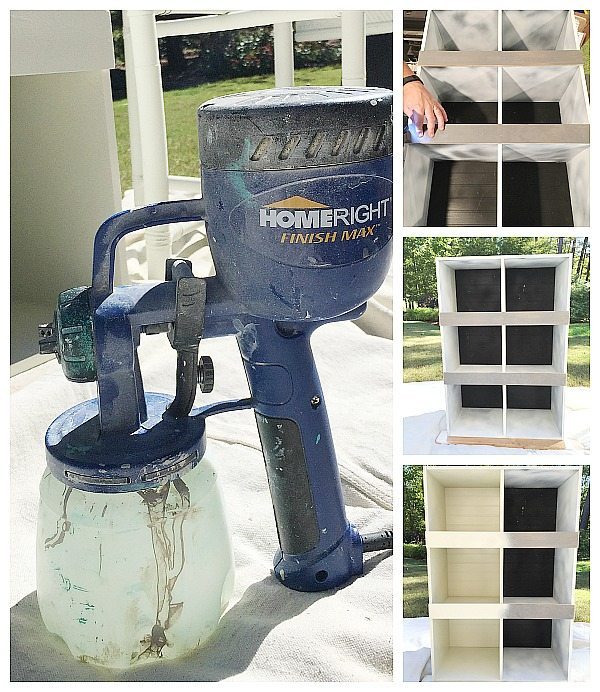
Today I’m sharing my idea for adding a little farmhouse personality to the Lowe’s ClosetMaid 6 Expresso Laminate Storage Cubes. And to share the news, yeah, the HomeRight Finish Max paint sprayer is now available at Lowe’s!
I came up with an easy DIY that anyone can do with just a few tools.
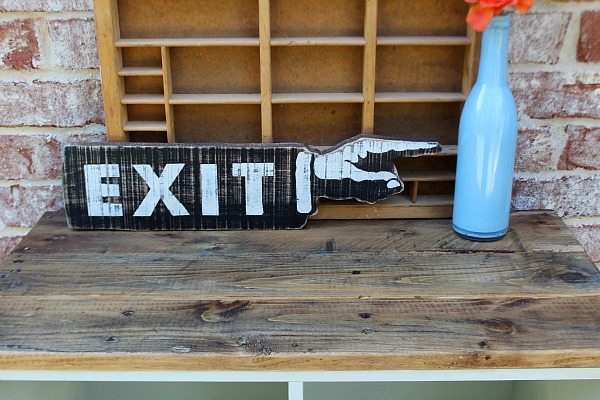
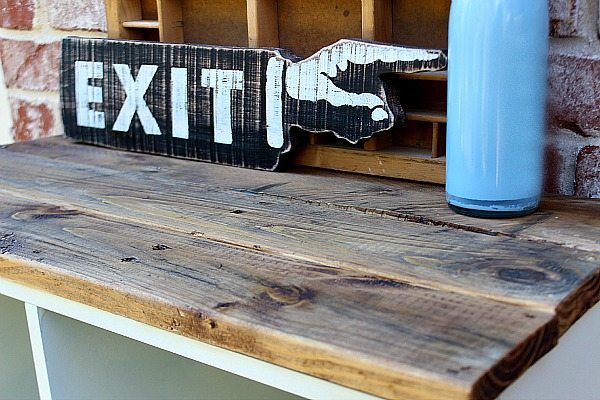
Of course I had to add some pallet wood to the top, just a hint of rustic charm.
HomeRight Finish Max Paint Sprayer – NOW available at Lowe’s
ClosetMaid 6 Expresso Laminate Storage Cubes from Lowe’s
Bead board for backing (we already had this)
Sand paper – 60 grit why – laminate surfaces need to be roughed up
Primer – Oil based B-I-N Primer
Drill, drill bit, nails (match your drill bit to your nails) or brad nailer
Small nails
Hand Saw or Miter Saw – to trim your pallet wood and craft boards to fit
Craft boards – from Lowe’s (we had some leftover from another project)
Chalk Paint and Wax – from Lowe’s (you can use any kind of paint in the Finish Max Paint Sprayer)
Pallet wood for the top
Brown paper bag
Fabric Storage Cubes
- Assemble and prep: After putting the storage cubes together, sand all the laminate surfaces with 60 grit sand paper. Wipe or vacuum all the dust off. As you can see painting laminate is filled with opportunities. Spray or brush on an oil based primer. Measure the back, cut the bead board and attach with small nails.
- Add cross boards, I love using these craft boards for projects like this or this. Measure across the storage cubes and cut to fit. Use drill bits and nail in to place. extra: use glue a long the edge for added strength
Load your Finish Max (<-see detailed instructions) with your thinned paint, spray your piece. Let the paint dry and spray the second coat.
Extra – After your paint is dry, use torn pieces of brown paper bags to sand. This is a trick that my art teacher taught me. You can use it any time that you need very light sanding. Wipe with a lint free cloth to remove dust.
- Apply wax or top coat of your choice.
- Measure and cut pallet wood, to fit the top of you piece. Pre-drill and attach with nails. Sand, Wax or stain if you want to darken the wood.
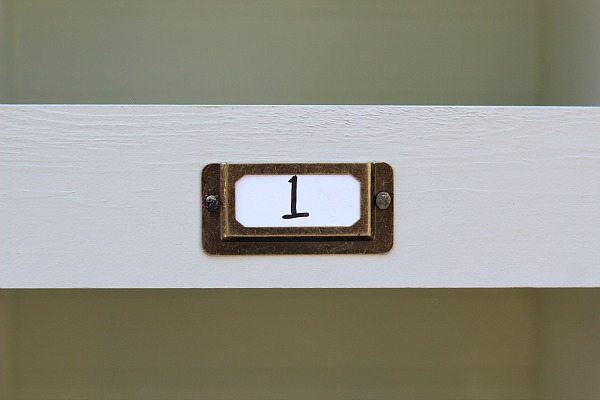
- Attach the metal label holders, create your labels and add your baskets with chalkboard tags.
What would you store in here?
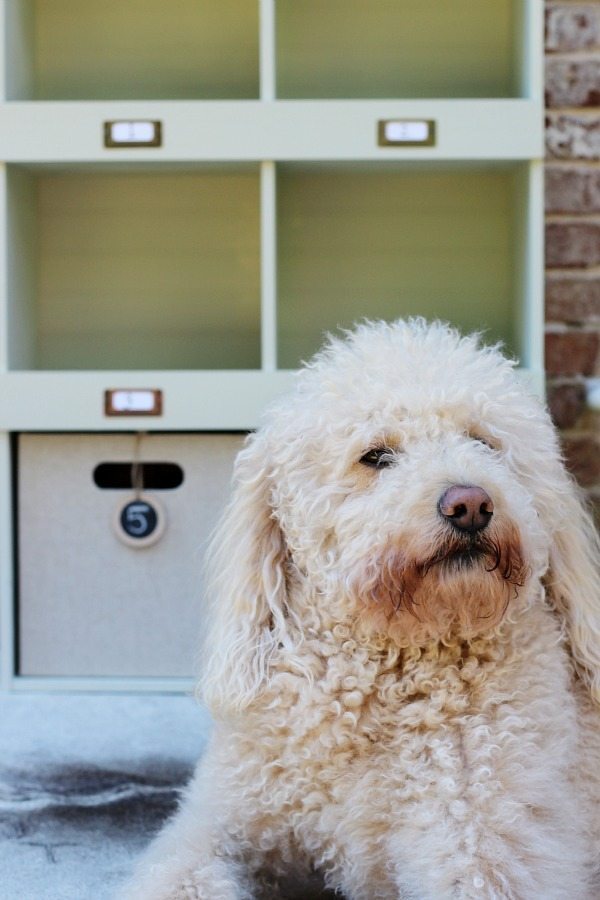
I set everything up to take photos, outside my office door. I brought out a rug and some decor items. Next thing I knew my model Murphy decided that she wanted to be included, so she plopped down right in front of me!
Use your imagination and refresh your laminate furniture. From everyday to awesome!
You can do it!
Now I need your vote
Need more ideas: [categorythumbnaillist 285]




Great idea! I am a lover of things like this! Great tutorial too! you did a lovely job of it all! I would love it if you would share this as well as any other makeovers you have done at my Making Broken Beautiful party this week. It runs every Thursday thru Sunday. I do hope you will come and inspire others! http://thecuratorscollection.wordpress.com
Have a great week!
Smiles!
Terry
Great Job!!
Thank you Cheryl!
Great transformation! That would be a great idea for my craft room.
Deb
Thanks Deb, it look a lot better!!
beautiful job on the closet maid Homeright challenge Debbie! I love your farmhouse storage cubes!
pinned!
gail
Thanks so much Gail!