October 17, 2026 by Debbie Westbrooks
Faux Jadeite Ornaments With Chalk Couture Sage Paste
Live Videos · DIY · Crafts
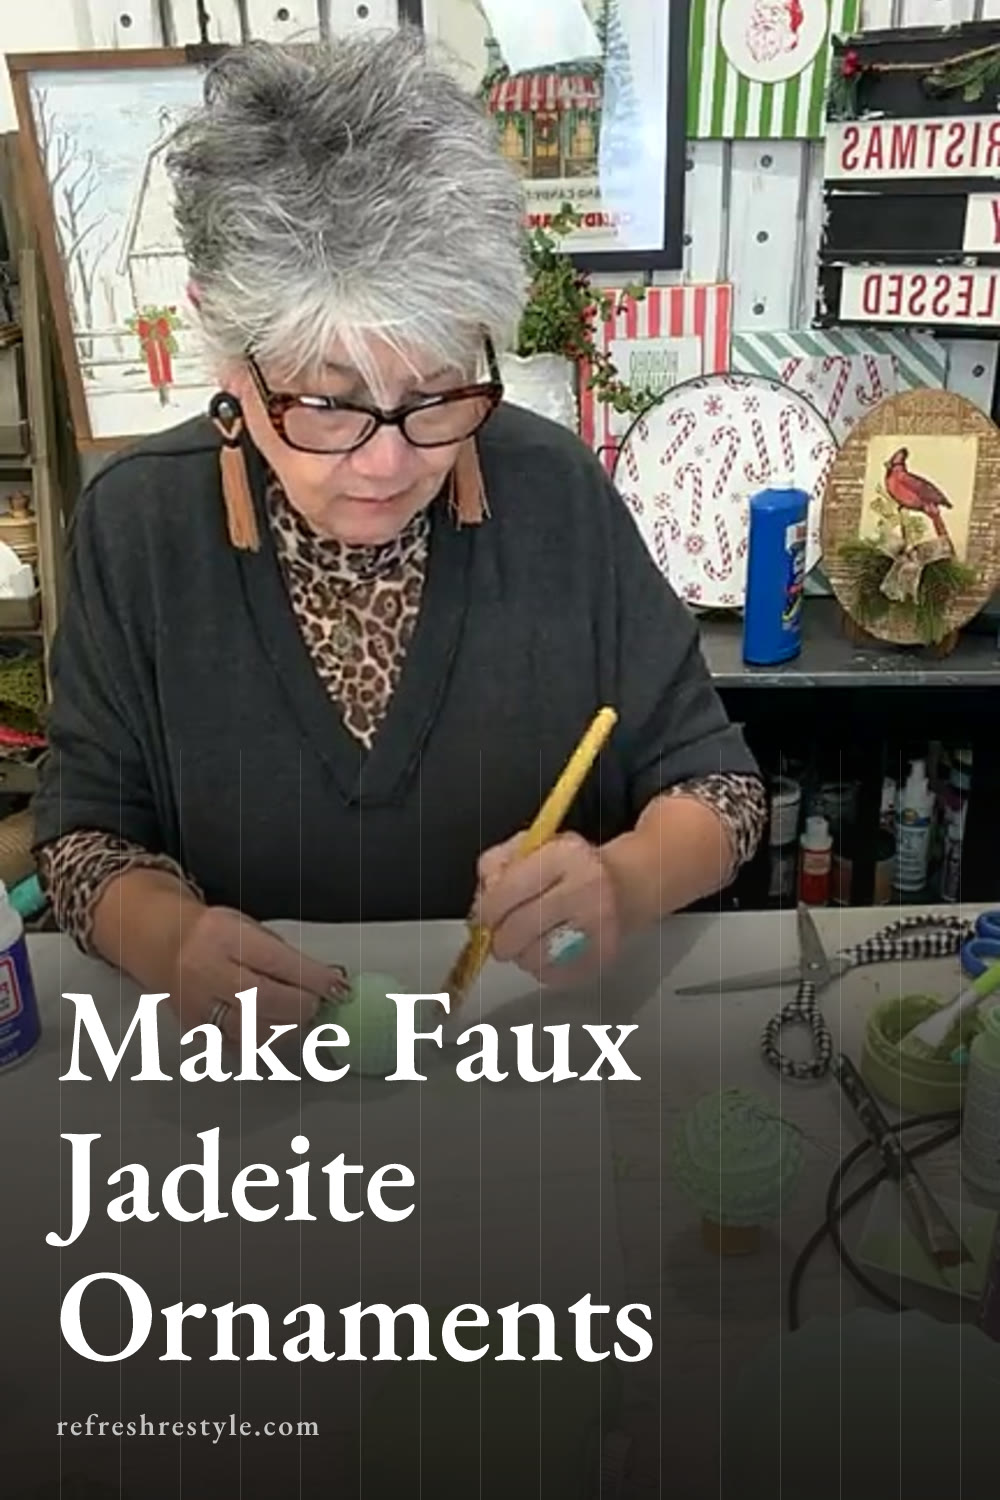
I finally made the faux jadeite ornaments that had been sitting in my craft plans since 2021. I used mint paint and Chalk Couture Sage paste on plain plastic ornaments, then compared the colors and tried two ways to get that smooth, shiny look I love about vintage jadeite dishes.
Why I Wanted to Make Jadeite Ornaments
Jadeite has always been one of my favorite colors. That soft mint green shows up in vintage dishes, cups, glasses, and Fire King pieces, and it looks especially pretty mixed with Christmas red.
I had gathered paint and ornaments for this project years ago, then tucked everything away in my craft stash. When I found the supplies again, I knew it was time to stop saving them and make the ornaments.
The plastic ornaments came from a few different places, including Dollar General and Hobby Lobby. Any clear plastic ornament should work for this project. I used round ornaments, a flatter square style, and a textured shape with little raised details that reminded me of hobnail glass.
My Chalk Couture Sage Paste Test
I wanted to see how Chalk Couture Sage paste compared with the Pistachio Mint paint I had chosen for the project. Sage looked very close in the container, so I painted it directly onto the outside of one textured plastic ornament.
The paste covered the ornament well, including some glitter that was already on the surface. Once I had both colors side by side, the Sage looked a little greener. It still made a pretty mint ornament, but the Pistachio Mint paint was closer to the jadeite dishes I was using for inspiration.
This was a fun way to test a Chalk Couture color beyond a regular chalk design. A large, flat ornament also gives you enough room to add a small Chalk Couture transfer after the base is dry if you want more detail.
Painting the Outside of the Ornaments
For the textured ornaments, I brushed the paint over the outside. I worked around the raised details and went back over any thin areas where the original surface showed through.
Plastic ornaments can be a little awkward to hold while the paint is wet. I rested each one on a spare lid so I could paint around the top and let it dry without laying it on its side. Handling the ornament left a few marks, so I touched those areas up before adding the glossy coat.
The painted finish looked pretty on its own, but real jadeite has a shine that catches the light. That led me to the next part of the experiment.
Adding a glossy finish
I brushed Mod Podge Triple Thick Gloss over the painted surface. I had used other thick gloss products before, but this was my first time trying this particular one.
It looked cloudy as I brushed it on, which was expected. The jar says it dries crystal clear, and I wanted that thicker glossy finish to make the plastic look more like glass. I used a lid to hold the ornament upright again and left it alone to dry rather than continuing to handle the wet surface.
You can skip the gloss if you prefer a softer painted finish. For my jadeite look, the extra shine was part of what made the ornament feel more like the vintage dishes that inspired it.
Pouring Paint Inside a Clear Ornament
My favorite method was pouring the Pistachio Mint paint inside a clear plastic ornament. This keeps the outside smooth and shiny because you still see the original plastic surface.
I removed the metal hanger, squeezed a small amount of paint into the ornament, and slowly turned it so the paint rolled across every part of the inside. I kept adding a little paint at a time until the clear areas were covered.
Using a smaller amount helps prevent waste, although the paint needs to move freely enough to reach the entire surface. Once the inside was coated, I turned the ornament upside down so any extra could drain out.
I let my first test ornament dry for more than 24 hours. The paint stayed in place and looked smooth through the clear plastic, so I used the same method on another ornament during the project.
Making a Glitter Ornament Too
Since I already had clear ornaments on the table, I also made a glitter version. This method uses floor shine to hold the glitter against the inside of the ornament.
I poured LA’s Totally Awesome Mop and Shine into the ornament and turned it until the inside was completely coated. Then I poured out the extra liquid and added green glitter.
As I swirled the ornament, the glitter grabbed onto the coated sides. I used enough glitter to cover the inside and poured out what was left. This method works with any glitter color, so cobalt blue, purple, silver, or a mix would all give you a different Christmas look.
Finishing the Faux Jadeite Ornaments
After the painted ornaments were dry, I put the hangers back in place and added red velvet ribbon. The deep red looked so pretty against the soft jadeite green. Black and white gingham would also work with this color if you like a farmhouse Christmas style.
I plan to make enough of these ornaments to fill a dough bowl or wooden bowl with greenery. Mixing the smooth ornaments with the textured shapes will give the arrangement more interest, and the glitter ornament can add a little sparkle among all that soft mint green.
Chalk Couture supplies I used
You can shop my full Chalk Couture store here.
I am an independent Chalk Couture designer, so I earn a commission on these links. See my disclosure for more.