
How To Make a Sweater Pumpkin
Another idea for up-cycling those sweaters. If you don’t have any old sweaters just pick up a couple at Goodwill, like I did. These sweater pumpkins are so easy to make and you can create them in any color. I’ve seen pumpkins made with flannel shirts, velvet dresses, burlap and all fabrics in between. You know whether it’s an old sweater or shirt, it’s still fabric, so use your imagination. Be sure to watch the video below that I did live on Facebook. 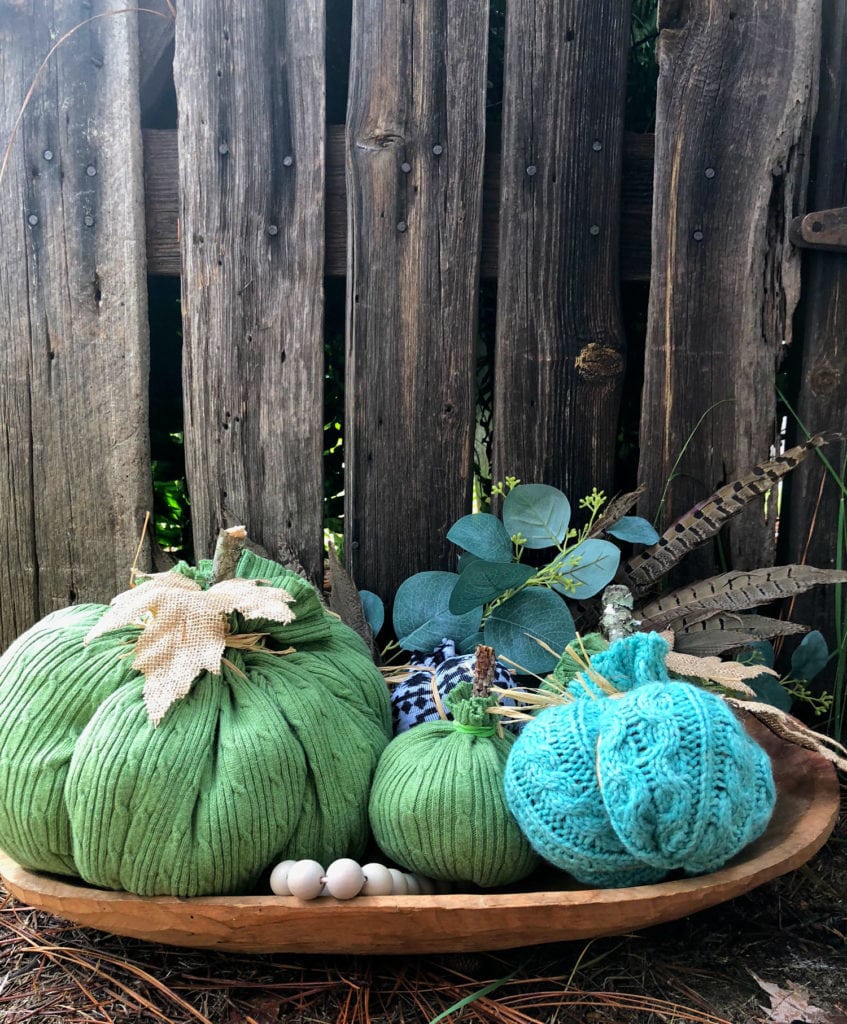
Supplies needed for Sweater Pumpkins
- Fabric - Sweaters
- Scissors
- Pillow batting
- Rubber bands
- Raffia
- Sticks (from the yard)
- Faux leaves
 TIP: I buy pillows on sale and open a seam and use stuffing from them. Using a sweater for the fabric pumpkins allows you to create pumpkins in several sizes. You can use the sleeves for small and medium ones and the body of the sweater for a large one. Like the green one in the photo.
Steps for creating a Sweater Pumpkin
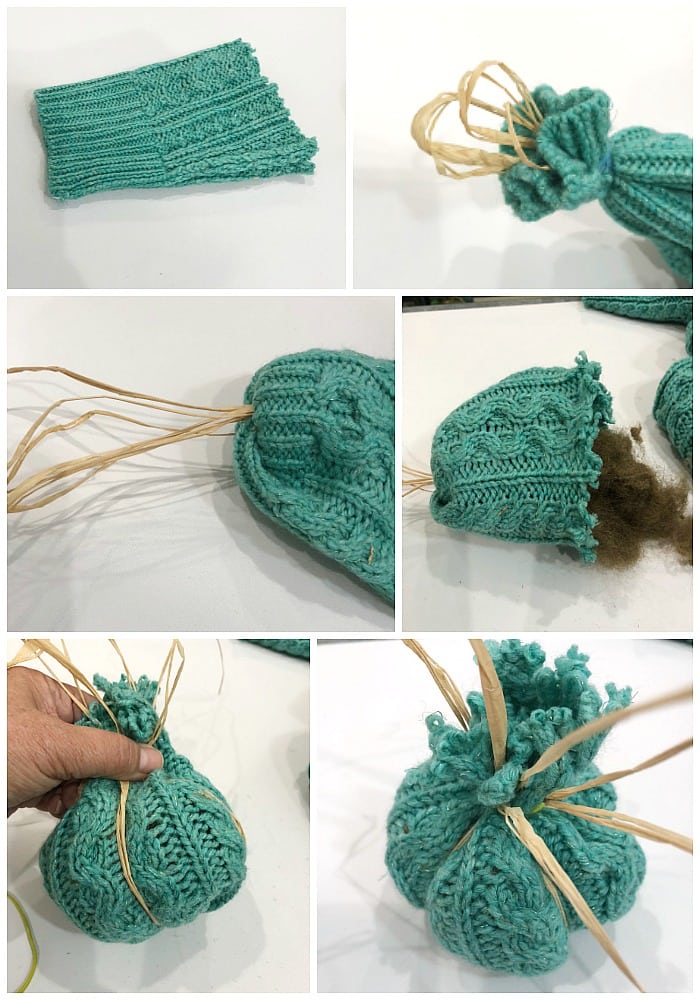
- Cut the sleeve of the sweater, I can usually get 2-3 pumpkins from one sleeve.
- Turn the cut sleeve inside out.
- Place 4 pieces of raffia through the sleeve.
- Use a rubber band to secure the raffia and sleeve at one end.
- Turn the pumpkin right side out, now the raffia is sticking out the end that has been secured with the rubber band.
- Stuff the pumpkin.
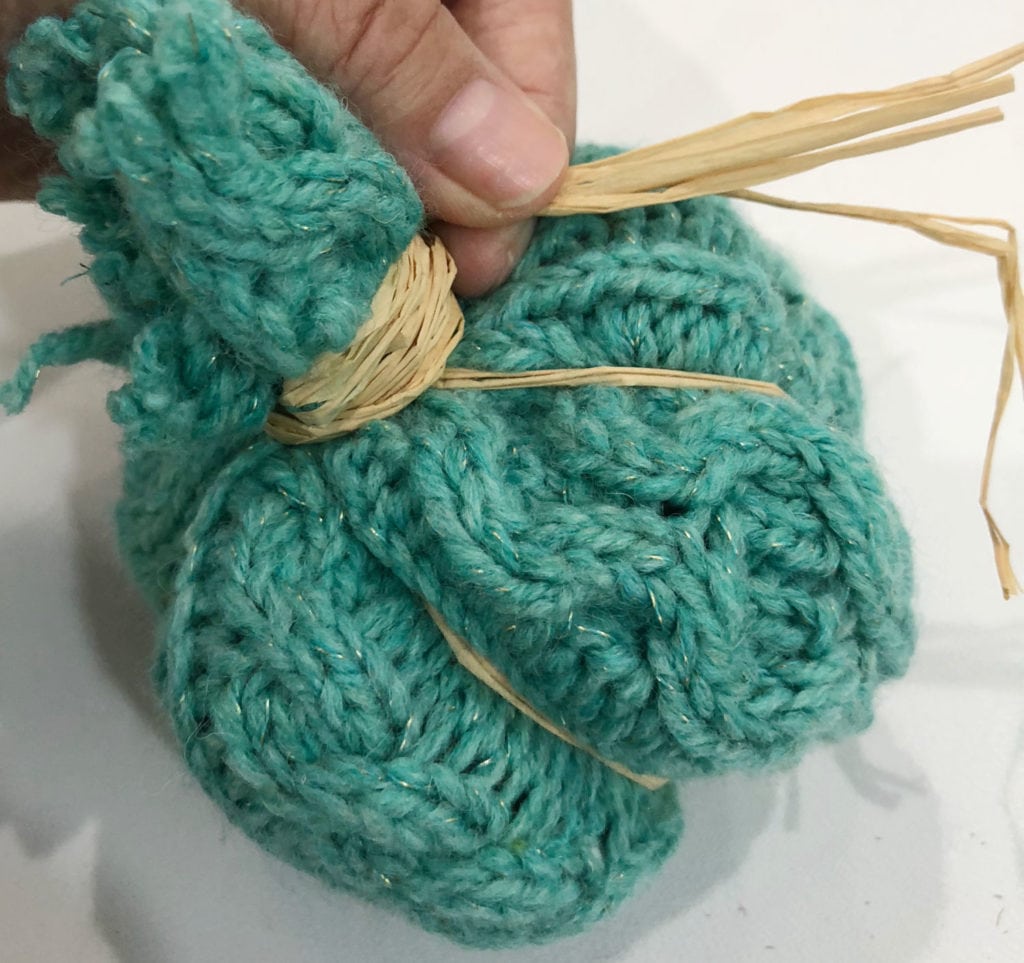
- Pull raffia up (see photo) secure raffia and sleeve opening with rubber band.
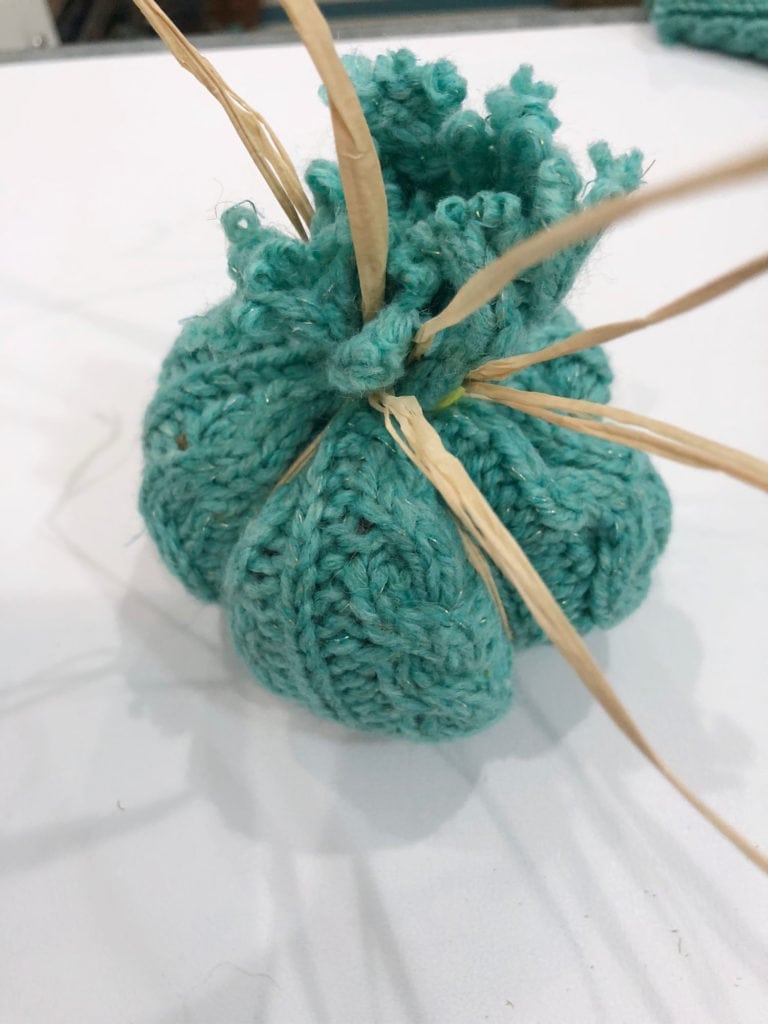
- After the raffia and end are secure, pull the raffia pieces to create the curves.
- Wrap raffia around and tie.
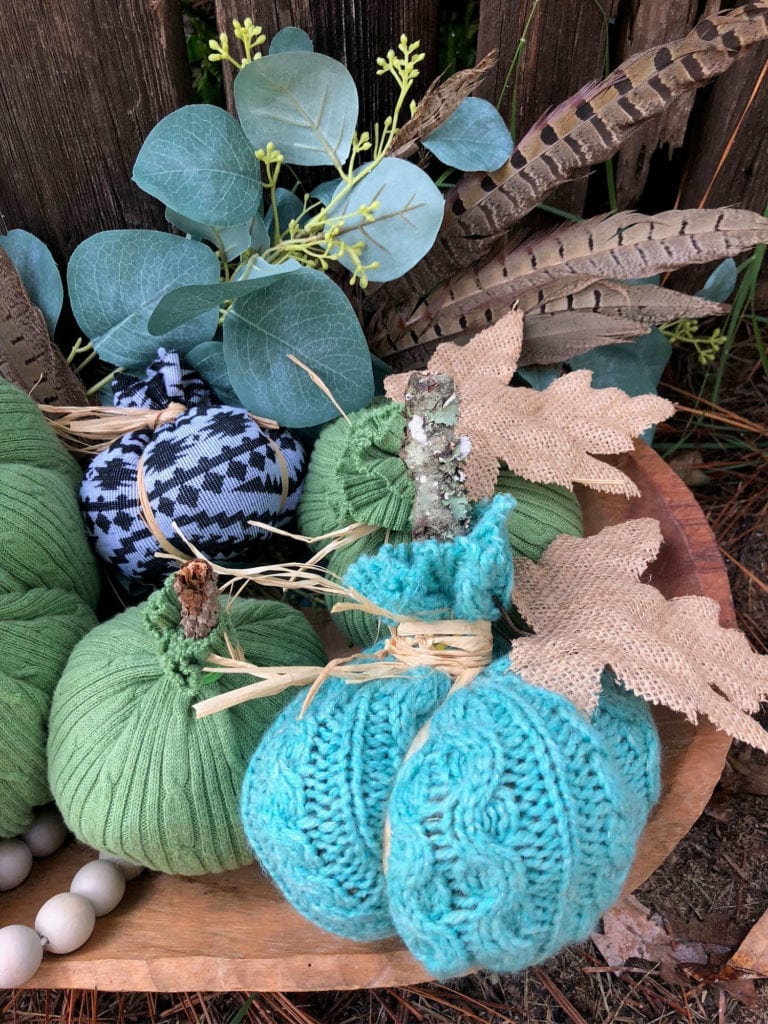
- Add a stick for the stem (or use a real stem if you were smart and kept them from last year).
- Attach faux burlap leaves for a finishing touch.
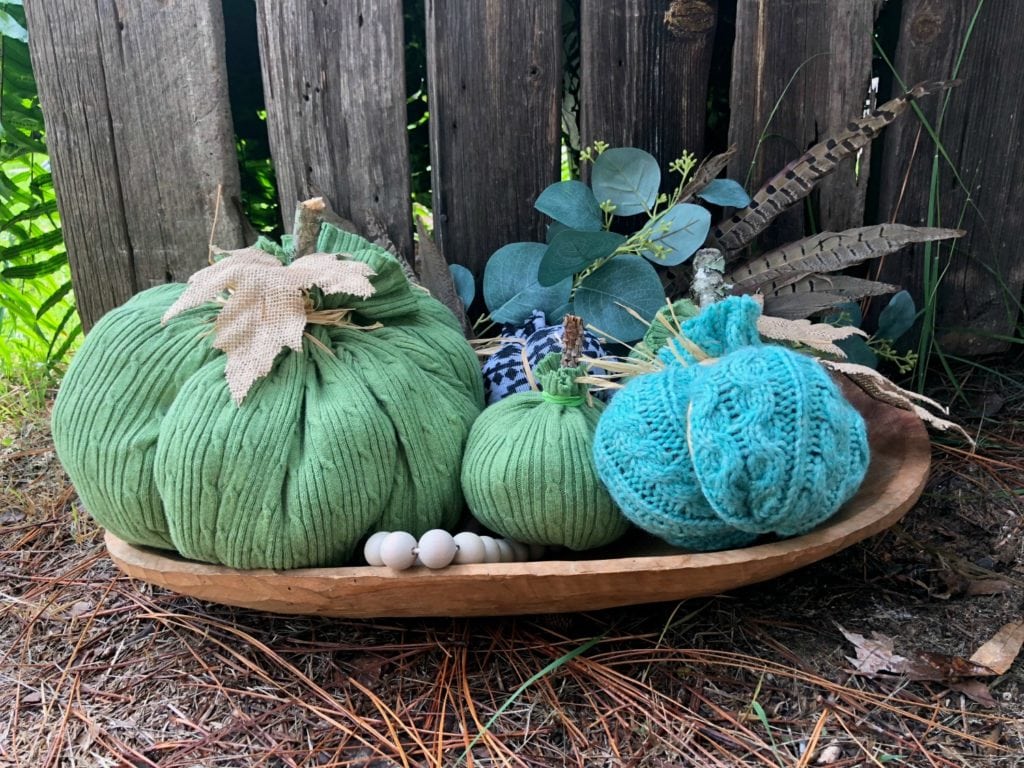
 Watch this Facebook Live video to see how I created the sweater pumpkin: These are great to use on your dining table, entry table, really anywhere you want to add a touch of fall. I love that you can make them with any color sweater to match your decor.
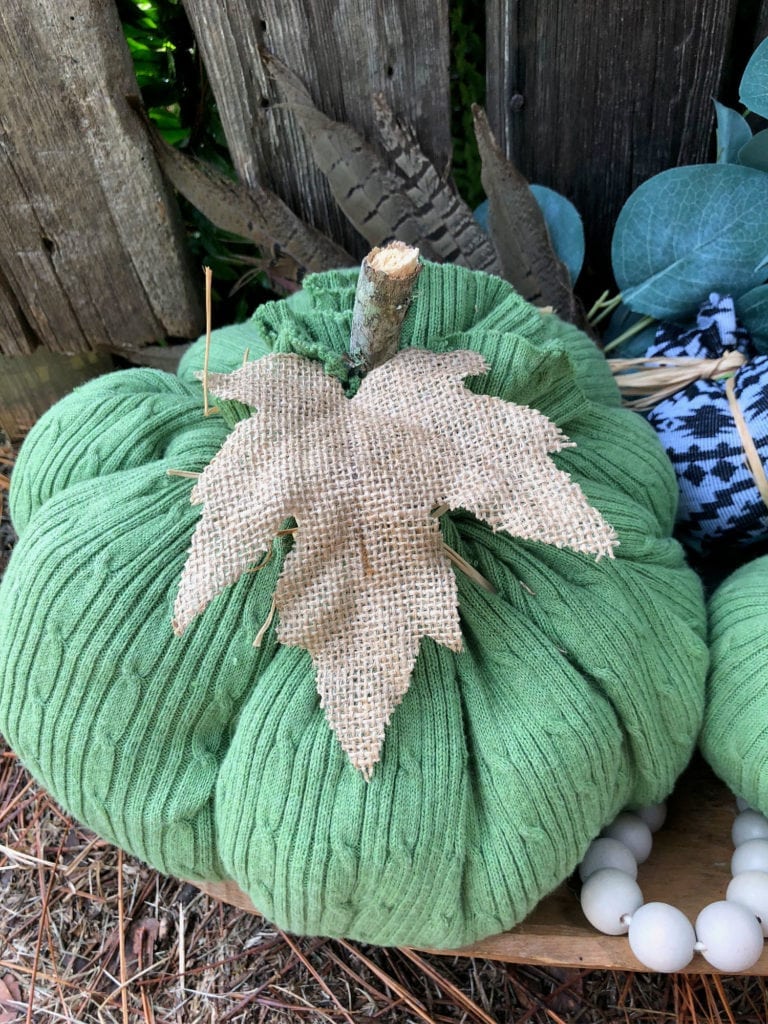
 Pin it
 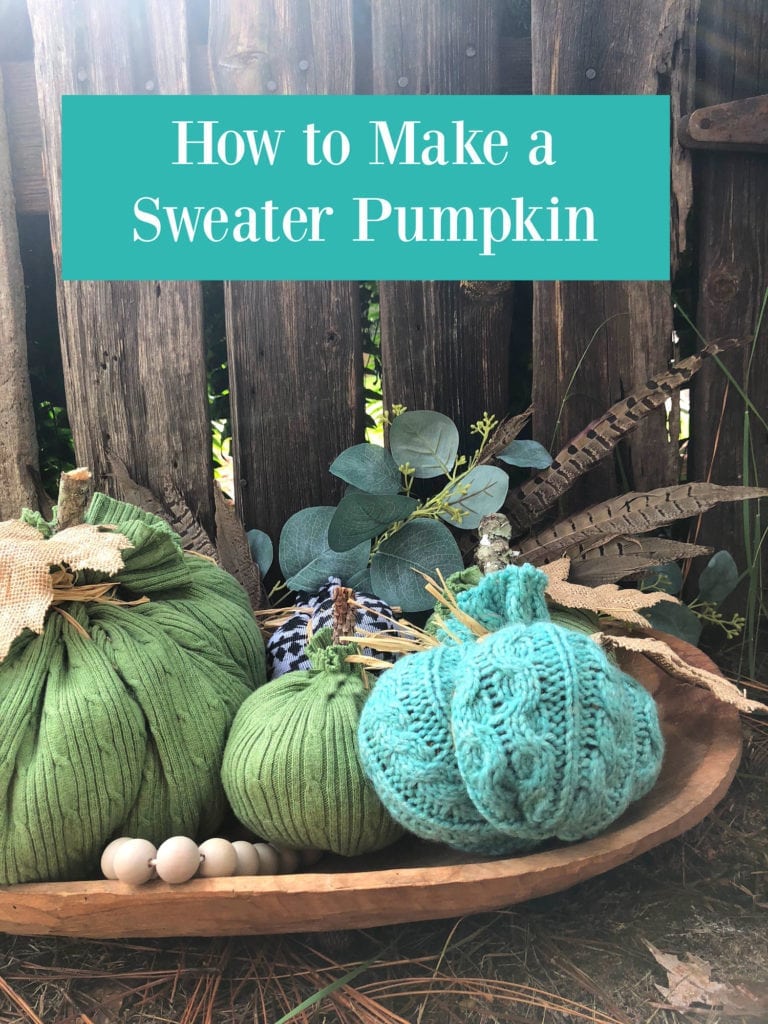 More Fall Ideas: Fall Decor Ideas
9 Comments
Archivethese are so cute and what a great idea for when a sweater gets accidentally tossed into the dryer. laura
Yes, dryer sweaters work great too! Thanks!!
Soooooo I need to book it to my local thrift store and find some fun colored sweaters!! I love these cutie little pumpkins!
Thanks so much Jennifer!
Beautiful! Love that green pumpkin and the big burlap leaves. I often cut leaves from felt or my pumpkins. Thanks for the video showing just how we shape the pumpkin with the rafia pulled up through the top. I've never seen this exact procedure before and you make it look easy. I'm trying your technique!
Thanks Barb! So glad you're trying these!
These pumpkins are so cute. I actually have a sweater that I think may work. I can't wait to try it.
These are absolutely adorable!!!
I'm headed to Goodwill to look for old sweaters. I made one from denim that was really cute.