How to Make a Rustic Pallet Easter Sign by Jenni
Aren’t these colors beautiful! We are so ready for spring.
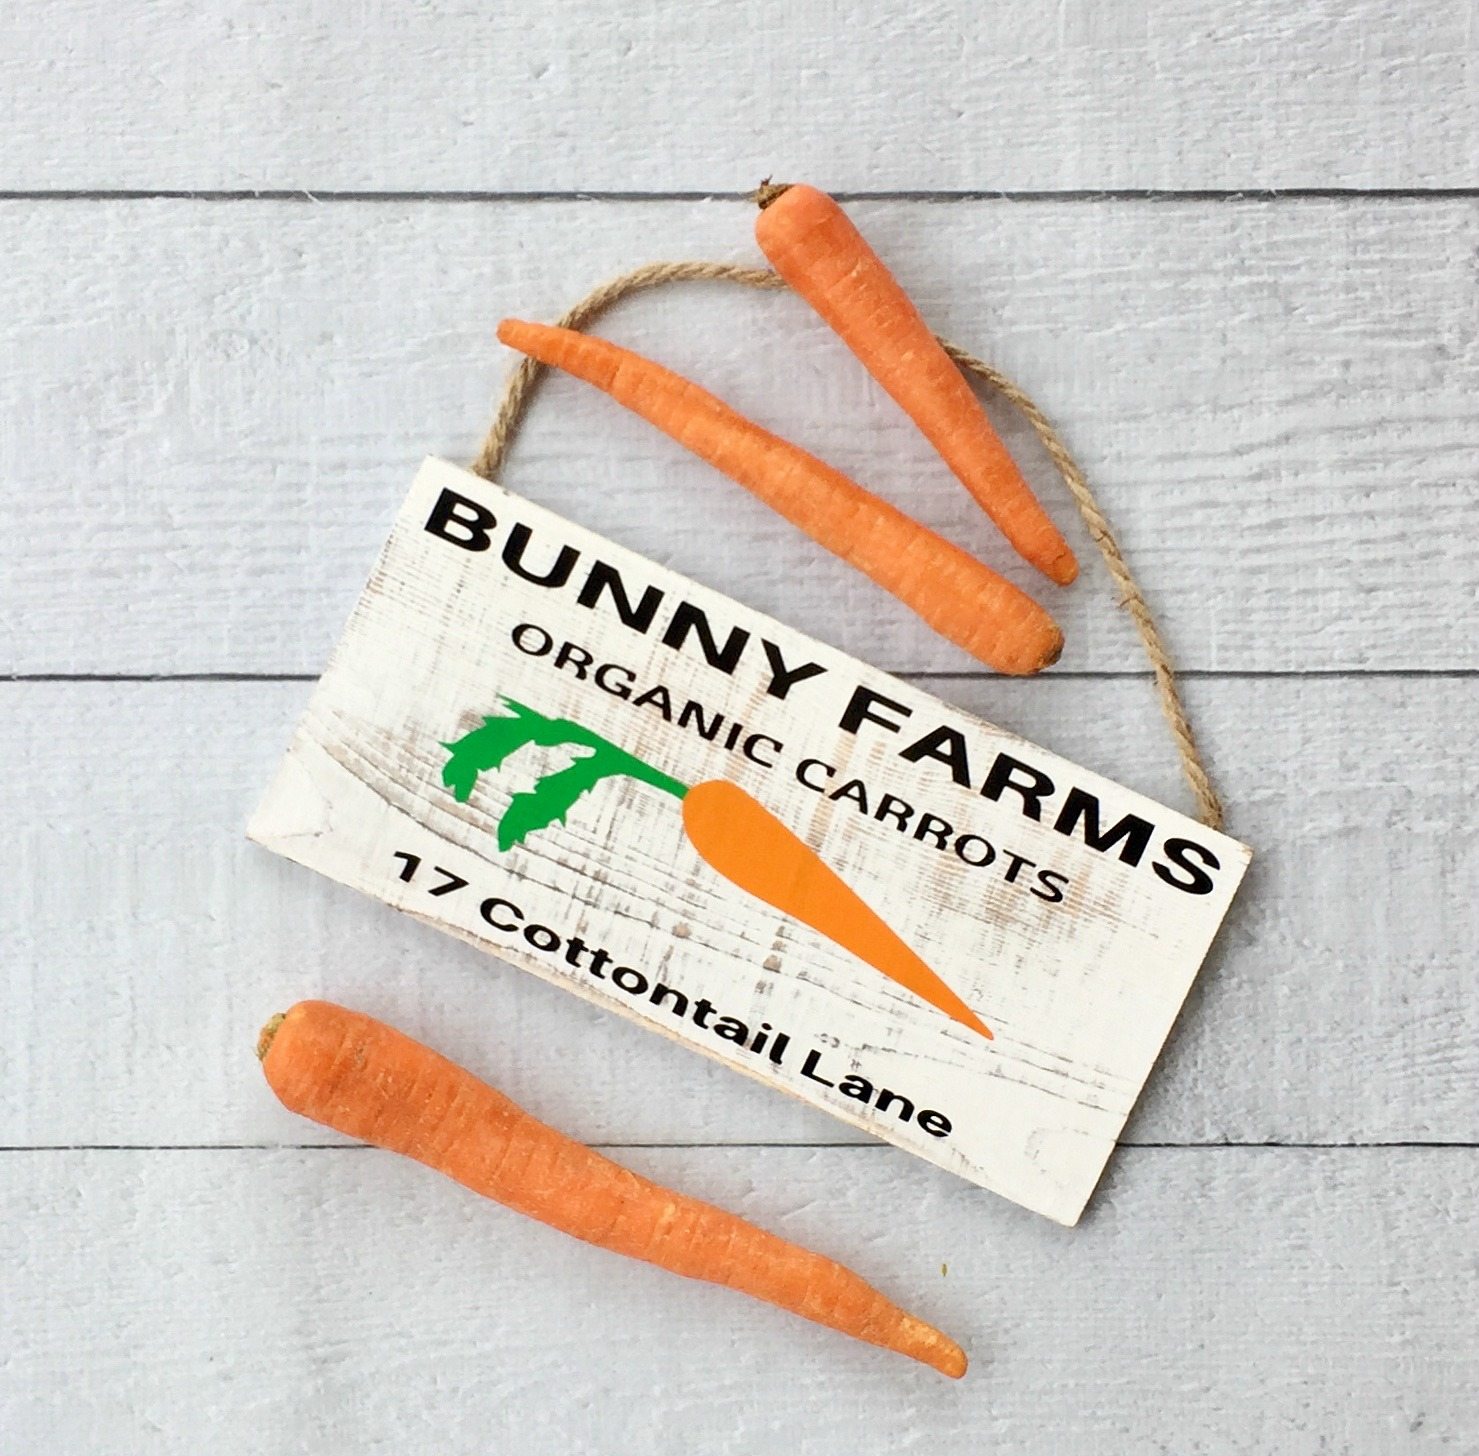
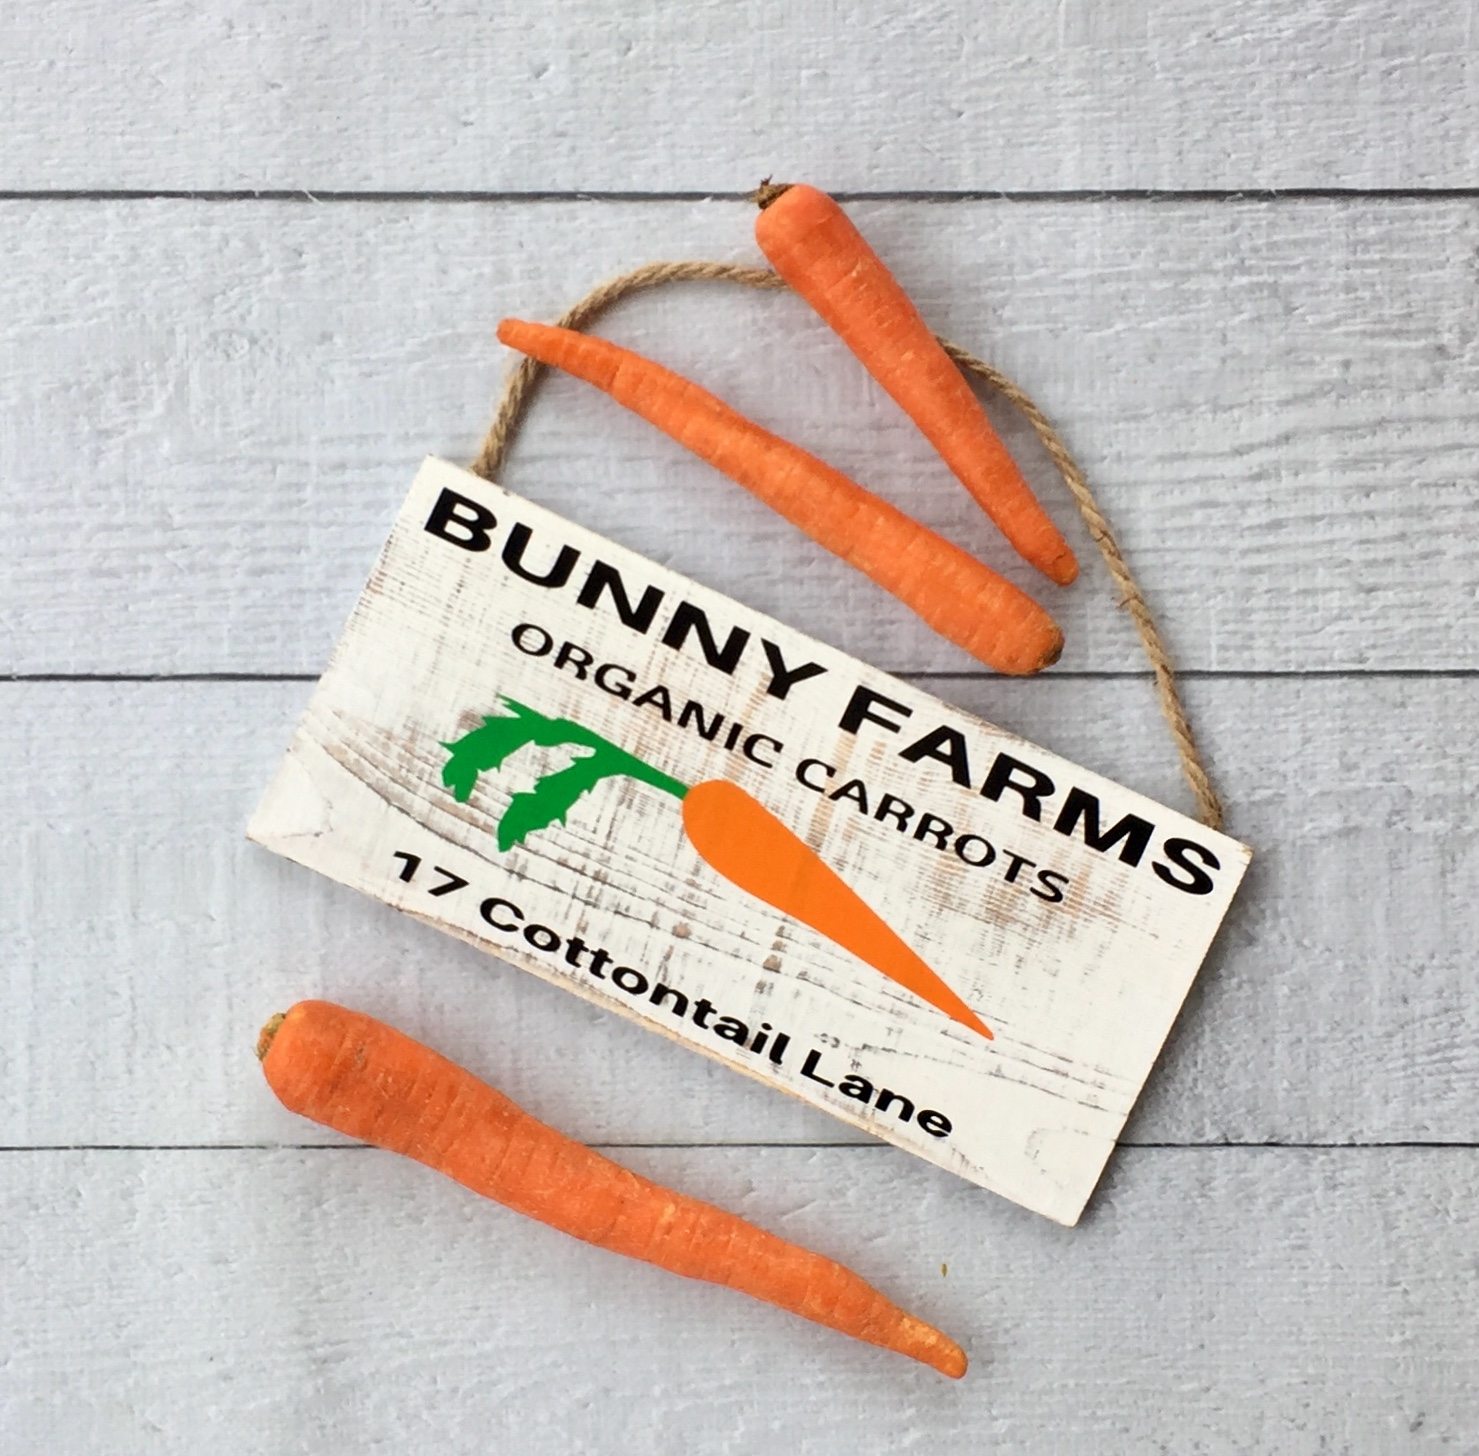
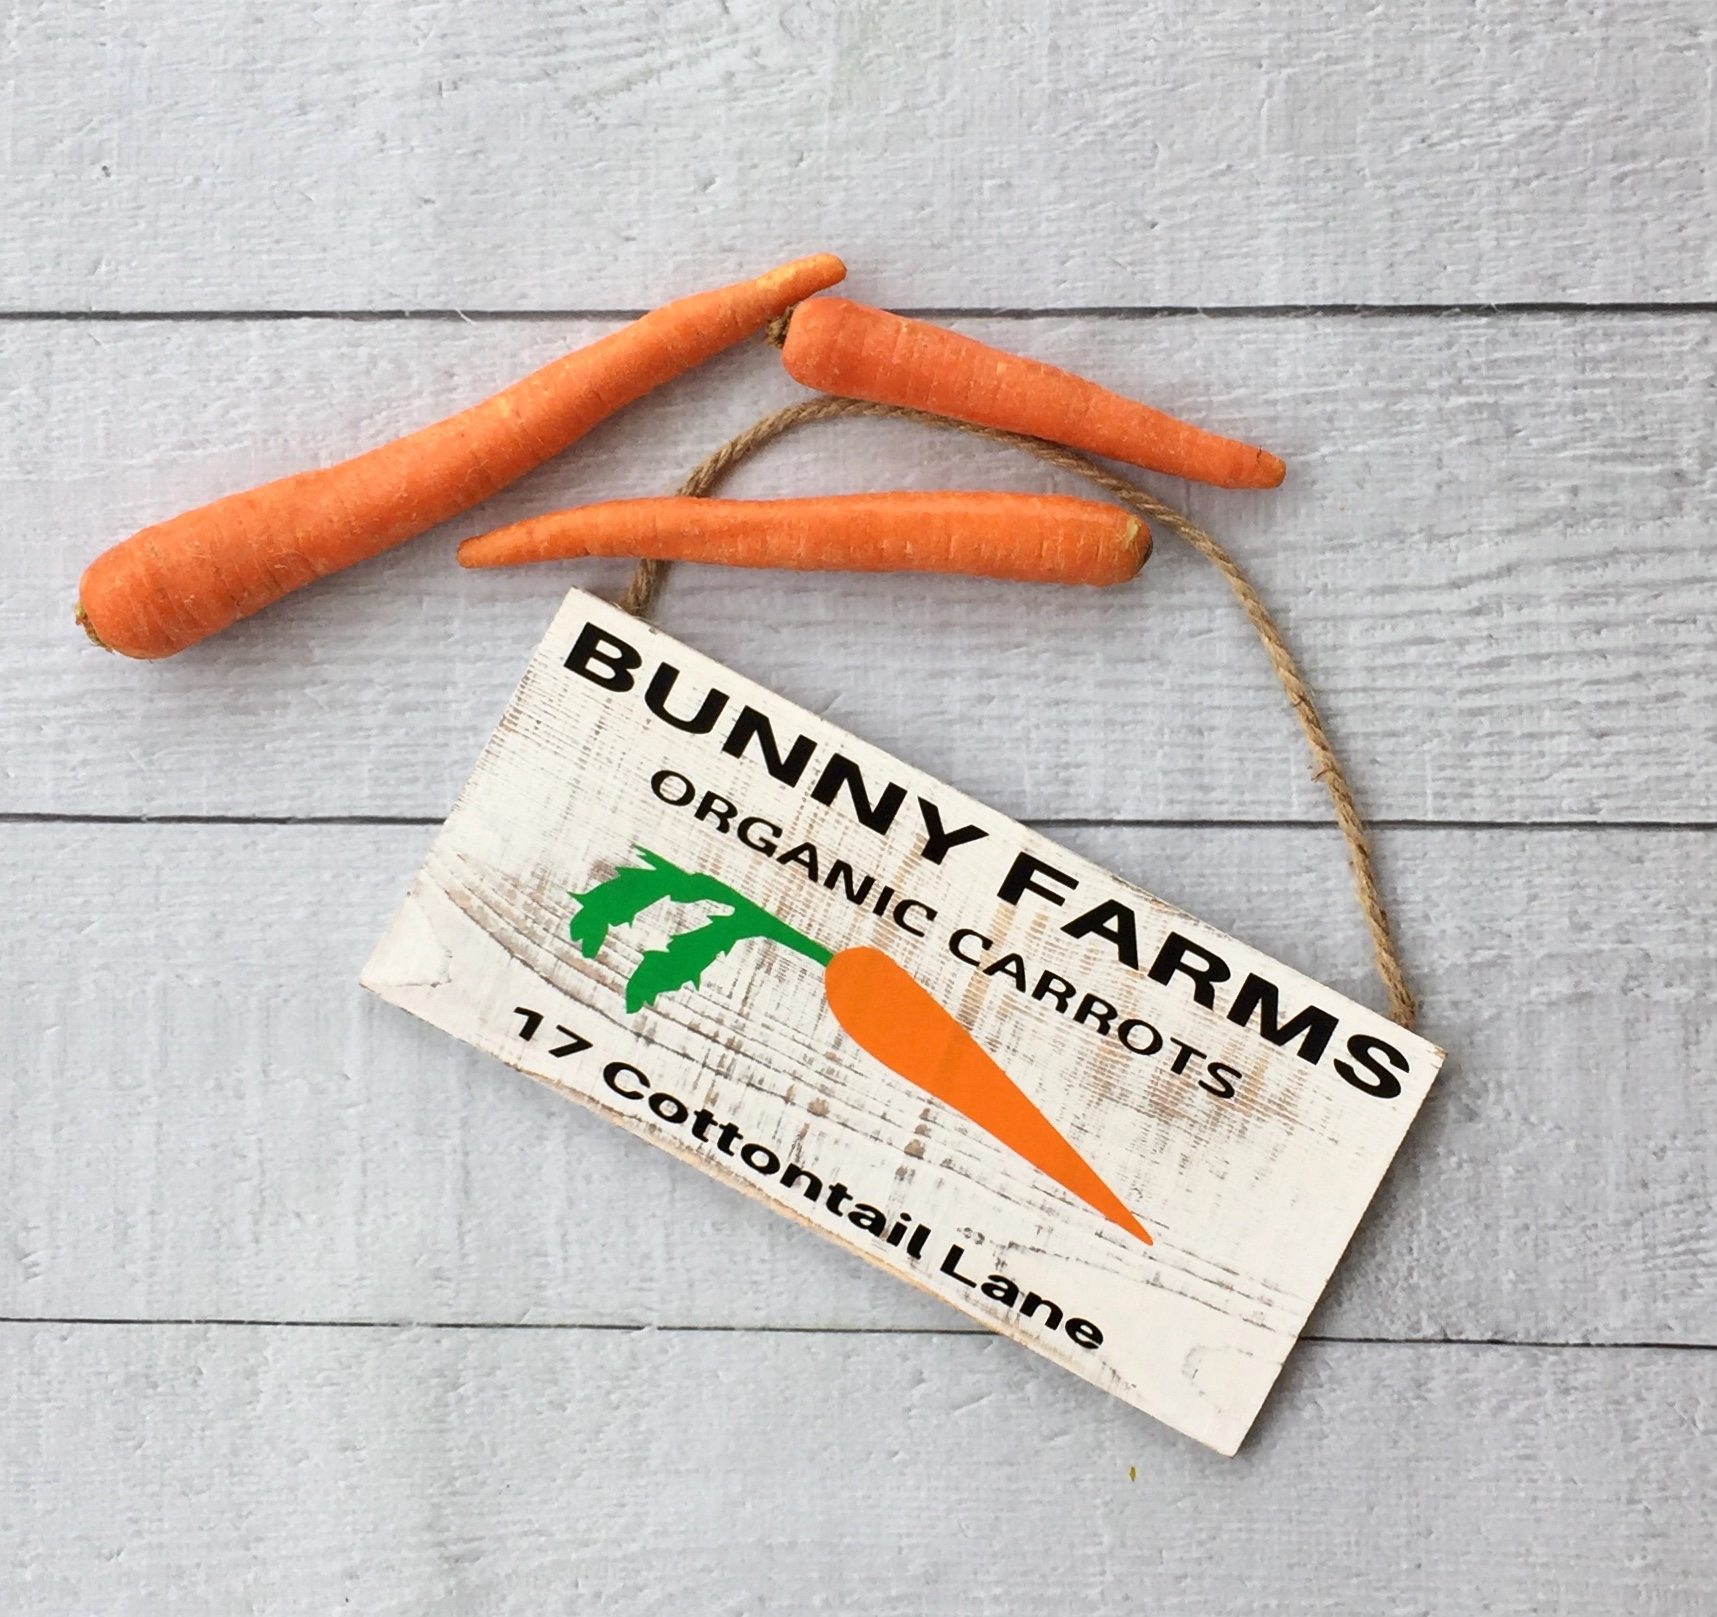
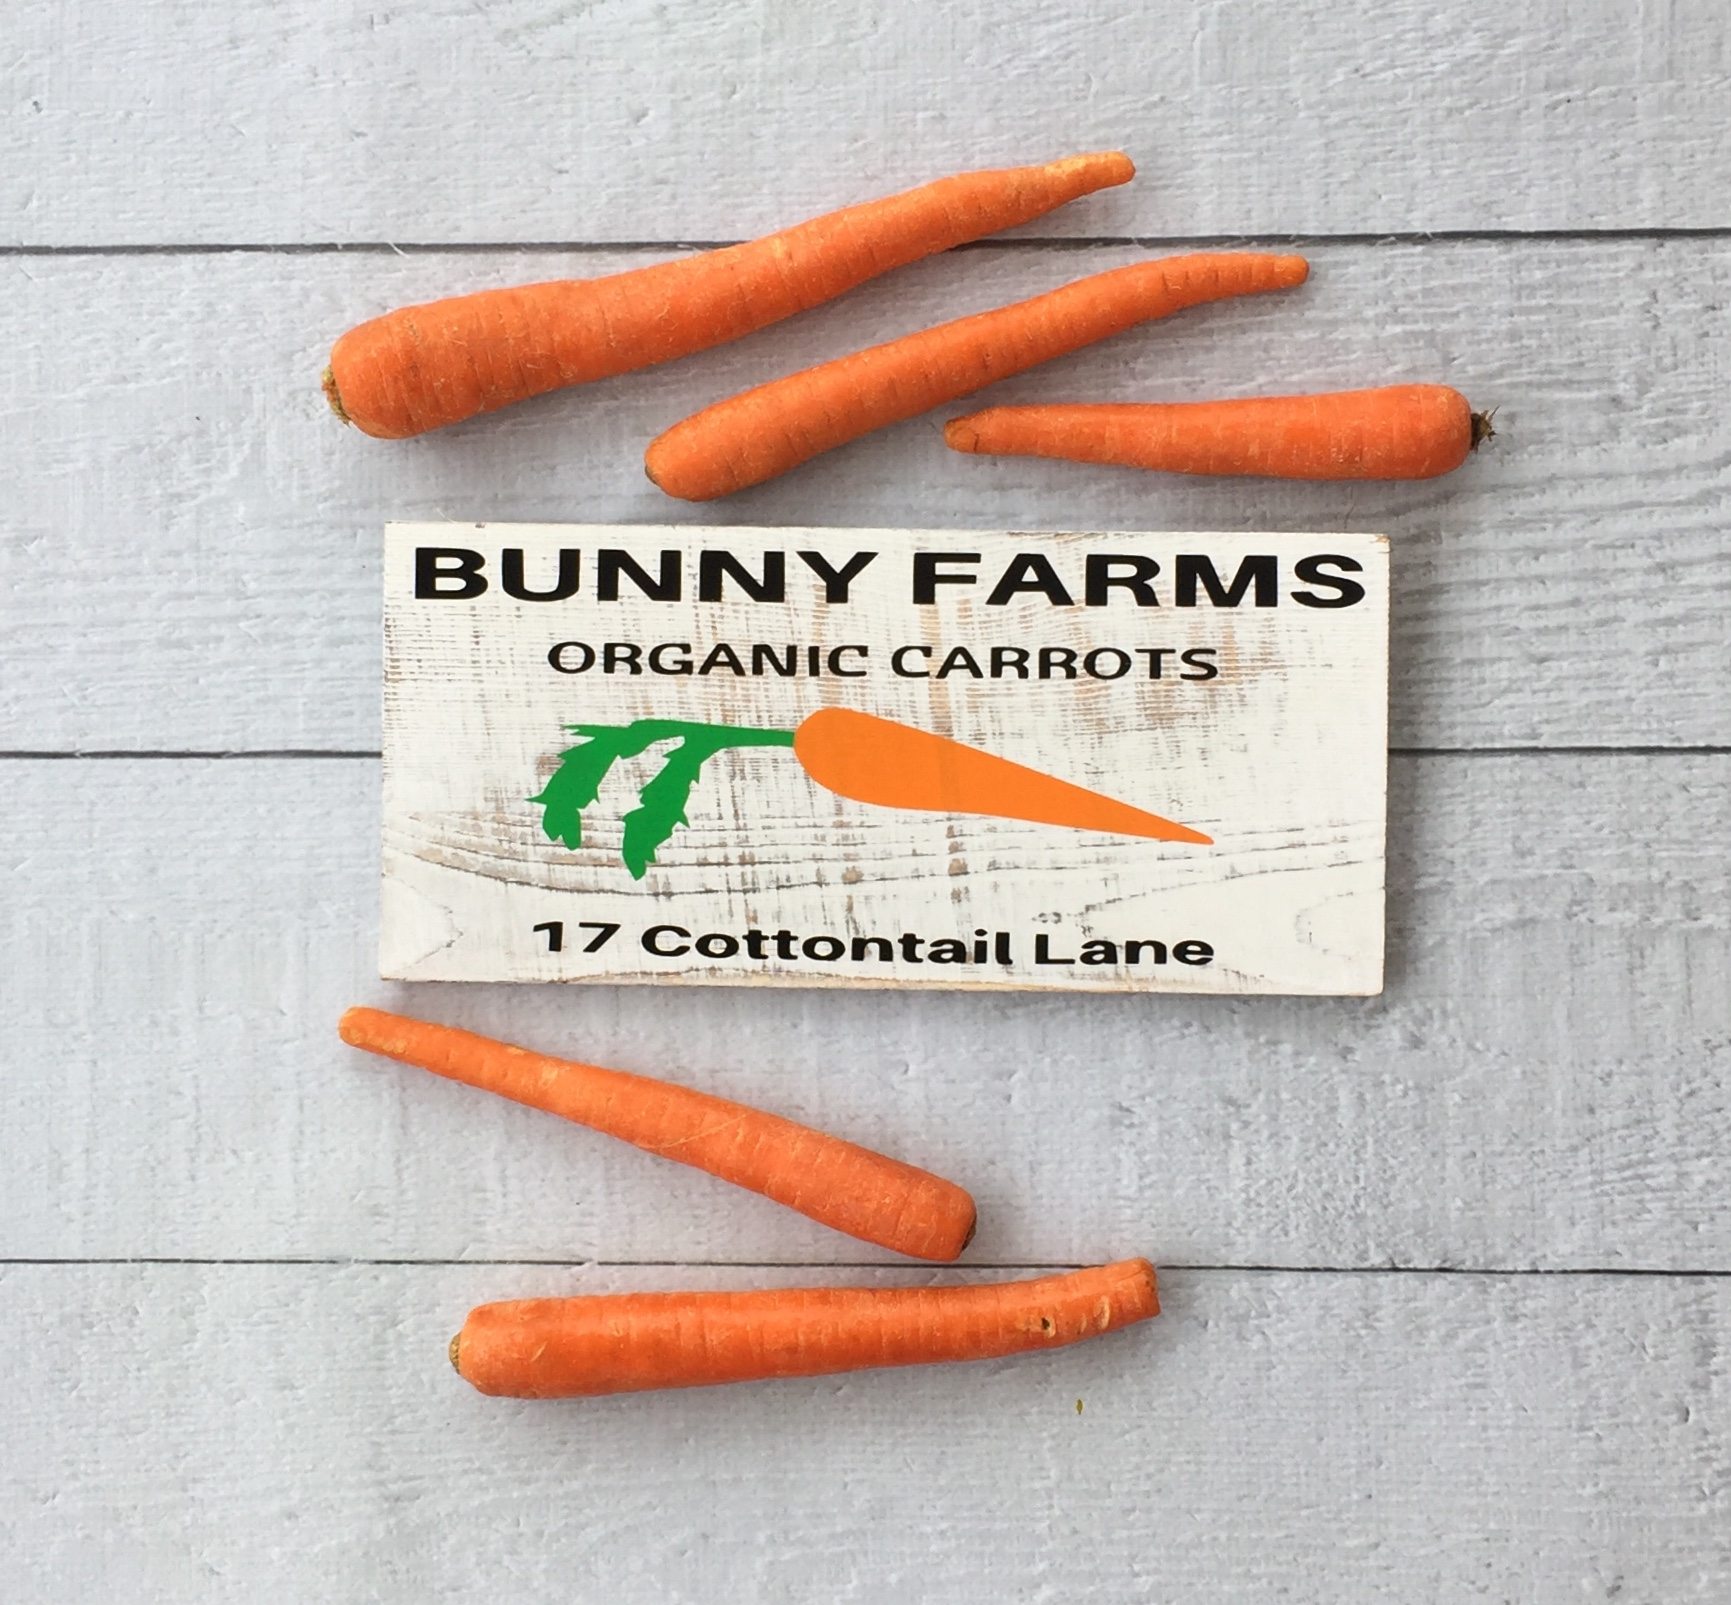
I am so excited about this vinyl Easter pallet sign. It is so cute. I’m ready for decorating the house for Easter now. I think its a fun little sign, you can hang it or use a stand to prop it up on. I just love how this Bunny Farms sign turned out! Affiliate links to products have been included.
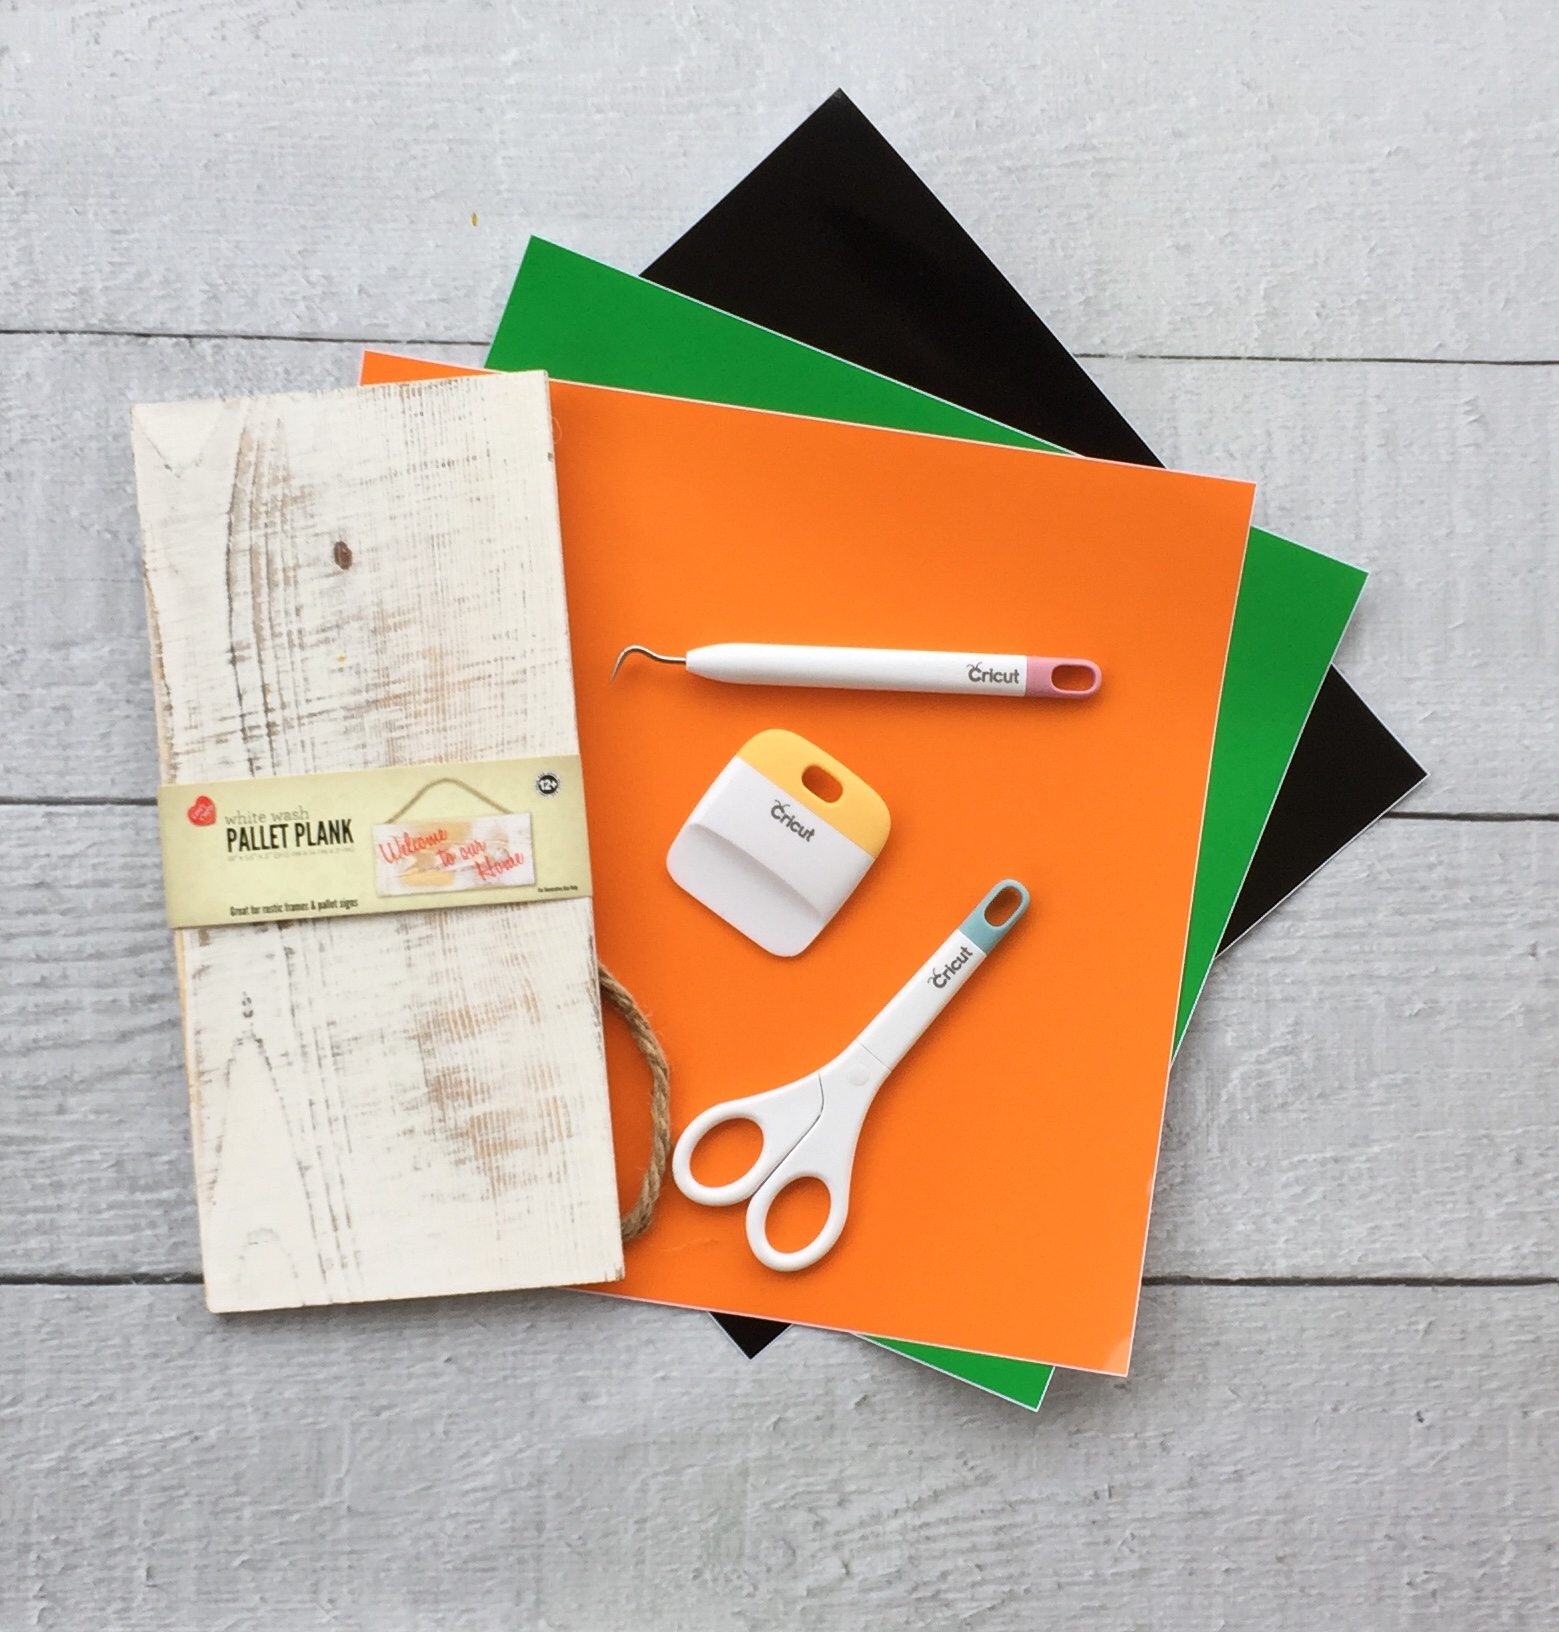
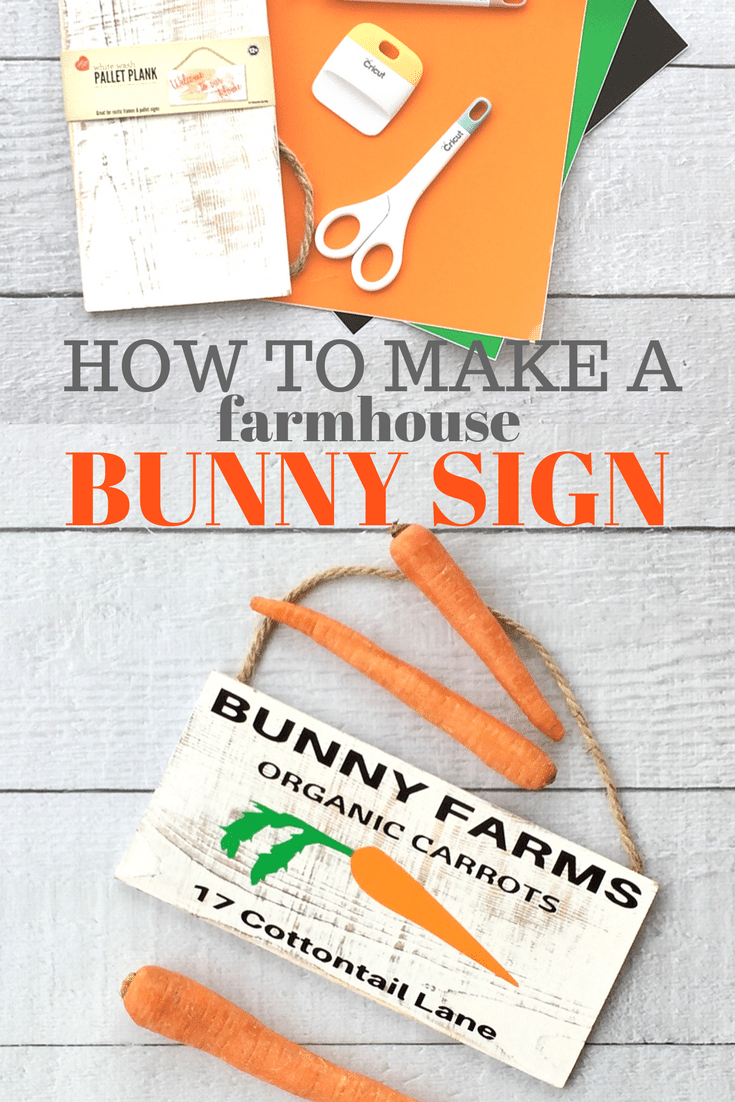
Vinyl/Pallet Supplies:
- Vinyl (black, orange and green)
- Contact Paper
- Pallet sign
- Cricut Explore Air 2
- Cricut Tools
Process:
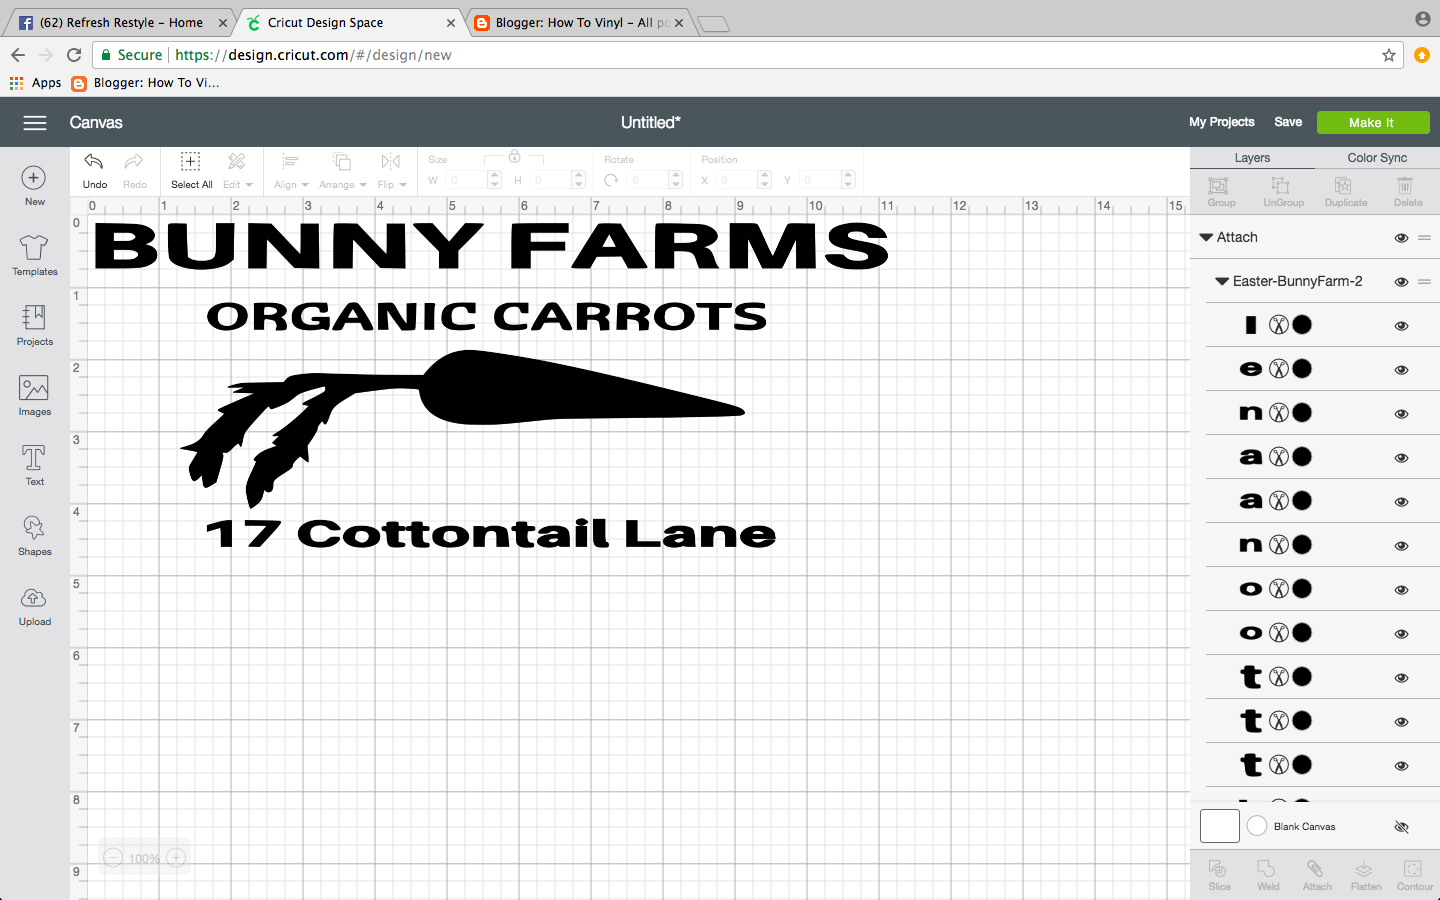
- Decide on a design, and cut it out on my Cricut Explore Air 2, but you can use any vinyl cutting machine you have or are comfortable with.
- Once your design is cut, weed out all the excess vinyl so that all that is left is the design you are applying to the sign.
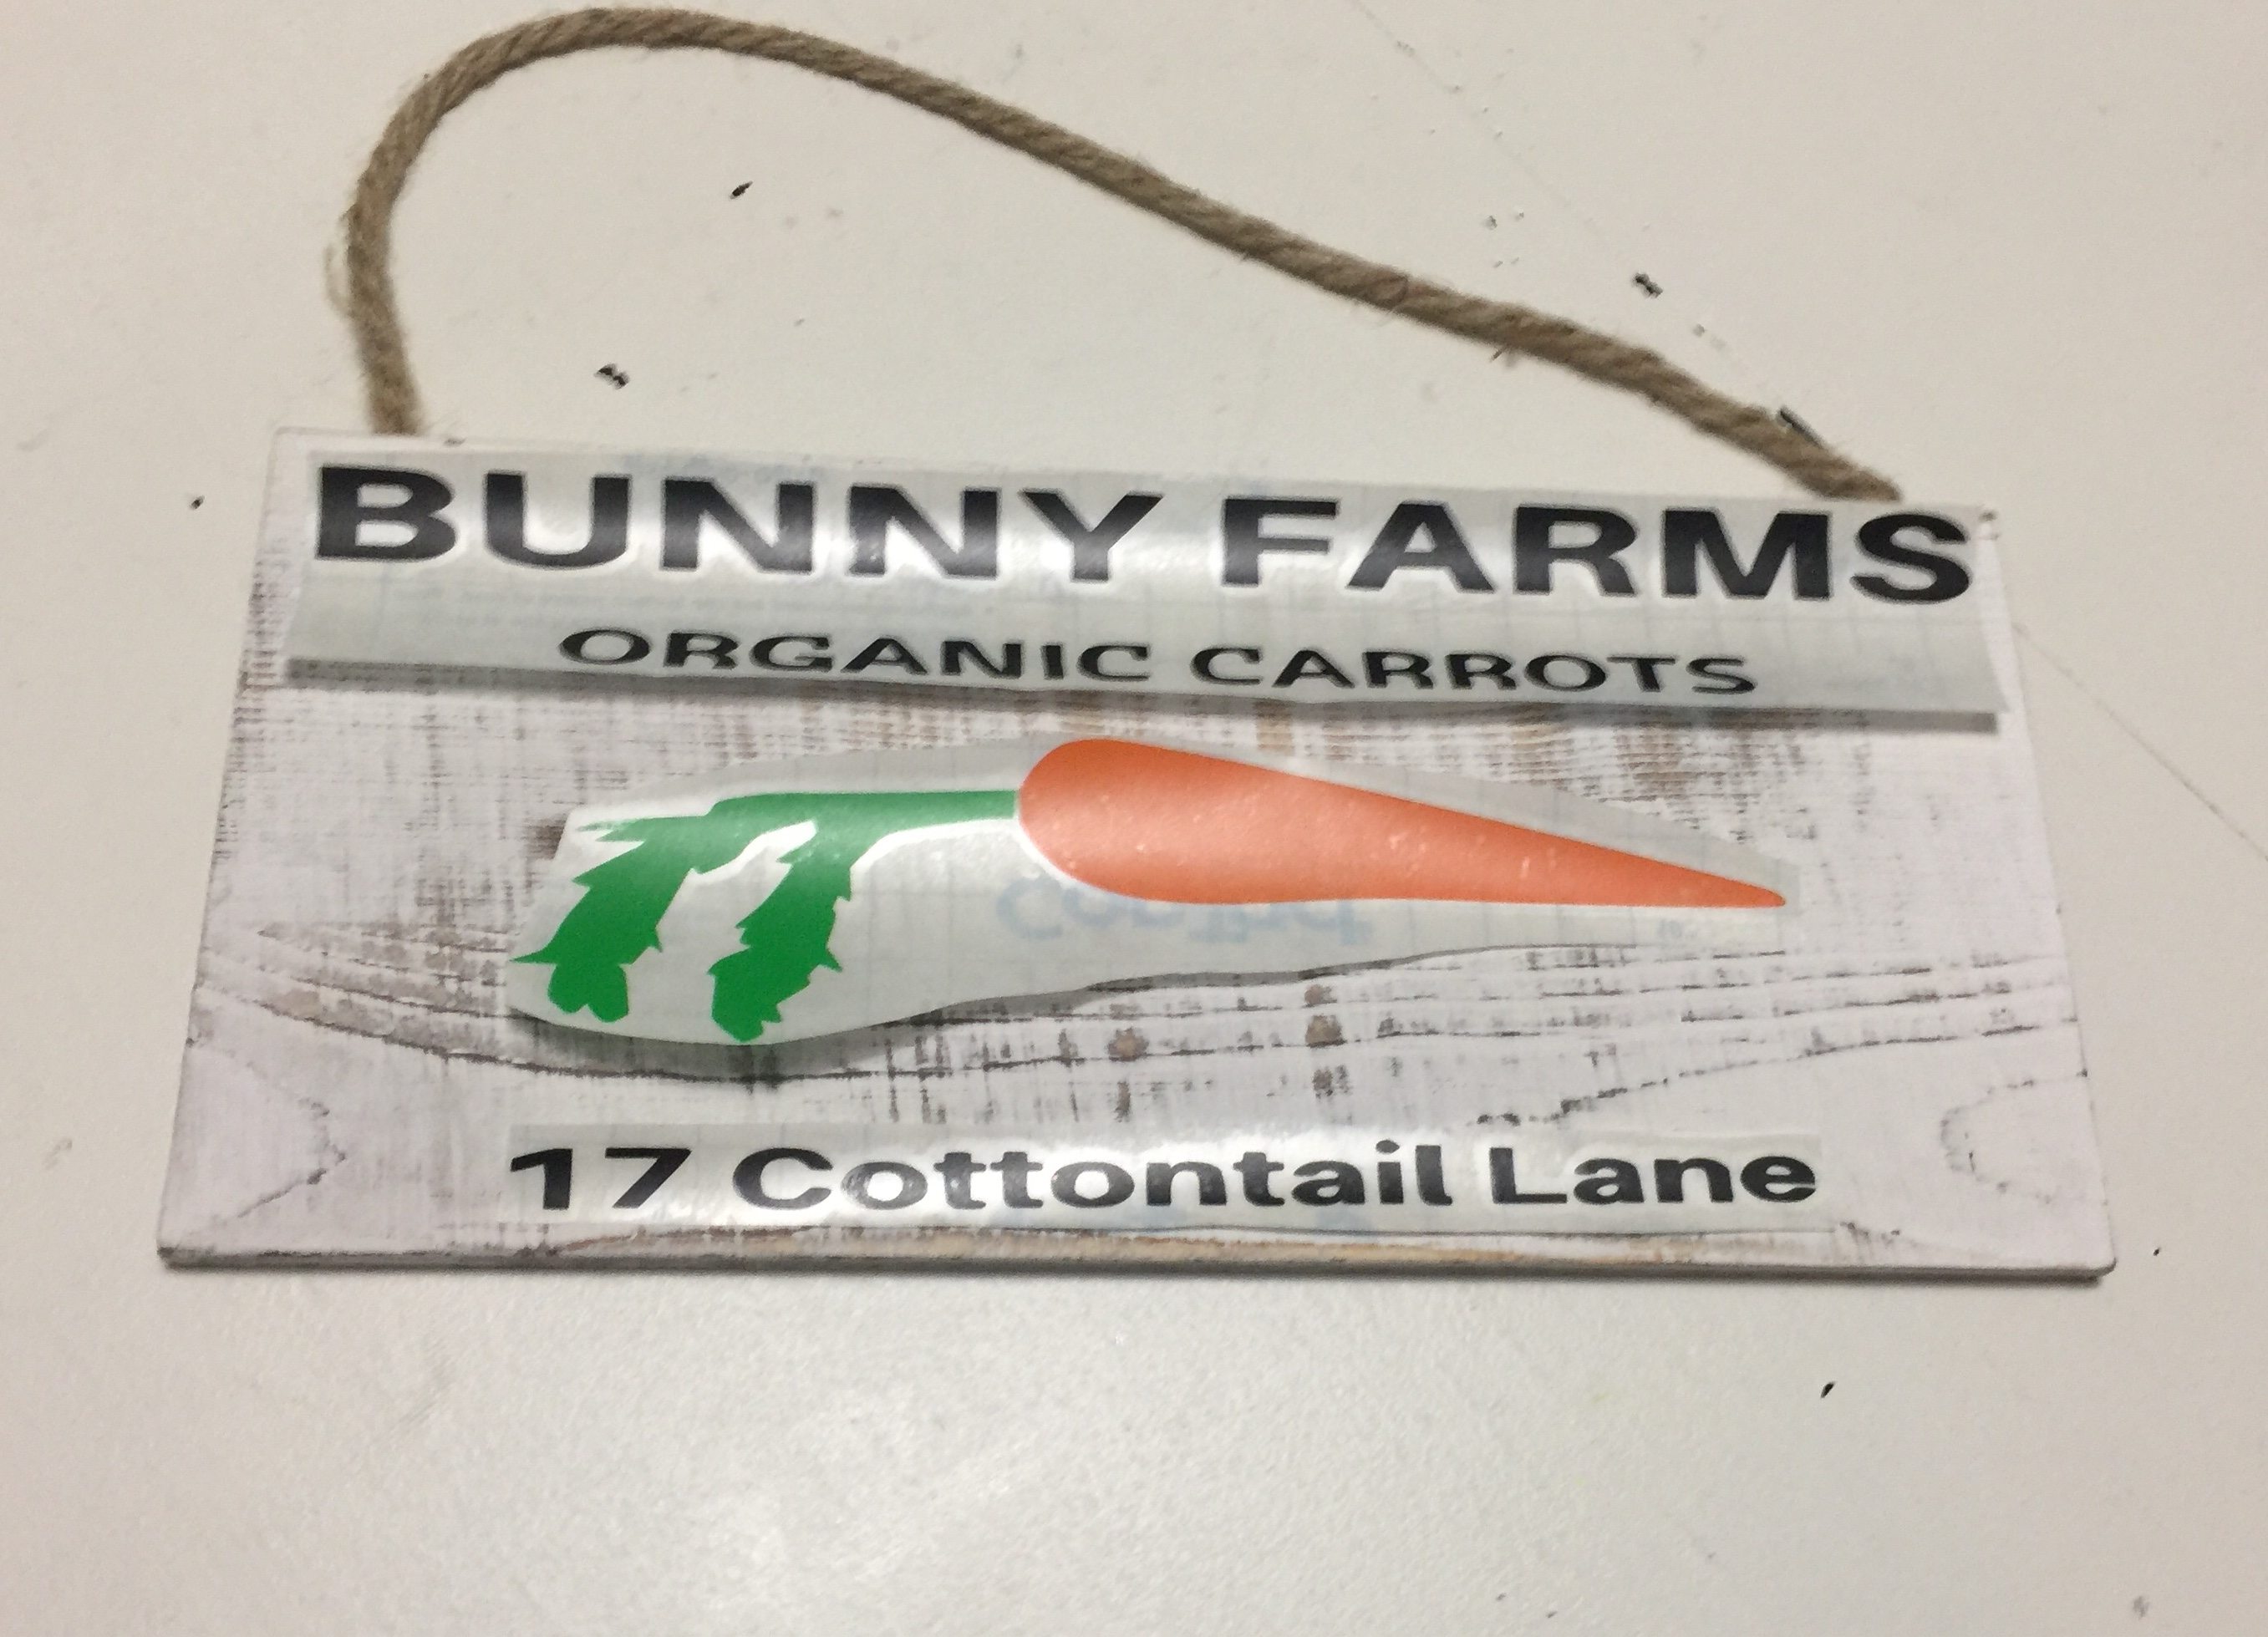
- Cut a piece of transfer tape about the same size as the design your working with, peel the backing off and apply the sticky side down over your design.
- Use your scraper to rub over your vinyl design to make sure it sticks to your transfer tape and comes off of its backing completely.
- Once you have your design on your transfer tape, you are ready to apply it to your pallet sign. I just eyeball the placement.
- Use your scraper to go over the quote making sure it sticks to the sign, then slowly peel your transfer tape leaving your design on your sign.
Walmart had the white washed wood pallet planks in store, they were around $2.50. This project turned out so cute and was very inexpensive. I hope you enjoyed!
I’ve been experimenting with designs, I hope to have some available soon. I still need to learn a thing or two!
Farmhouse rustic is my favorite and this little sign fits right in with the rest of my house!
Pin It for later:

You’re so creative Debbie! I love you bunny sign!
pinning!
gail
This is so cute. I am all about pallet signs and enjoy making them. Totally adorable.
This is so adorable Debbie. Love it!
Thank you Kristi!!