How to use Mod Podge Photo Transfer Medium
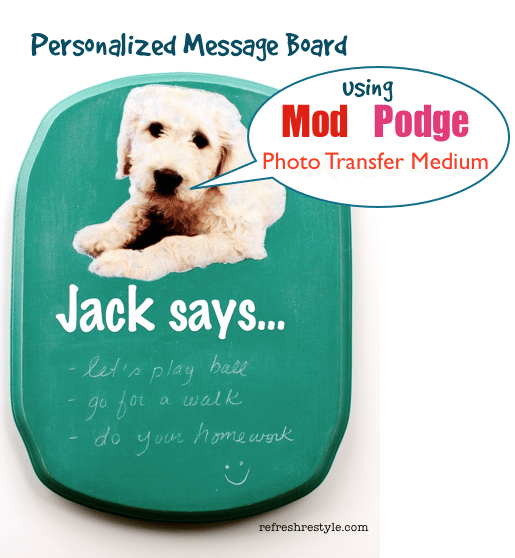
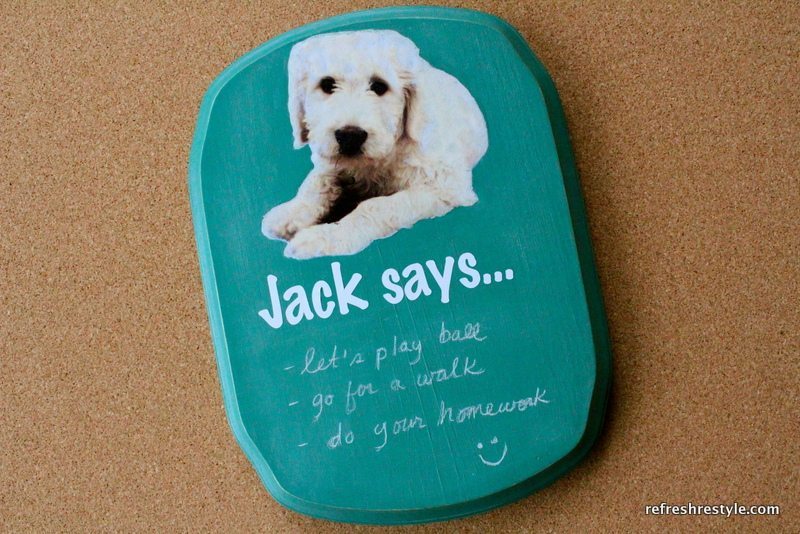
I wanted to make something for the boys, and nothing is cuter than their new puppy Jack. And if Jack could leave messages he would, so I thought I’d give him a little help 😉
Jack’s Personalized Message board using Mod Podge Photo Transfer Medium.
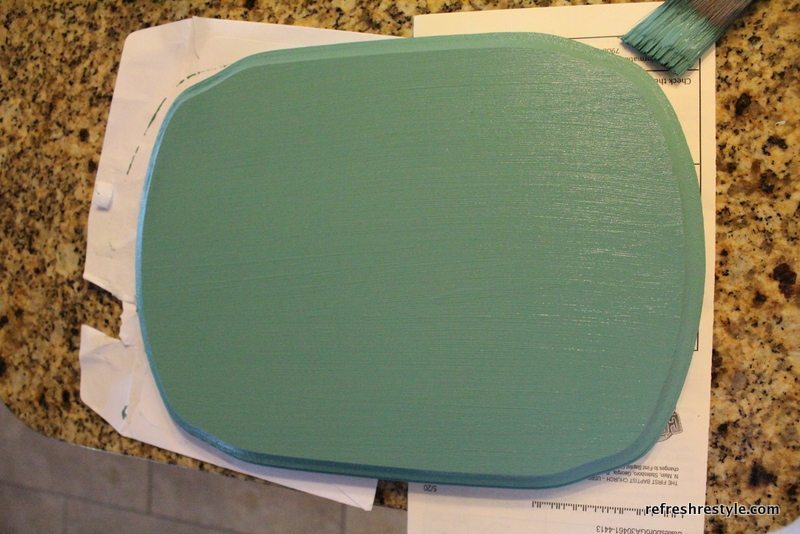
The first thing that I did was paint my board with craft paint, which is optional. I think it would have looked good with natural wood also.
Let the paint dry completely before going to the next step.
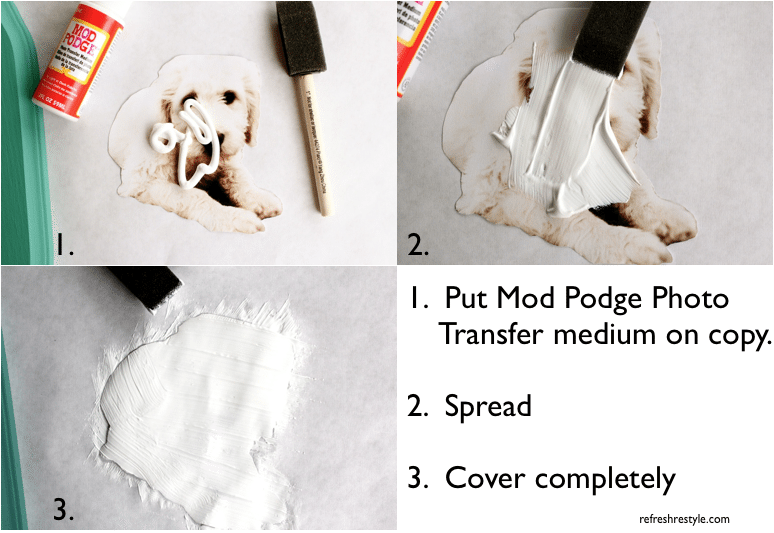
After you make a copy of your photo, trim around the image. Leaving only what you want to transfer.
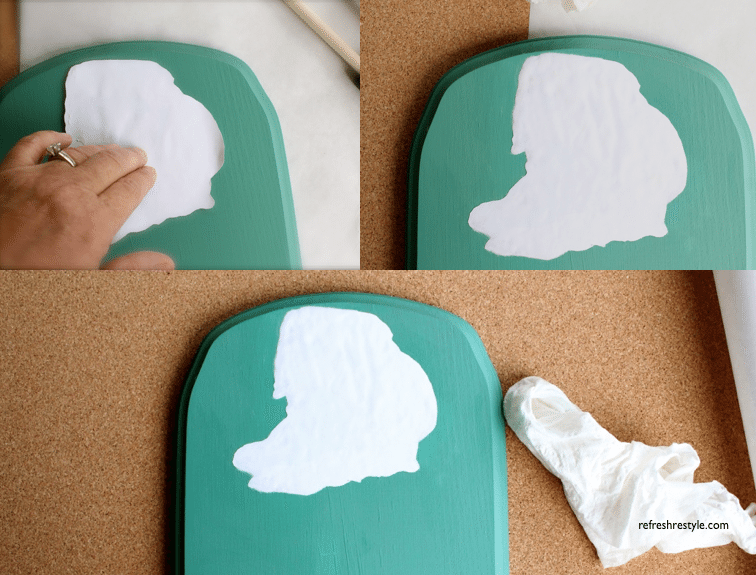
I used a piece of wax paper to protect my counter. I applied an even amount of Mod Podge Transfer Medium all over the copy. Use a thick coat, about 1/16th of an inch. You don’t want to see the image through it.
Now you are ready to place your photo on to the wood. Starting in the center, pat the image down.
If any of the medium seeped out just use a damp paper towel to remove.
Let it dry for 24 hours, be patient, it’s worth it 🙂
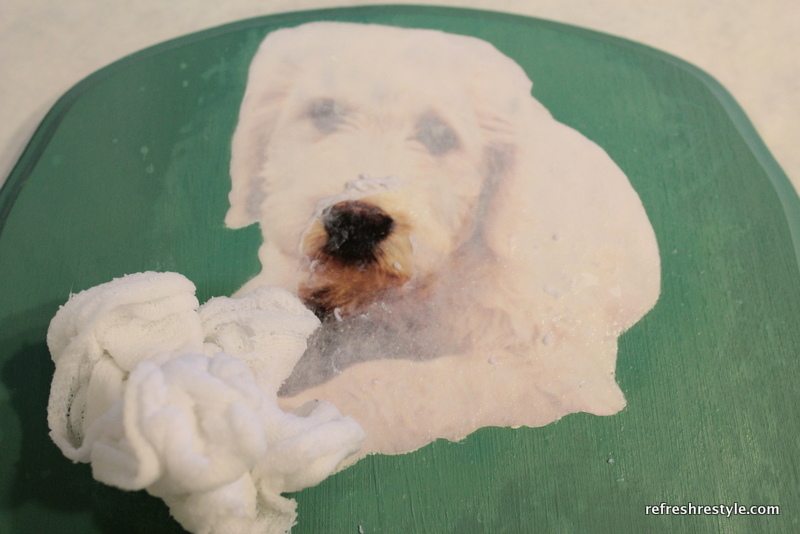
I waited 24 hours. I wet my cloth (you can use a sponge) and rung it out, not too wet. I wiped it over my image, once it’s all damp you can see your image.
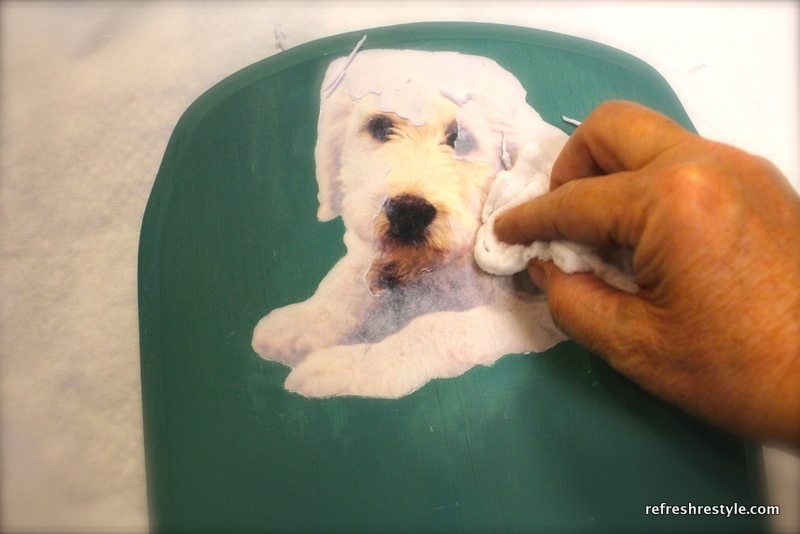
Here you can see where I’ve started rubbing the paper off, being careful not to rub too hard.
Just keep rubbing and watch the image reveal itself.
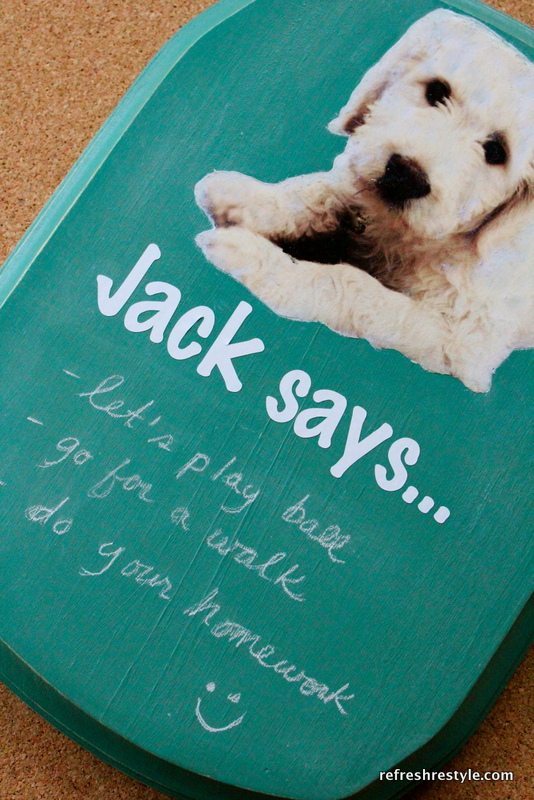
After removing the paper and letting it dry, I sealed it with Mod Podge. Now I’m ready to add Jack’s name and message.
I can’t wait to use Mod Podge Photo Transfer Medium again!
Like Plaid Crafts on Facebook
Follow Plaid Crafts on Pinterest
Follow Plaid Crafts on Twitter
Visit Paint Me Plaid
This post was written as part of a campaign with The Blueprint Social. All opinions are my own.
More projects using Mod Podge Transfer Medium:

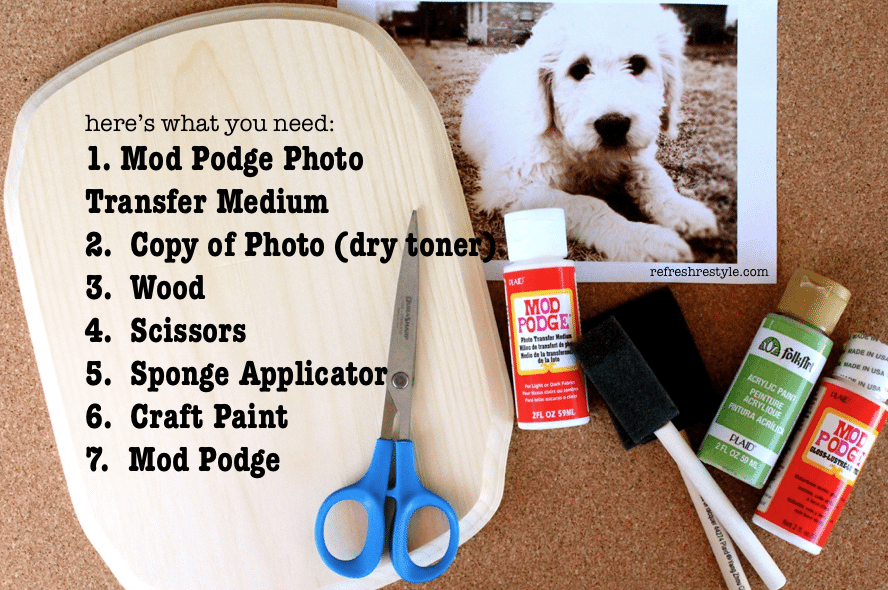





This is probably a dumb question, but, on the “ingredients” list, you describe a copy of the photo with dry toner. What’s dry toner? Would a photo printed out on my home printer do?
It has to be one from a laser printer. I had my printed at Office Depot.
Thanks,
Debbie
ps It may work with your printer, I just did what it said on the Mod Podge directions. Let me know if you try 🙂
Such a delightful pup! I must confess that I have a bottle of Mod Podge that I bought last year but still have yet to open. I’ll have to use some of your project inspiration and get to gluing!
so adorable!!! I love that picture 🙂
This is awesome Debbie! I can’t wait to feature it!
Thanks Amy 🙂 Have a great weekend!
Jack is the perfect model – hope all this stardom doesn’t go to his head!!
Love this Debbie.
Kelly
I love your project!! (And your dog is adorable!!)
Jack is such a cutie, and he’s so wise. I bet the boys love their message board.
My dog, McCoy, only says things like, “Get me food.” “Take me out.” “Hey, I’m trying to sleep here!”
Great project and adorable puppy pal!
major cute factor — both the project AND the dog. 🙂
xo Heidi
Oh that is really cute Debbie. I love this stuff, and going to have to try this one.
I think someone might be jealous? LOL.
Murphy wants one too 😉
Cute project. That stuff looks fun to play with Debbie!!
Really?
How amazing is that?!
Thank you for sharing… love the theme you chose, too… would bring a smile whever you checjked the board too.
Teresa
oooo! I am going to have to try this stuff….thanks, Debbie!
Debbie, this is an awesome idea! I’m going to look for this the next time I’m out and about!
I have to get me some of that stuff. Jack says.
Bliss
That is so awesome! I didn’t know there was Modge Podge photo transfer!
So so cute Debbie! Well done!
Too cute Debbie! I’m going to have to try this stuff out!