Today I have a special guest, my friend Gail! I can’t wait for you to see her repurposed door hall tree!
Hi! I’m Gail from My Repurposed Life. I’ll tell you a little about me—I love junk, and cutting up furniture! Free is best, but I’ve been known to spend up to $10 to buy stuff for my projects. This entire project cost me about 10-12 dollars to complete.
Repurposed Door Hall Tree
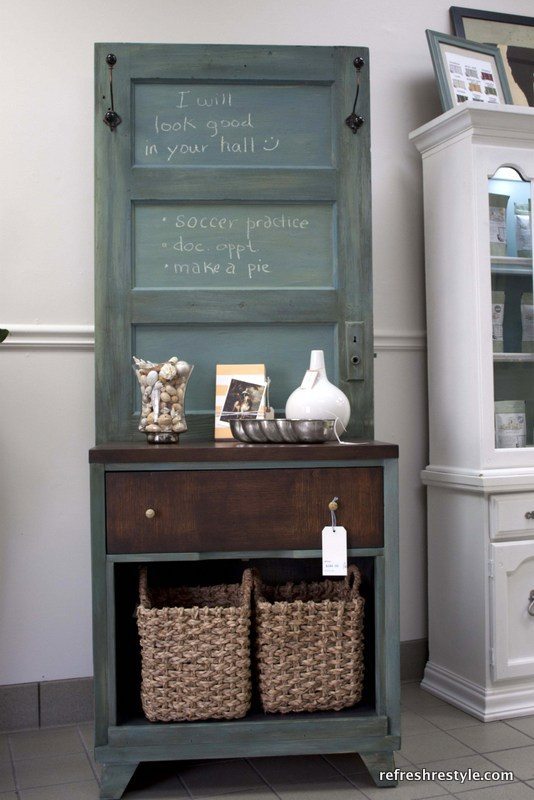
My DIY Hall Tree that I’m sharing today was inspired by the one that Debbie made and shared in her post How To Make A Hall Tree.
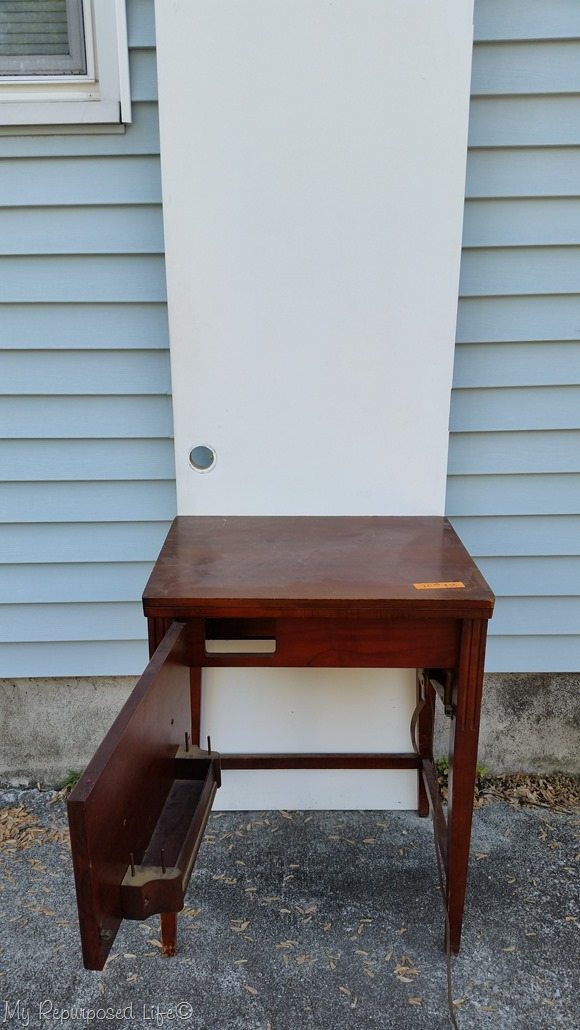
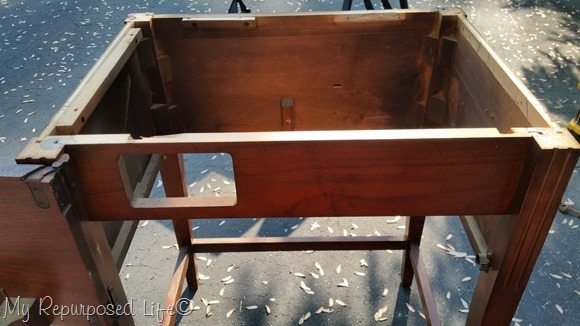
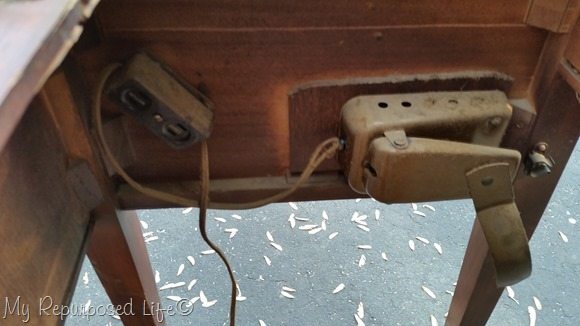
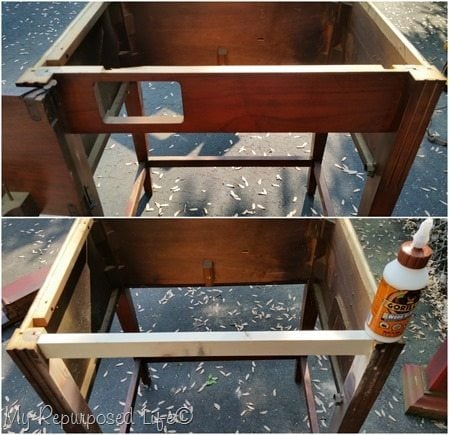
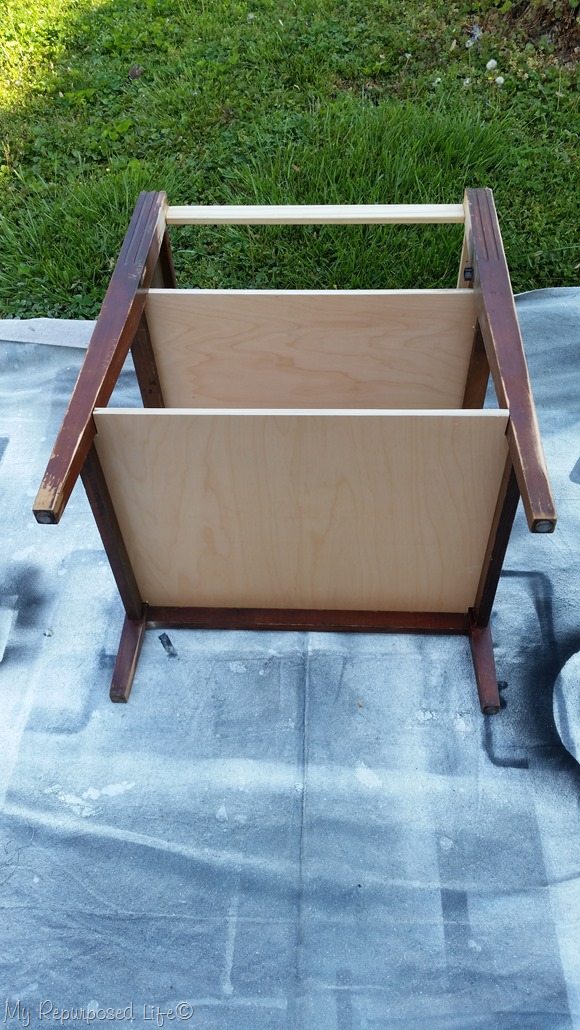
Because the door was a hollow door I added 1x’s to make it look more like a paneled door (like Debbie’s) I used a speed square to make sure all the angles were square, then glued it with Gorilla wood glue and tacked it with my nail gun. (I only added detail to the area ABOVE where the sewing cabinet would rest)
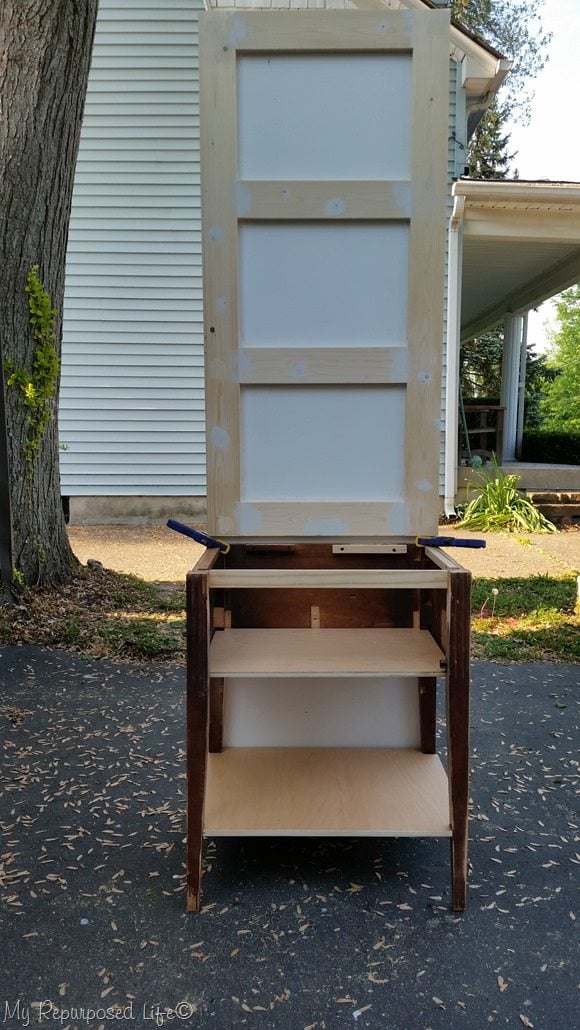
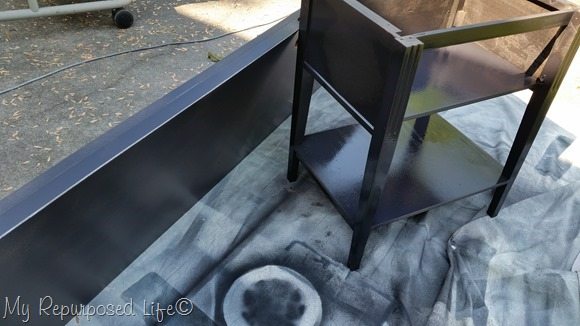
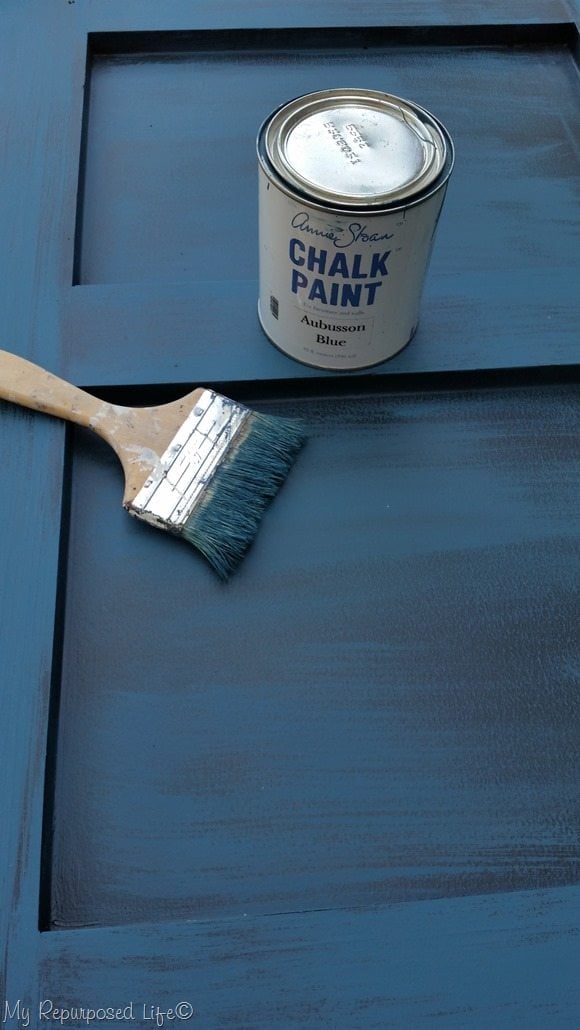
A couple of coat rack hooks were added to make this the perfect addition for an entryway or hallway.
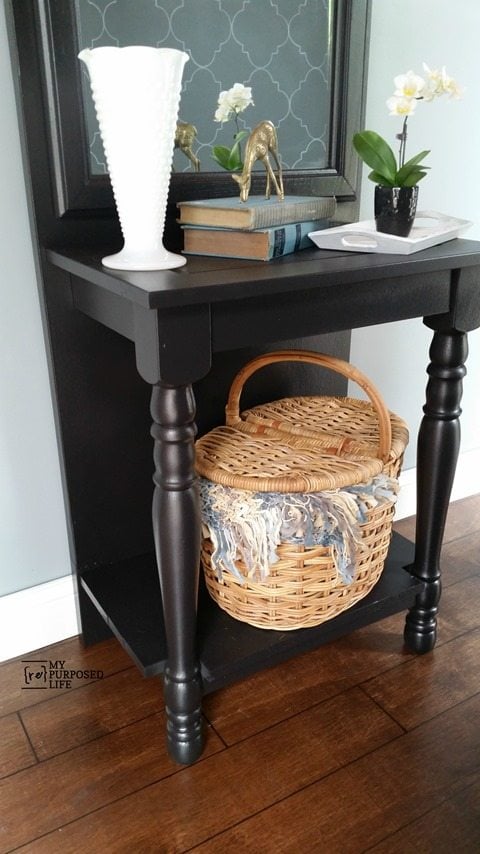
What you may not know about me is this—for the most part, I don’t make items for my home. I make them JUST so I can write tutorials to show YOU how to make them. Because of this, I don’t want to haul the items into my home for pictures, so I built a portable wall for staging. In addition I made a faux hardwood floor to go with the wall.
I hope you stop by My Repurposed Life to see more great projects.
Thank you Debbie for allowing me to crash your place today! It was fun, and I hope your friends liked my project—if not, it’s your fault since you inspired me.
gail

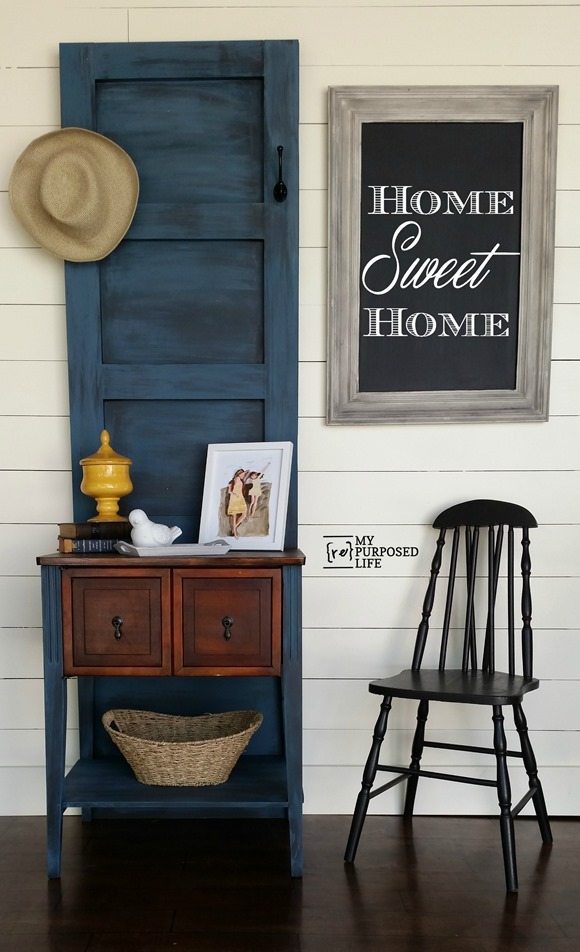


Just beautiful! Pinning so I don’t lose it – love that blue color and finish combo with the natural wood.
I love a good repurposed door project and both of your hall trees are awesome! Gail, I’m swooning over the paint colors on yours, especially paired with that pretty custom stain color. Pinning to share 🙂
Yes, Gail worked her magic on this piece!
The colours in this are amazing. So complimentary. LOVE!
So funny, I opened my email to see you, Gail at Debbie’s place today:) I love both of your projects and hope I find a good door for a project like yours! Pinned:)
Thanks for Pinning Wendi! 🙂
Door hall trees are a lot of fun. I’ve made a bunch. hehehehe
gail
What a fun piece, I love it and storage anywhere is always welcome.
Thanks Marty! I love door projects, and I have many more doors in my stash just WAITING for a purpose!
gail
I just love all our projects, where do you find all the energy, and how did you learn to use all those tools.
Debbie,
Although I love how my project turned out, I still like your hall tree better. Happy to be visiting Refresh Restyle today.
gail