June 19, 2026 by Debbie Westbrooks
DIY Wood Round Welcome Sign With Greenery
Live Videos · DIY · Home Interior
I made a wood round welcome sign with a creamy painted finish, a warm stained center, raised words, and a pretty cluster of greenery and pink flowers at the top. The little distressed details gave it the worn look I love, while the flowers added just enough color to keep all those neutrals from feeling plain.
Starting With the Wood Round
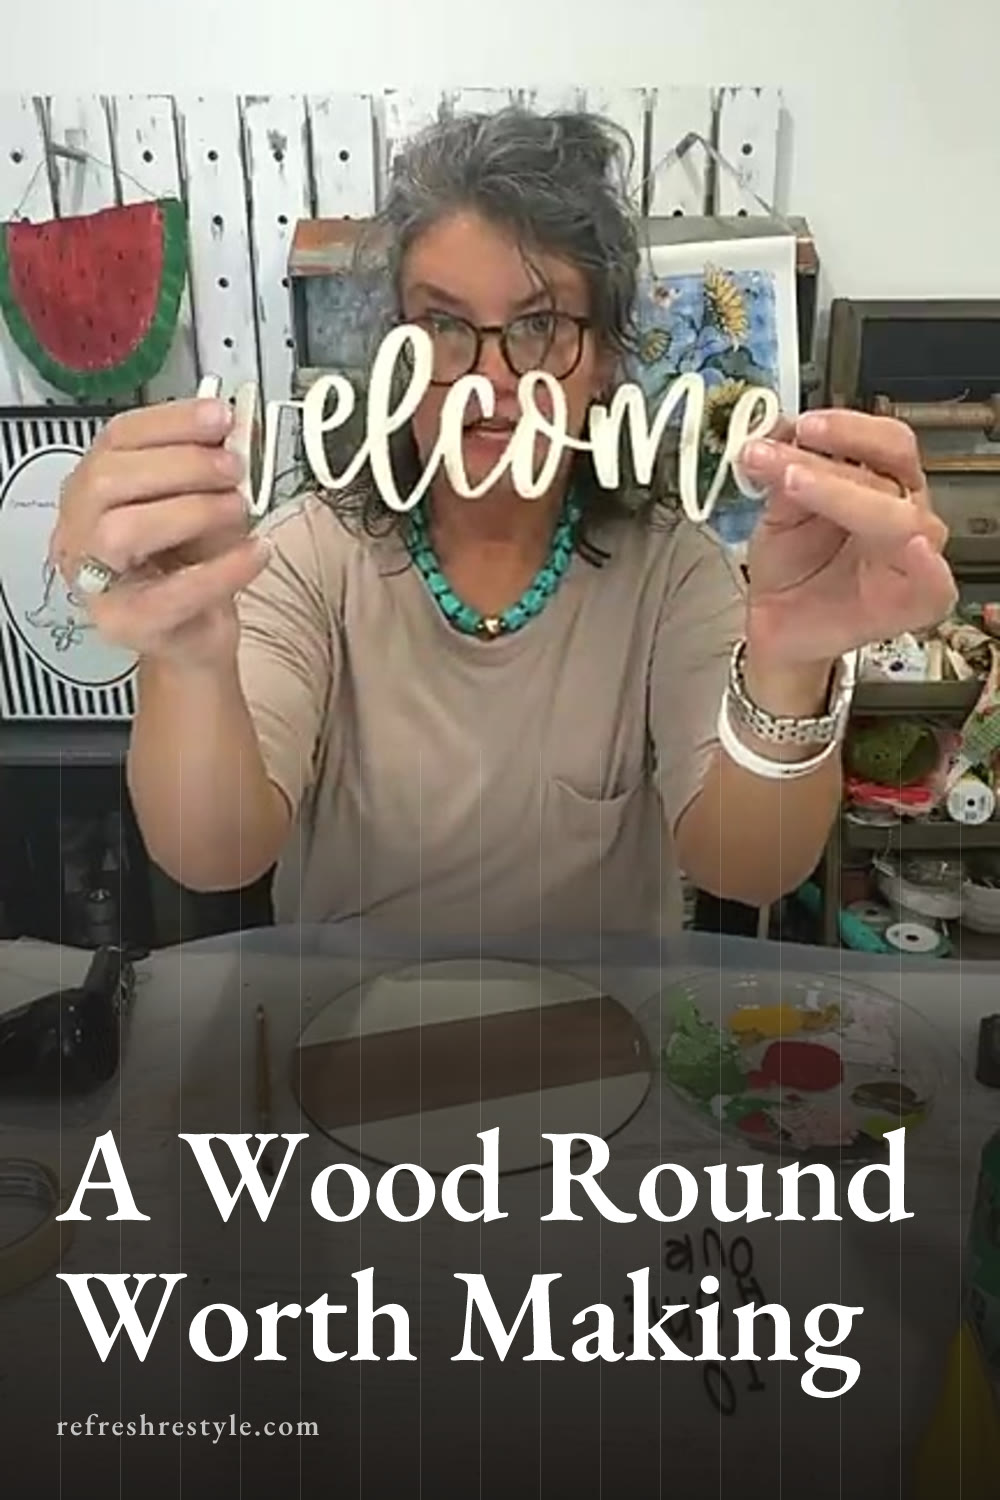
My wood round measured 10 inches and already had holes at the top for hanging. The raised pieces spelled out welcome and to our home, so I could paint each part separately before gluing everything in place.
I wanted a stained band running through the center of the round with vanilla on the top and bottom. Painter’s tape helped me mark off that center section as straight as I could get it.
You could paint the entire round one solid color if that works better with your home. This design is easy to change, so use the colors you already love and have on hand.
Painting the Vanilla Sections
I lightly dampened the wood before spreading on my vanilla paste. The moisture helped it move across the surface, although too much water can thin the color and make another coat necessary.
I covered the top and bottom sections in vanilla, keeping the taped center clear for the stain. I also used a small dauber to apply vanilla to the raised welcome cutout.
The paste had started to dry in its container, so I added a little distilled water and stirred it back to a workable consistency. Add the water slowly because it takes very little to loosen a thick paste.
I painted the smaller to our home letters black. The contrast made those little words much easier to see against the creamy bottom section.
Adding the Stained Center
Once the vanilla sections felt dry, I placed tape over their inside edges to protect them from the stain. I used Dixie Belle in Tobacco Road because it was the brown stain I had available, and it gave the center a warm, natural color.
A small piece of drop cloth worked well for wiping away the extra stain. I wanted the wood grain to show instead of covering it with a heavy, solid layer.
Tape can pull up a little paint or paste if the finish hasn’t dried completely. That happened in a couple of spots on my round, but I already planned to distress the sign, so those imperfect areas blended right into the finished look.
Distressing the Finish
After the stain dried, I went over the round with a small hand sander. I concentrated on the outside edge and lightly sanded across the painted sections to break up the smooth finish.
Then I added Ground Espresso around the edge and streaked a little across the front. This deepened the aged look and connected the light vanilla sections with the darker center.
Go lightly when adding a distressing color. If one area gets too dark, you can paint over it and try again. That flexibility is one of my favorite things about painted wood projects.
I also distressed the raised welcome cutout before attaching it. A little wear on the lettering helped it look like part of the sign instead of a new piece sitting on top.
Attaching the Raised Words
The word welcome went across the stained center, and to our home fit along the vanilla section below it. I had etched guides for the smaller letters because lining up each separate piece without a guide can get a little cattywampus.
I brushed a thin layer of glue onto the back of each cutout. Spreading it with a paintbrush gave me better control and helped the pieces grab quickly without a lot of glue squeezing around the edges.
Take your time when placing the words. I held the round up so I could check the spacing and make sure welcome looked straight before pressing it down. The smaller letters followed the etched marks underneath.
Making the Wired Jute Hanger
I threaded wired jute through the holes at the top to make the hanger. You can find this type of jute at stores such as Dollar Tree or Hobby Lobby, and the wire inside helps it hold its shape.
The cut ends can start to unravel, so I added a small amount of hot glue to each end and twisted the fibers together while the glue cooled. Wire clippers make cutting the jute much easier than regular scissors.
For a playful finish, I wrapped the ends around a paintbrush to form little spirals. I call them pigtails. The wired jute holds those curls and adds a sweet detail without needing a large bow.
Decorating With Greenery and Flowers
I gathered a few pieces of greenery and arranged them across the top of the sign. I tried to keep the two sides balanced, but I didn’t want them to look exactly the same. A looser arrangement gives the greenery a more natural shape.
Once I liked the placement, I attached each piece with hot glue. I kept the greenery high enough that it wouldn’t cover too much of the word welcome.
The sign was very neutral at this point, so I added a few small pink flowers and buds. That pop of color made a big difference. You could use flowers that match your room, add seasonal stems, or replace the greenery with a bow.
Be careful when pressing floral pieces into hot glue. A silicone finger cover can help protect your fingers while you hold small stems in place.
Displaying the Welcome Sign
At 10 inches, this wood round is a little small to use as a full door hanger by itself, but it would look lovely attached to a larger wreath. It also fits nicely in a kitchen, beside an entry door, or as part of a layered display.
The neutral vanilla and brown finish lets the pink flowers stand out, and the raised black lettering stays easy to read. For a seasonal version, you could change the flowers, use a different stain, or paint the entire background in one color that works with your home.
Chalk Couture supplies
Browse Chalk Couture Chalkology Paste, or shop my full store here.
I am an independent Chalk Couture designer, so I earn a commission on these links. See my disclosure for more.