Just in time for Christmas decorating!
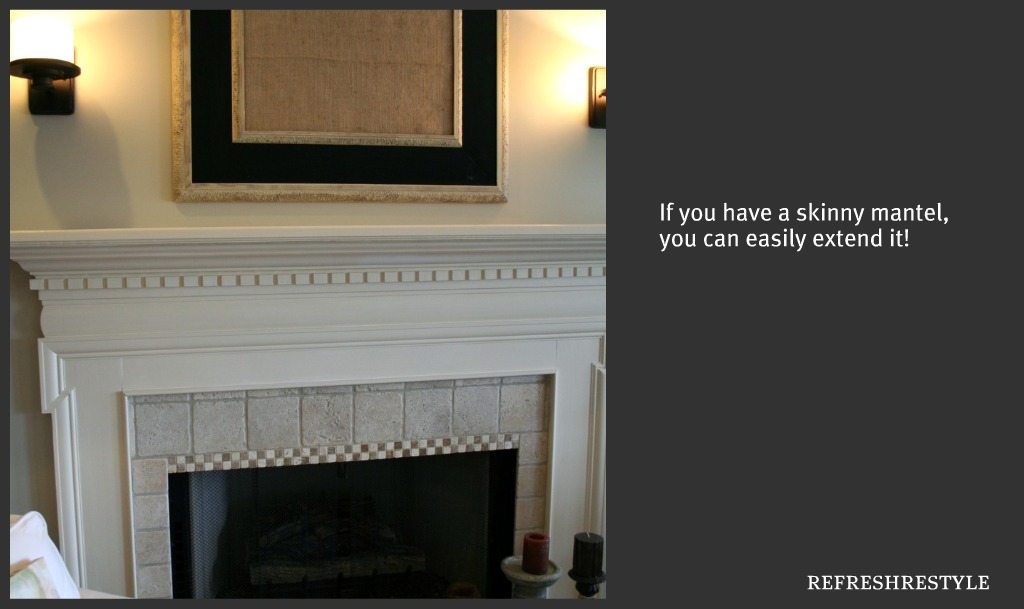
While I was taking down my fall mantel decor, I remembered that we enlarged our mantel a few years ago and wanted to share what we did.
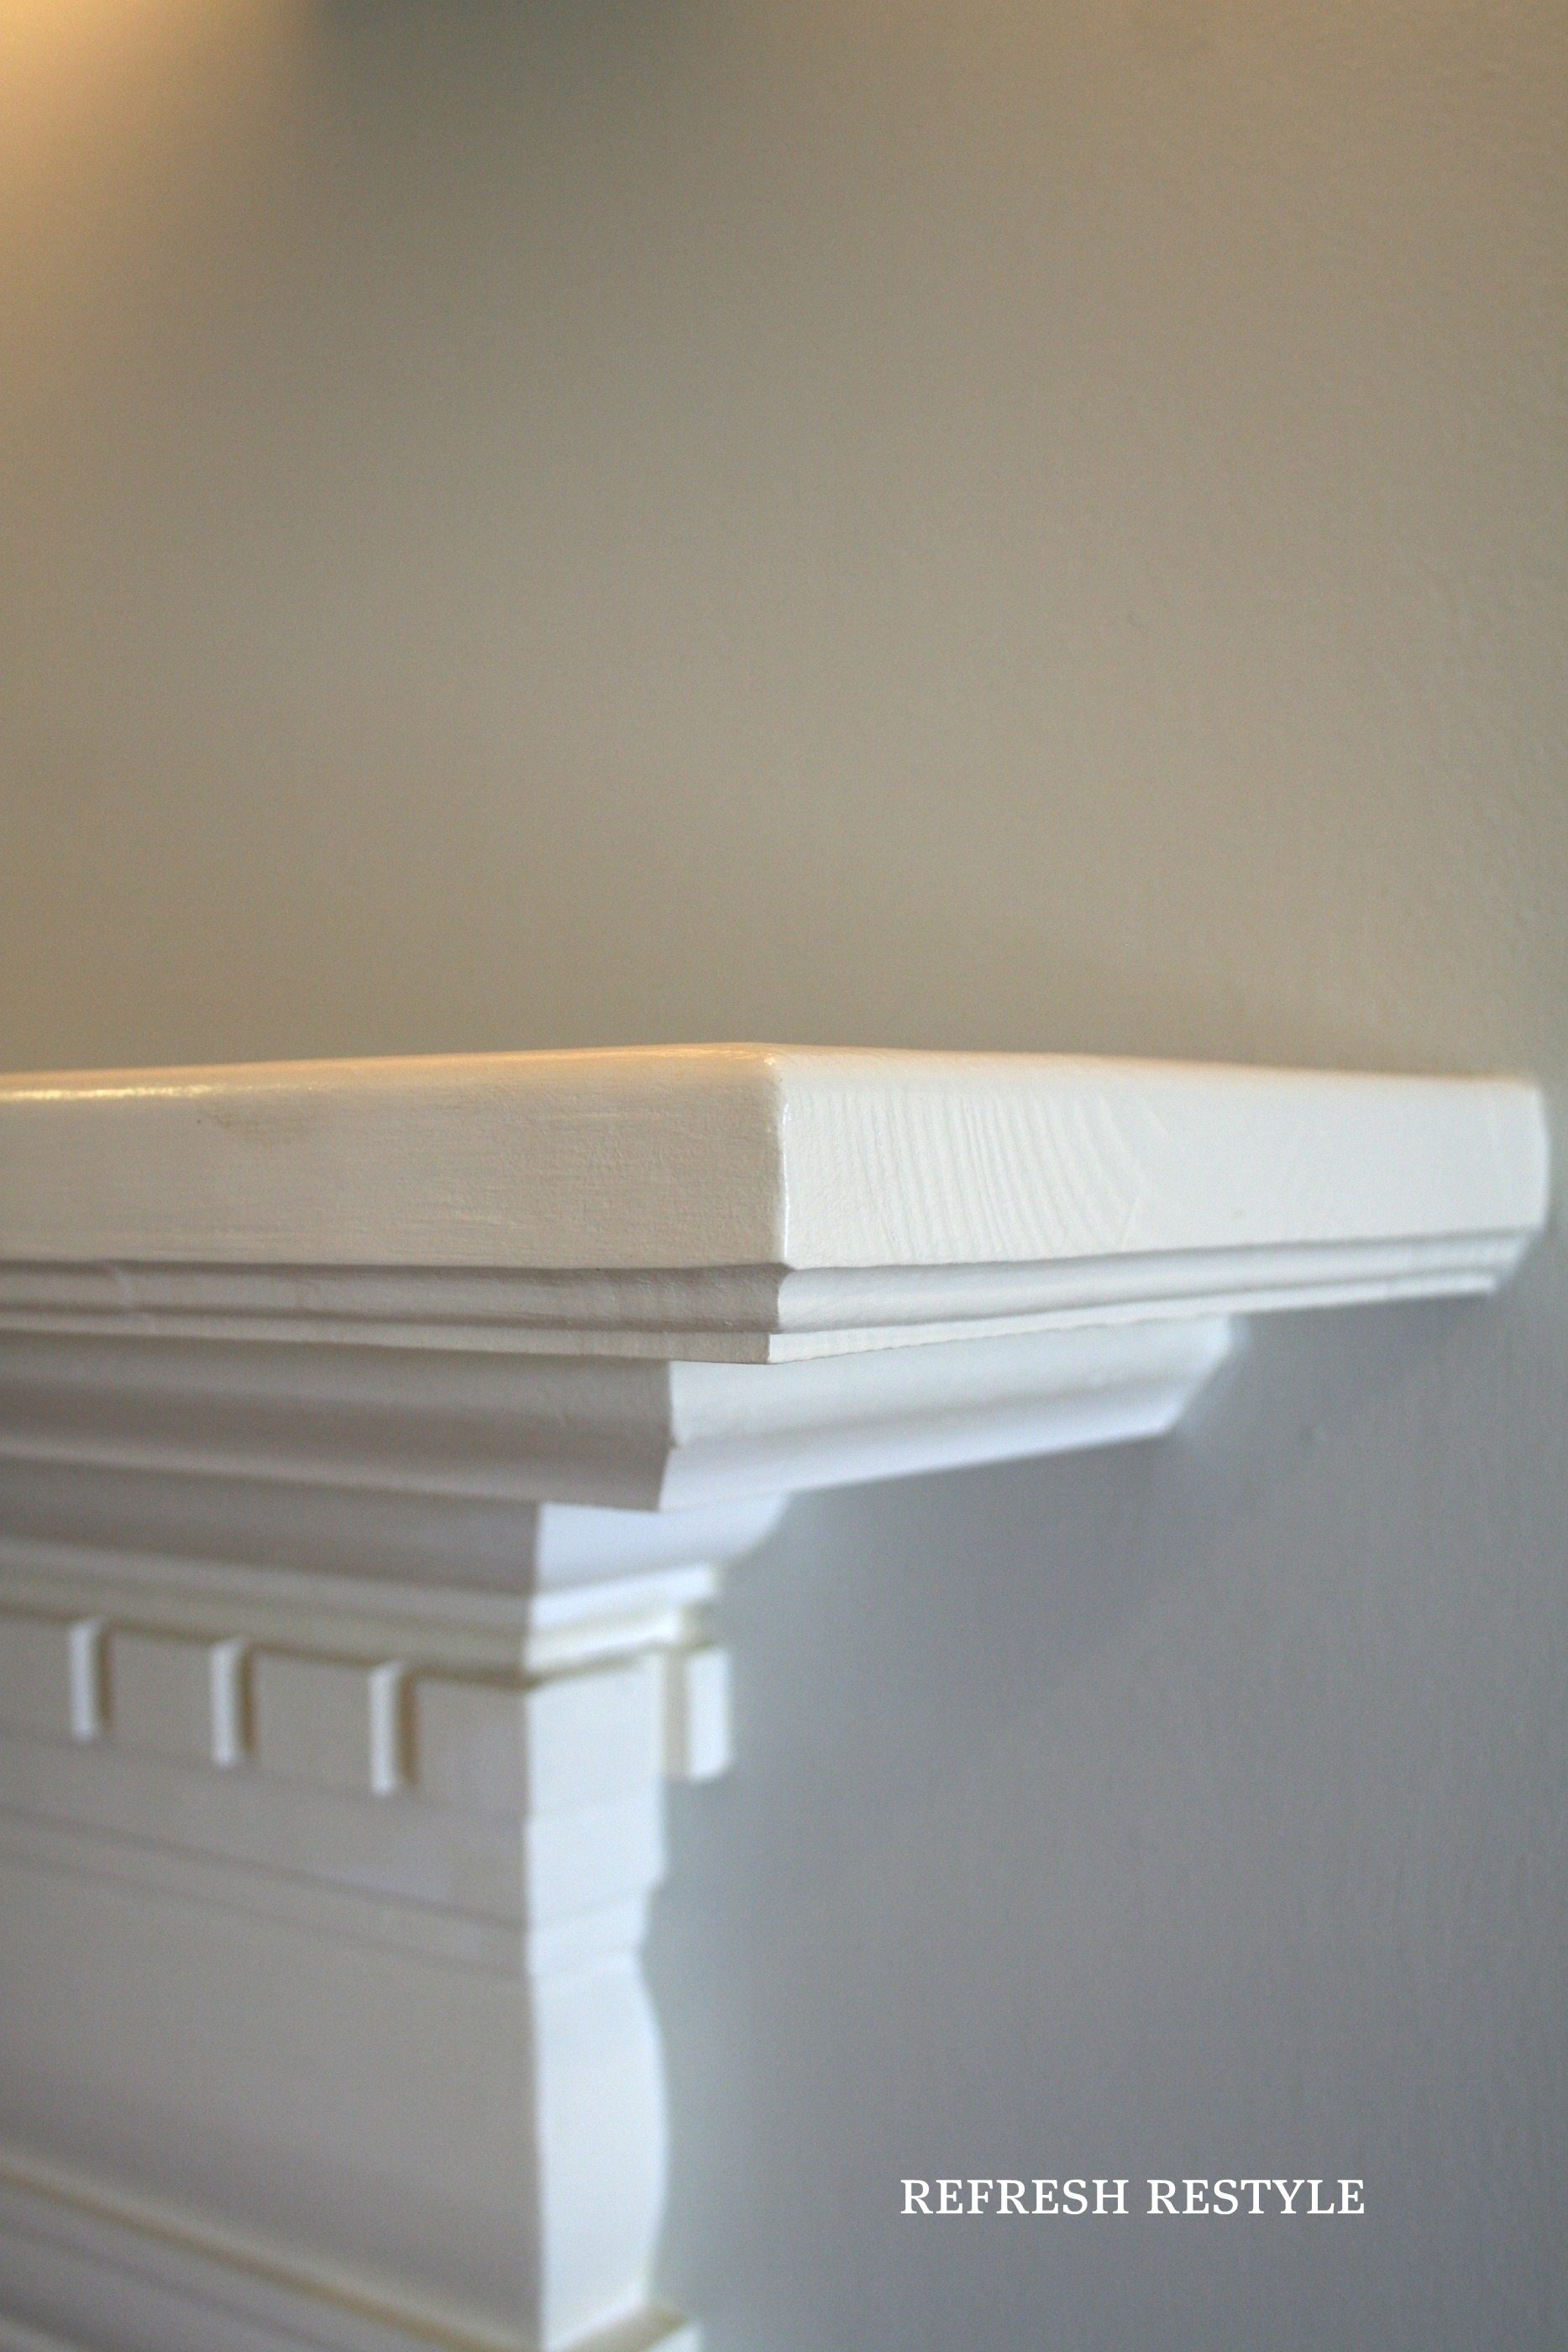
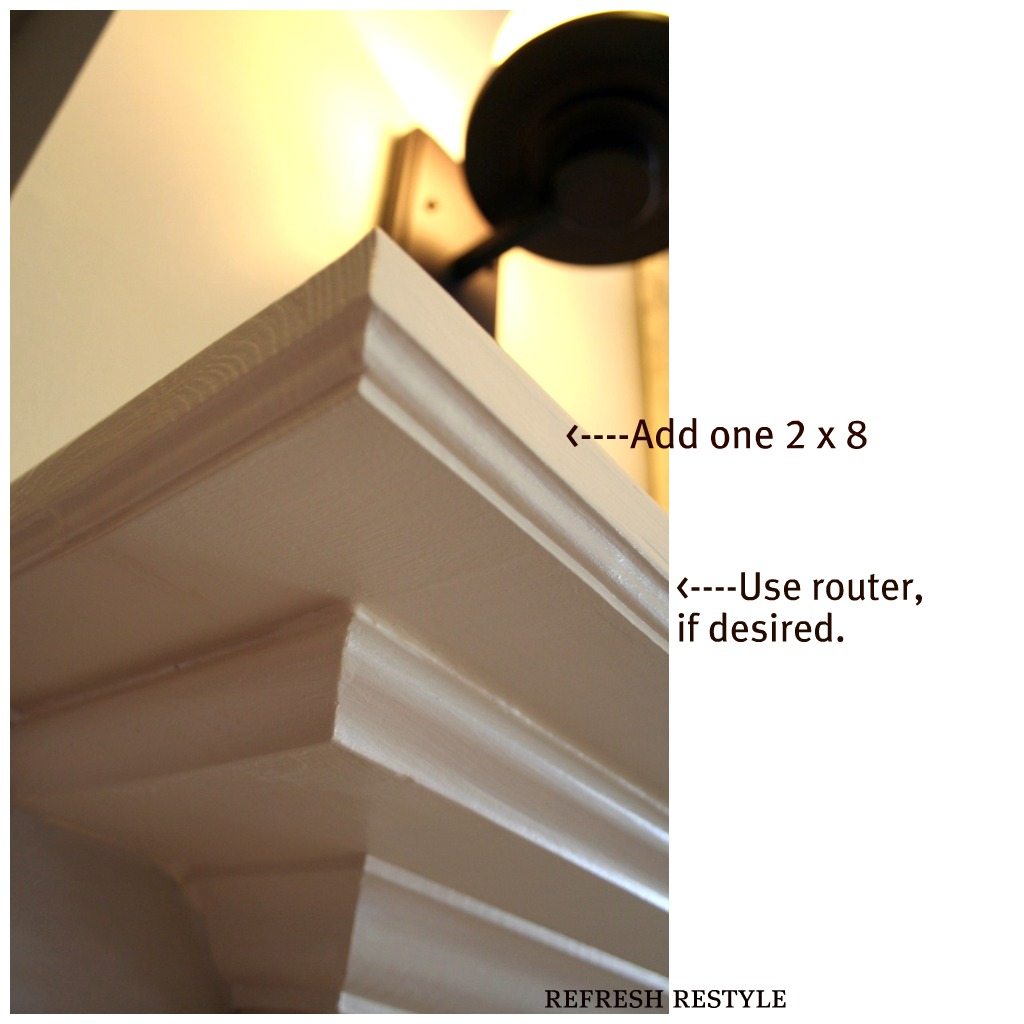
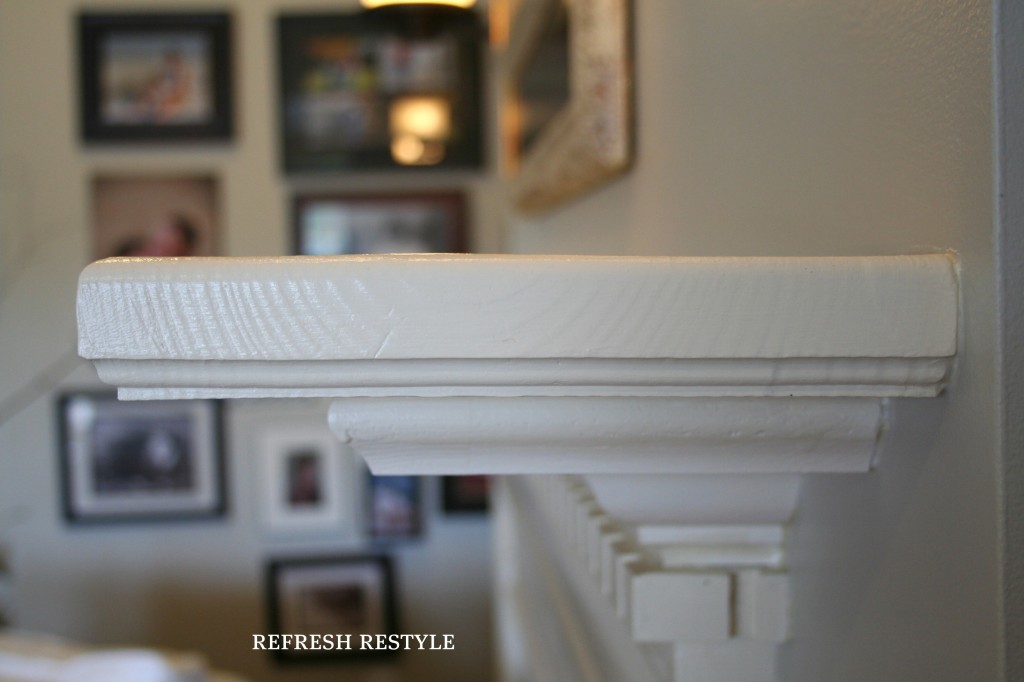
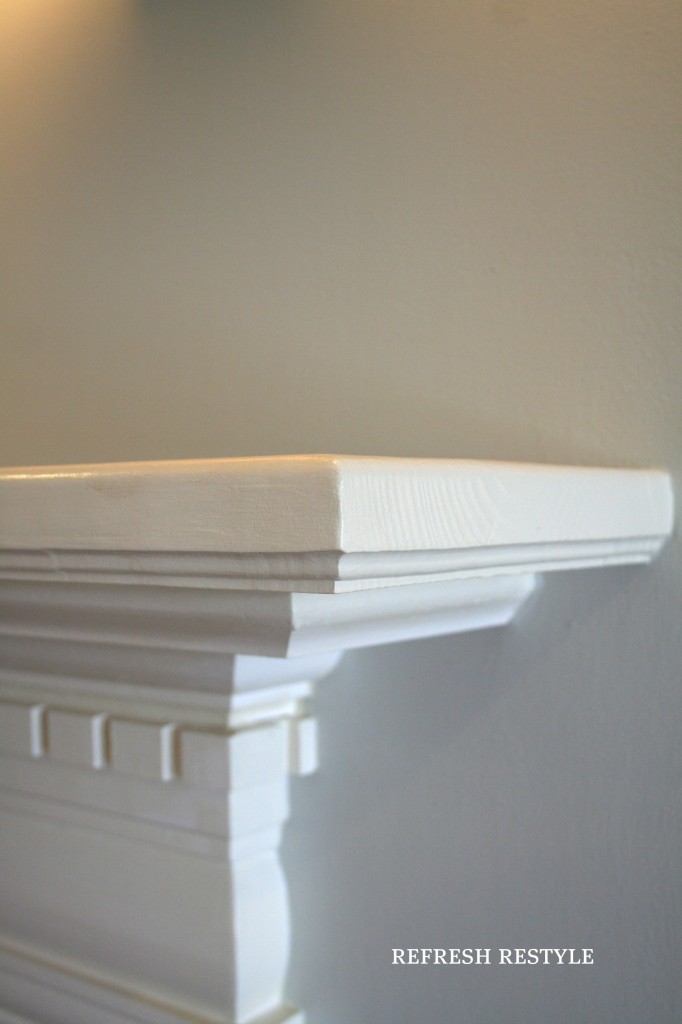
We added three inches to each side and the front by cutting a 2″x 8″ piece of lumber to fit over our existing mantel. I would have gone a little larger, but we were limited on the sides because of the wall.
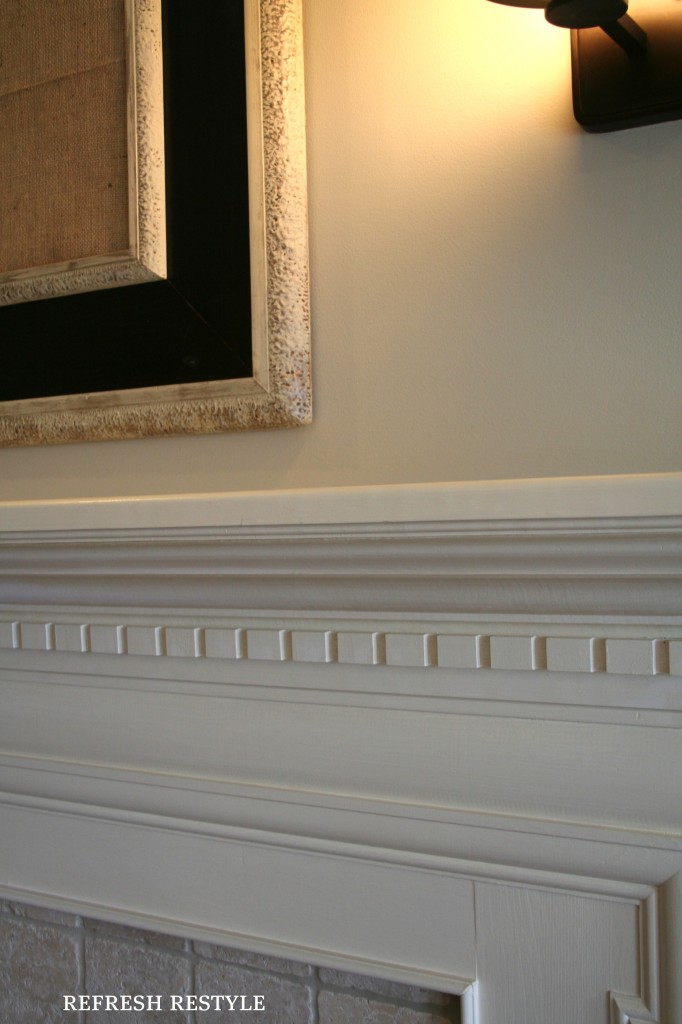
We cut the board, then used a router to round the top and detail the bottom to blend with the existing woodwork.
Now my decor doesn’t teeter on the edge, well sometimes it does when I try to add too much!
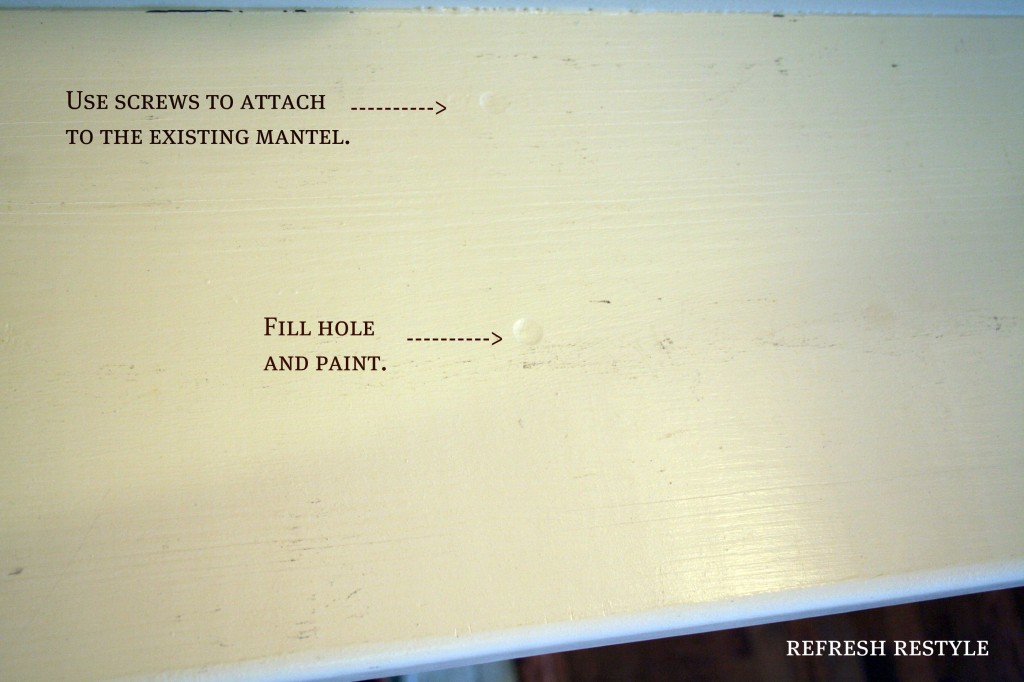
We used several screws on the top to secure the addition.
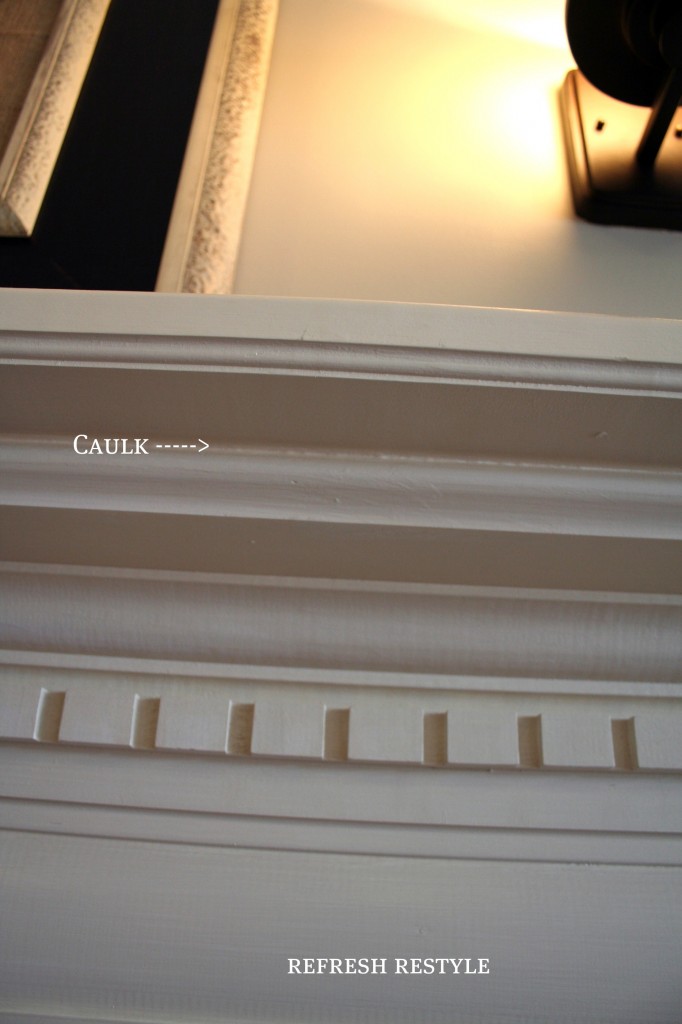
Caulk everywhere to create a seamless look.
I hope this was helpful and it will give you a little more space to decorate on top of your mantel!
Good Luck! and Happy Christmas decorating!
Sharing at:

Oh Wow! Thank you so much for sharing this! I told my husband a while back that I wanted to enlarge our mantel. Hopefully this will inspire me to get it done. Guess what else – it looks EXACTLY like yours! how funny is that?
Peace,
Debbie
I love this project! I found your blog via the facebook thread posted by you are talking too much! Glad to be your newest follower =)
Hi Debbie-
All home builders need to just do this when they construct the mantel. Mine looked just like yours and I had my dad who is a genius with a router create a larger top when we first moved into the house. I guess it would cost the builder say another 20 dollars to do it right way – wider! 🙂 Yours looks great.
My best- Diane
Just when I am convinced there is no “too skinny or too rich”!
Now, I think my mantle is skinny!
No, seriously- This is a great solution Debbie!
Merry Christmas! (and get that decorated! heehee!)
Cheri
Debbie, I appreciate your posting this info. It really looks amazing! Mantels/Mantles are such fun to decorate. Merry Christmas, Helen
I am sending this post to my friend right now. She had the same issue and here she can see the after. This is perfect. Have fun decorating!!
How fantastic Debbie! That is such a relatively easy and inexpensive way to add more “umph” to a fireplace and it looks amazing! 🙂
Vanessa
great look. the extension makes all the difference. can’t wait to see it decorated.
My husband built our mantel when we built the house and a few years later did the same thing you did and made the top deeper. It was way too narrow and things just didn’t fit good on it. I actually wish it was a little deeper than it is.
That’s a great idea! My sister has a narrow mantel, I’ll have to show this to her. My mantel is already big…maybe too big.
I’ve been thinking of doing this, but only as a temporary thing during the Christmas holidays. I have a number of stockings that I like to hang, but when I use the stocking hangers, they topple off the top of the mantle (because of the weight). I thought of adding a piece of wood the length and width of the mantle, and drilling in cup hooks (or something similar), so that I can hang my stockings, without worrying about them falling off (they only topple off when the stockings are filled with goodies on Christmas morning. Because of what my mantle is currently made of, it’s not possible (nor desirable) to drill into it. Thanks for the tutorial!)
Susan, I like the idea of the extra width with the cup hooks!
(And that it is not permanent if you don’t need the extra width).
Cheri
Great idea, and great job! When hubby built our fireplace/surround/mantel in the bedroom, I requested an extra large, wide, and deep mantle. I got it, and I still have Christmas decor flowing off the sides. I love it! Can’t wait for the mantel parties in blogland.
What a beautiful mantle!! I am working on mine as well! I love decorating for Christmas!! Fun times!
Hugs
SueAnn